Christmas is quickly approaching, and if you are like me, you are itching to get your Christmas décor out.
Ok, maybe it’s just a bit early for that...
But it will soon be that magical time of year, and your tree will create the perfect centerpiece for your home to create those special memories, whether that means anxiously awaiting Santa’s arrival or gathering with friends and family around the tree.
We have already covered why to theme your Christmas tree here, and how to theme your Christmas tree here. And we've discussed some of the top trends in Christmas home decor for 2020.
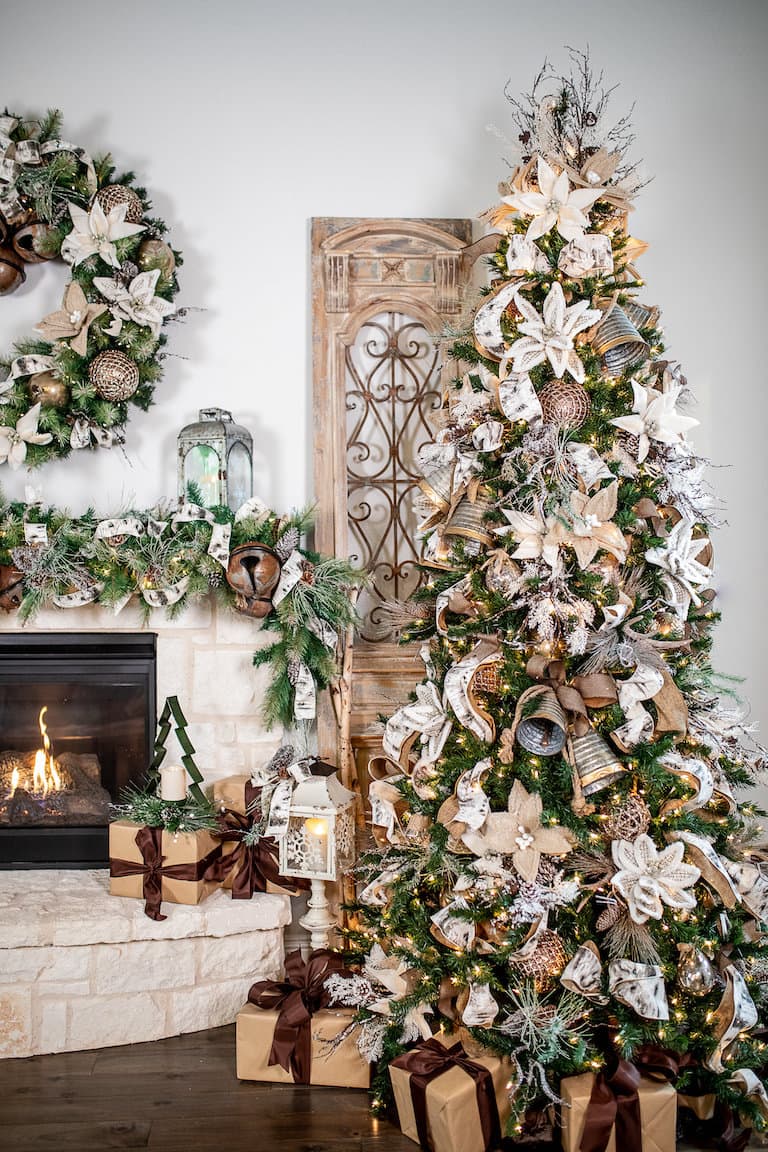
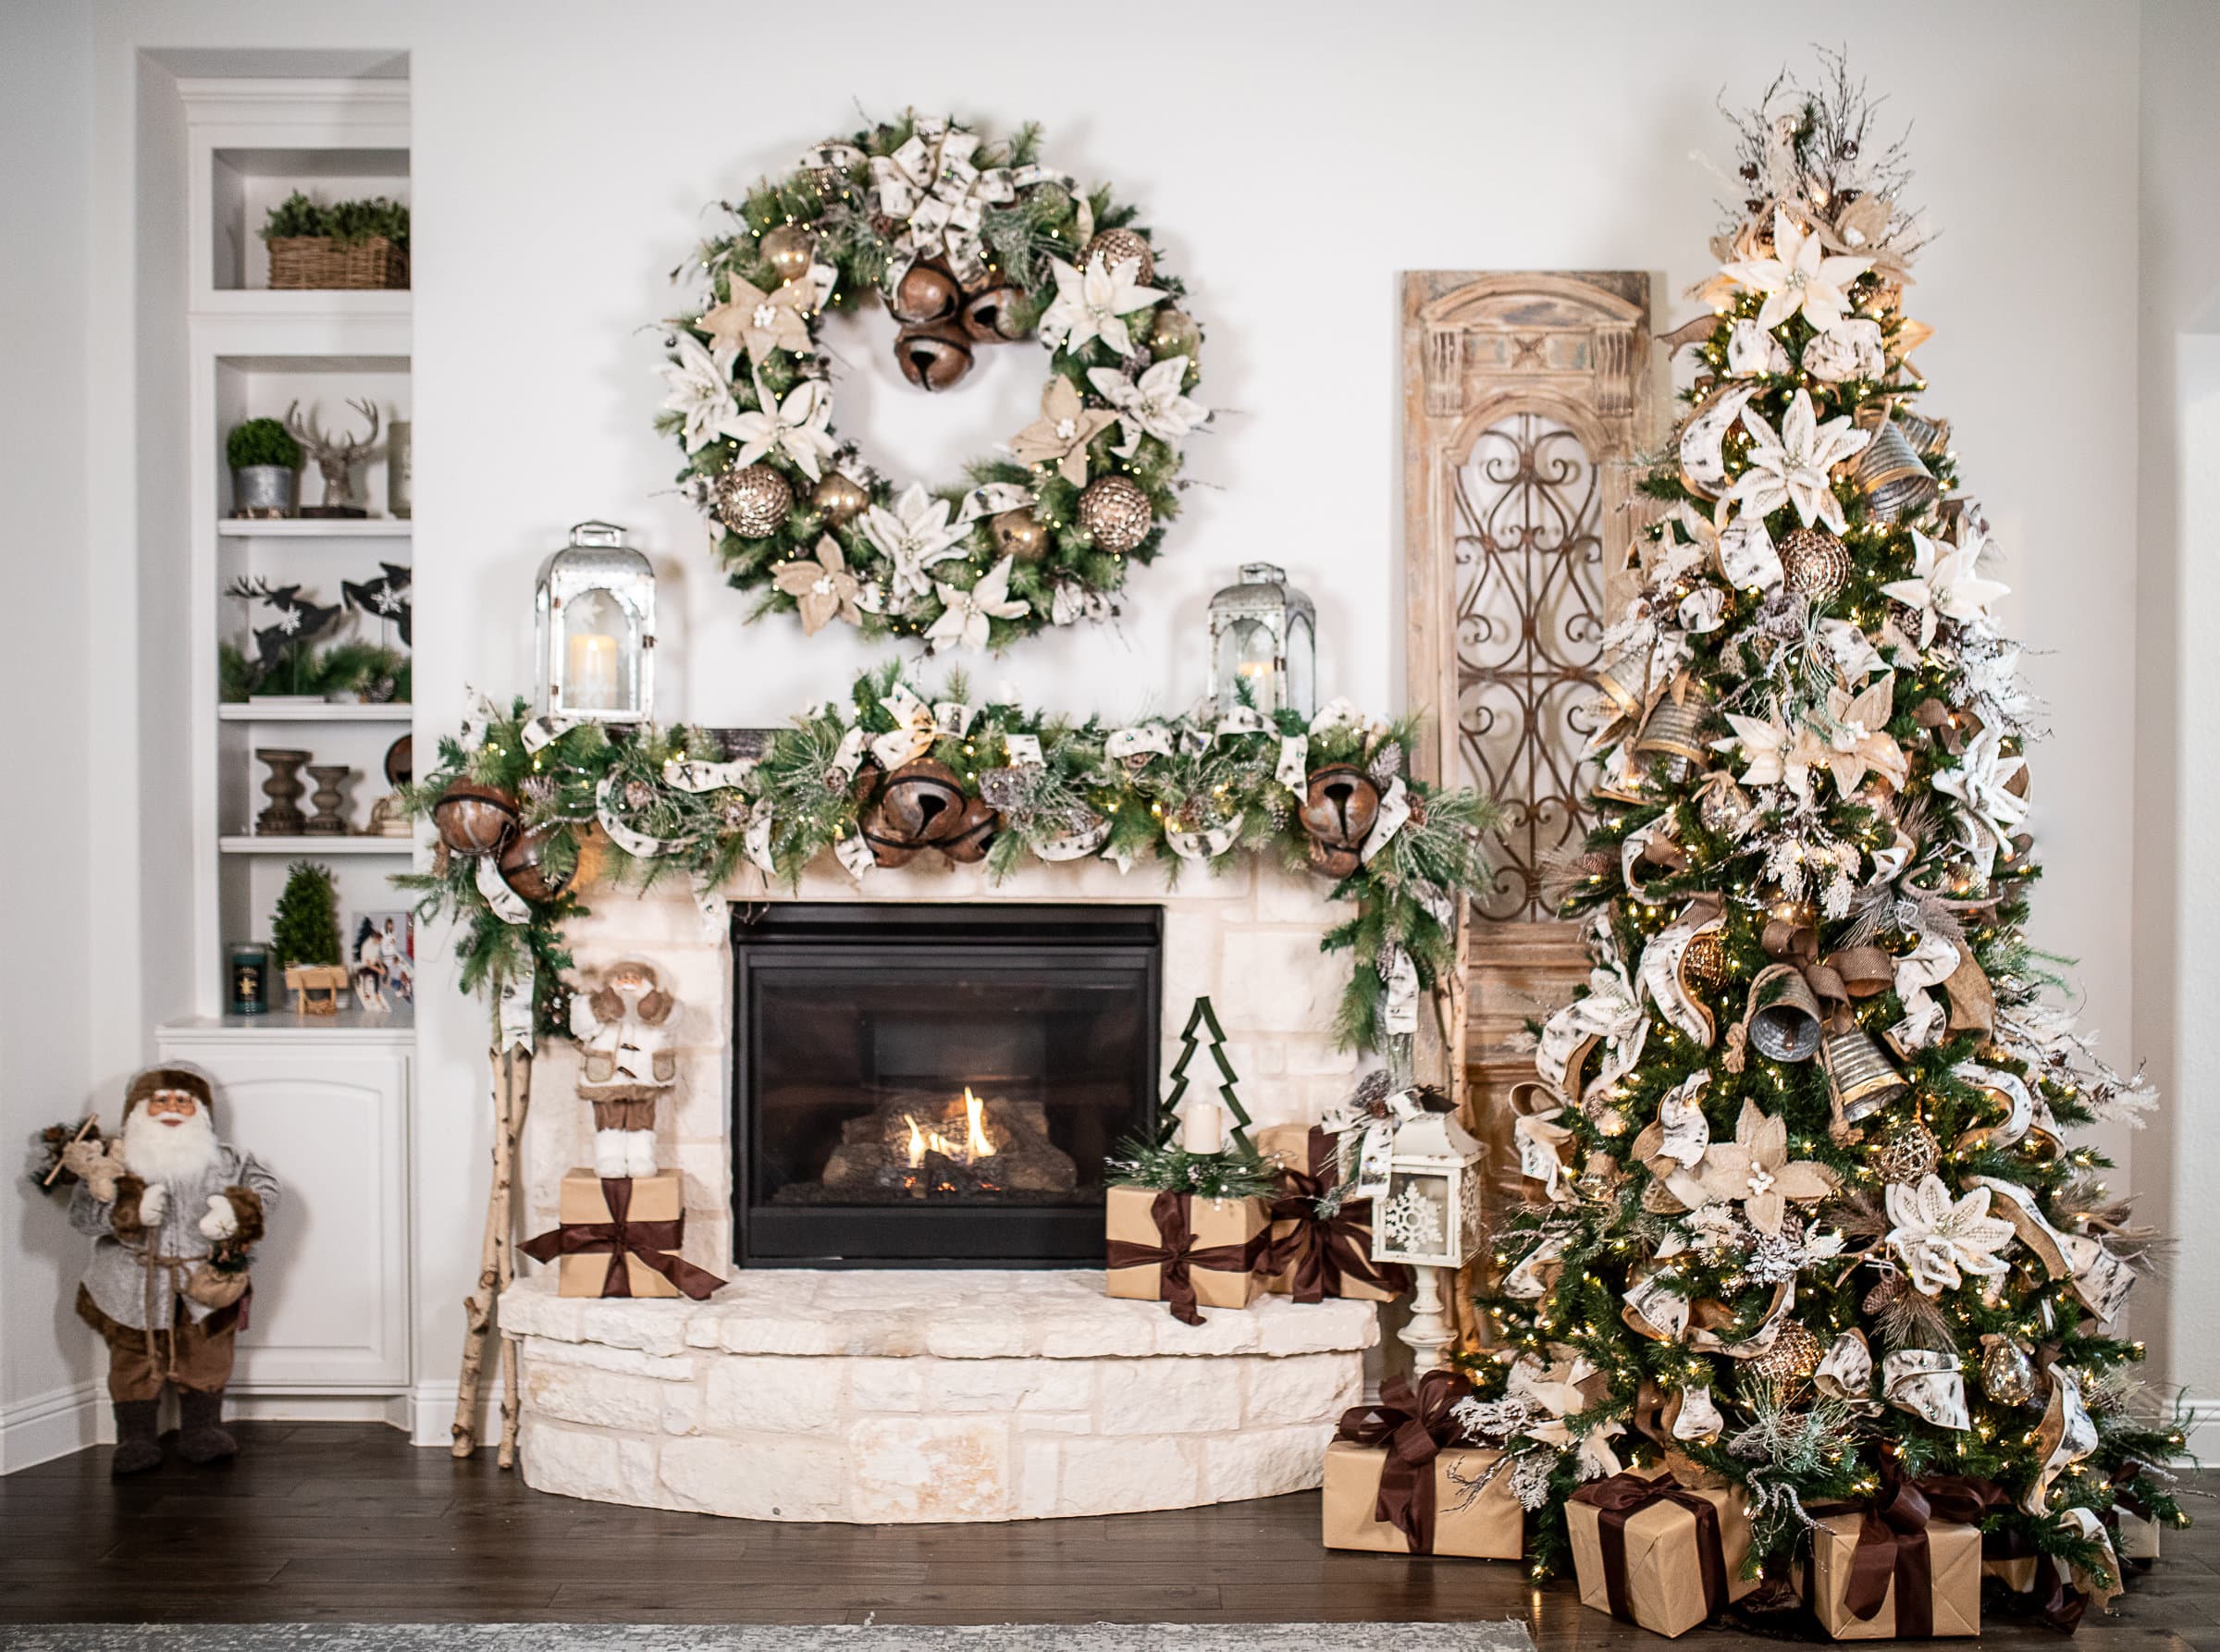
Today I am going to share the eight steps we use at Decorator’s Warehouse to create a themed tree. Remember this is your tree, so do what works for you! If you are more minimal, use this as a starting place and scale back, or skip steps altogether. We like our trees over the top, so expect that to be reflected in store, but know that these recipes are made to be adjusted!
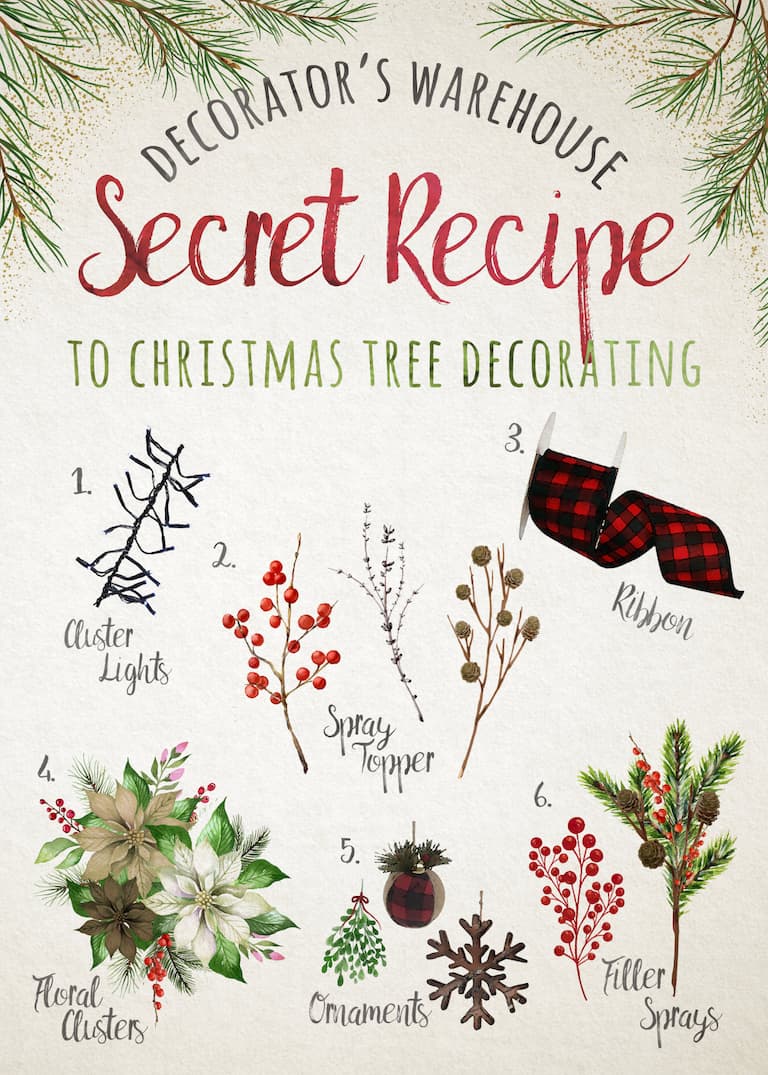
8 Steps to Decorate your Perfect Themed Christmas Tree
- 1.) Fluff your tree – Don’t skimp on this step as this sets the stage for your designs to shine! When shaping, I recommend letting down one row at a time, as you work up the tree. The branches closest to the pole will go straight up to fill in any gaps and holes and to conceal your pole. As you work out on the branch, start angling the branches towards you at about the midway point. Once you’ve worked up the whole tree, you are ready to start decorating!
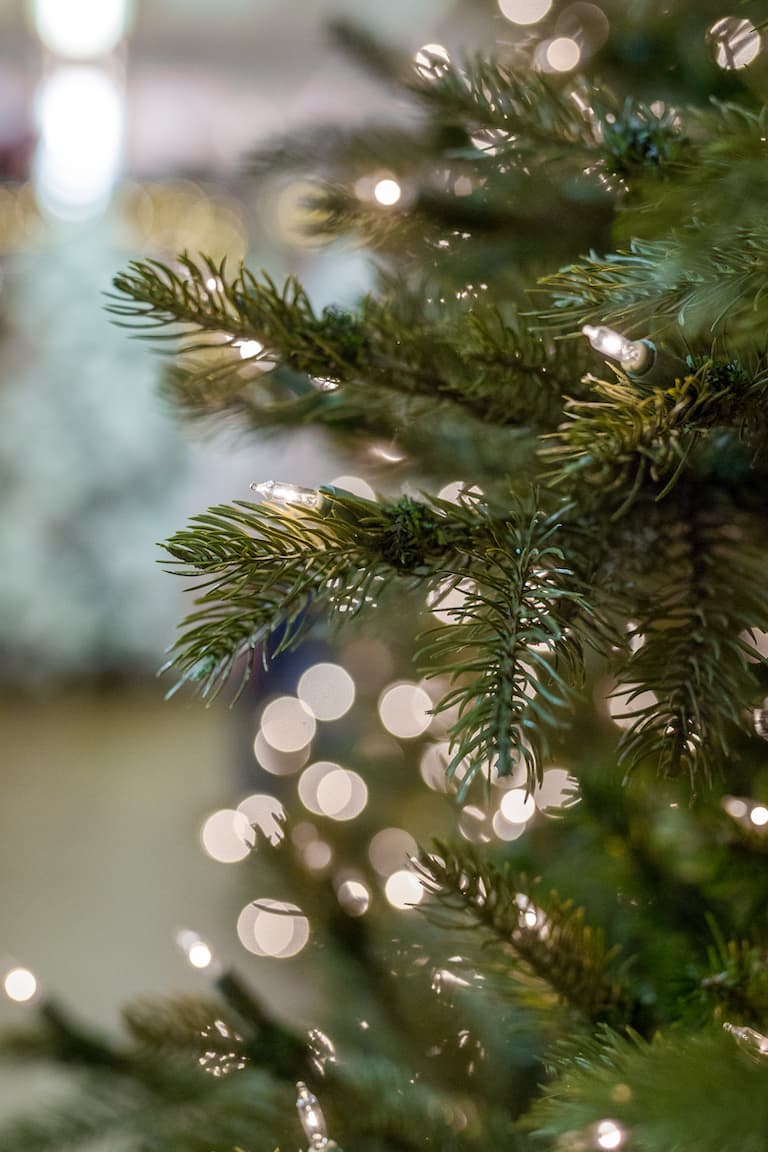
- 2.) Add additional lights- I recommend a prelit tree for ease of use. This will save you a lot of time versus stringing sets to each branch. If you prefer more lights, consider adding additional sets of cluster lights. These strands have lots of mini LED bulbs that are heavily concentrated to give you the WOW factor! They also have 8 functions, so set the lights to “waves” if you prefer a soft twinkle. These lights are so easy to use! Just lay the set over the branches, one-third of the way in, and work up each row, no need to secure them in place.
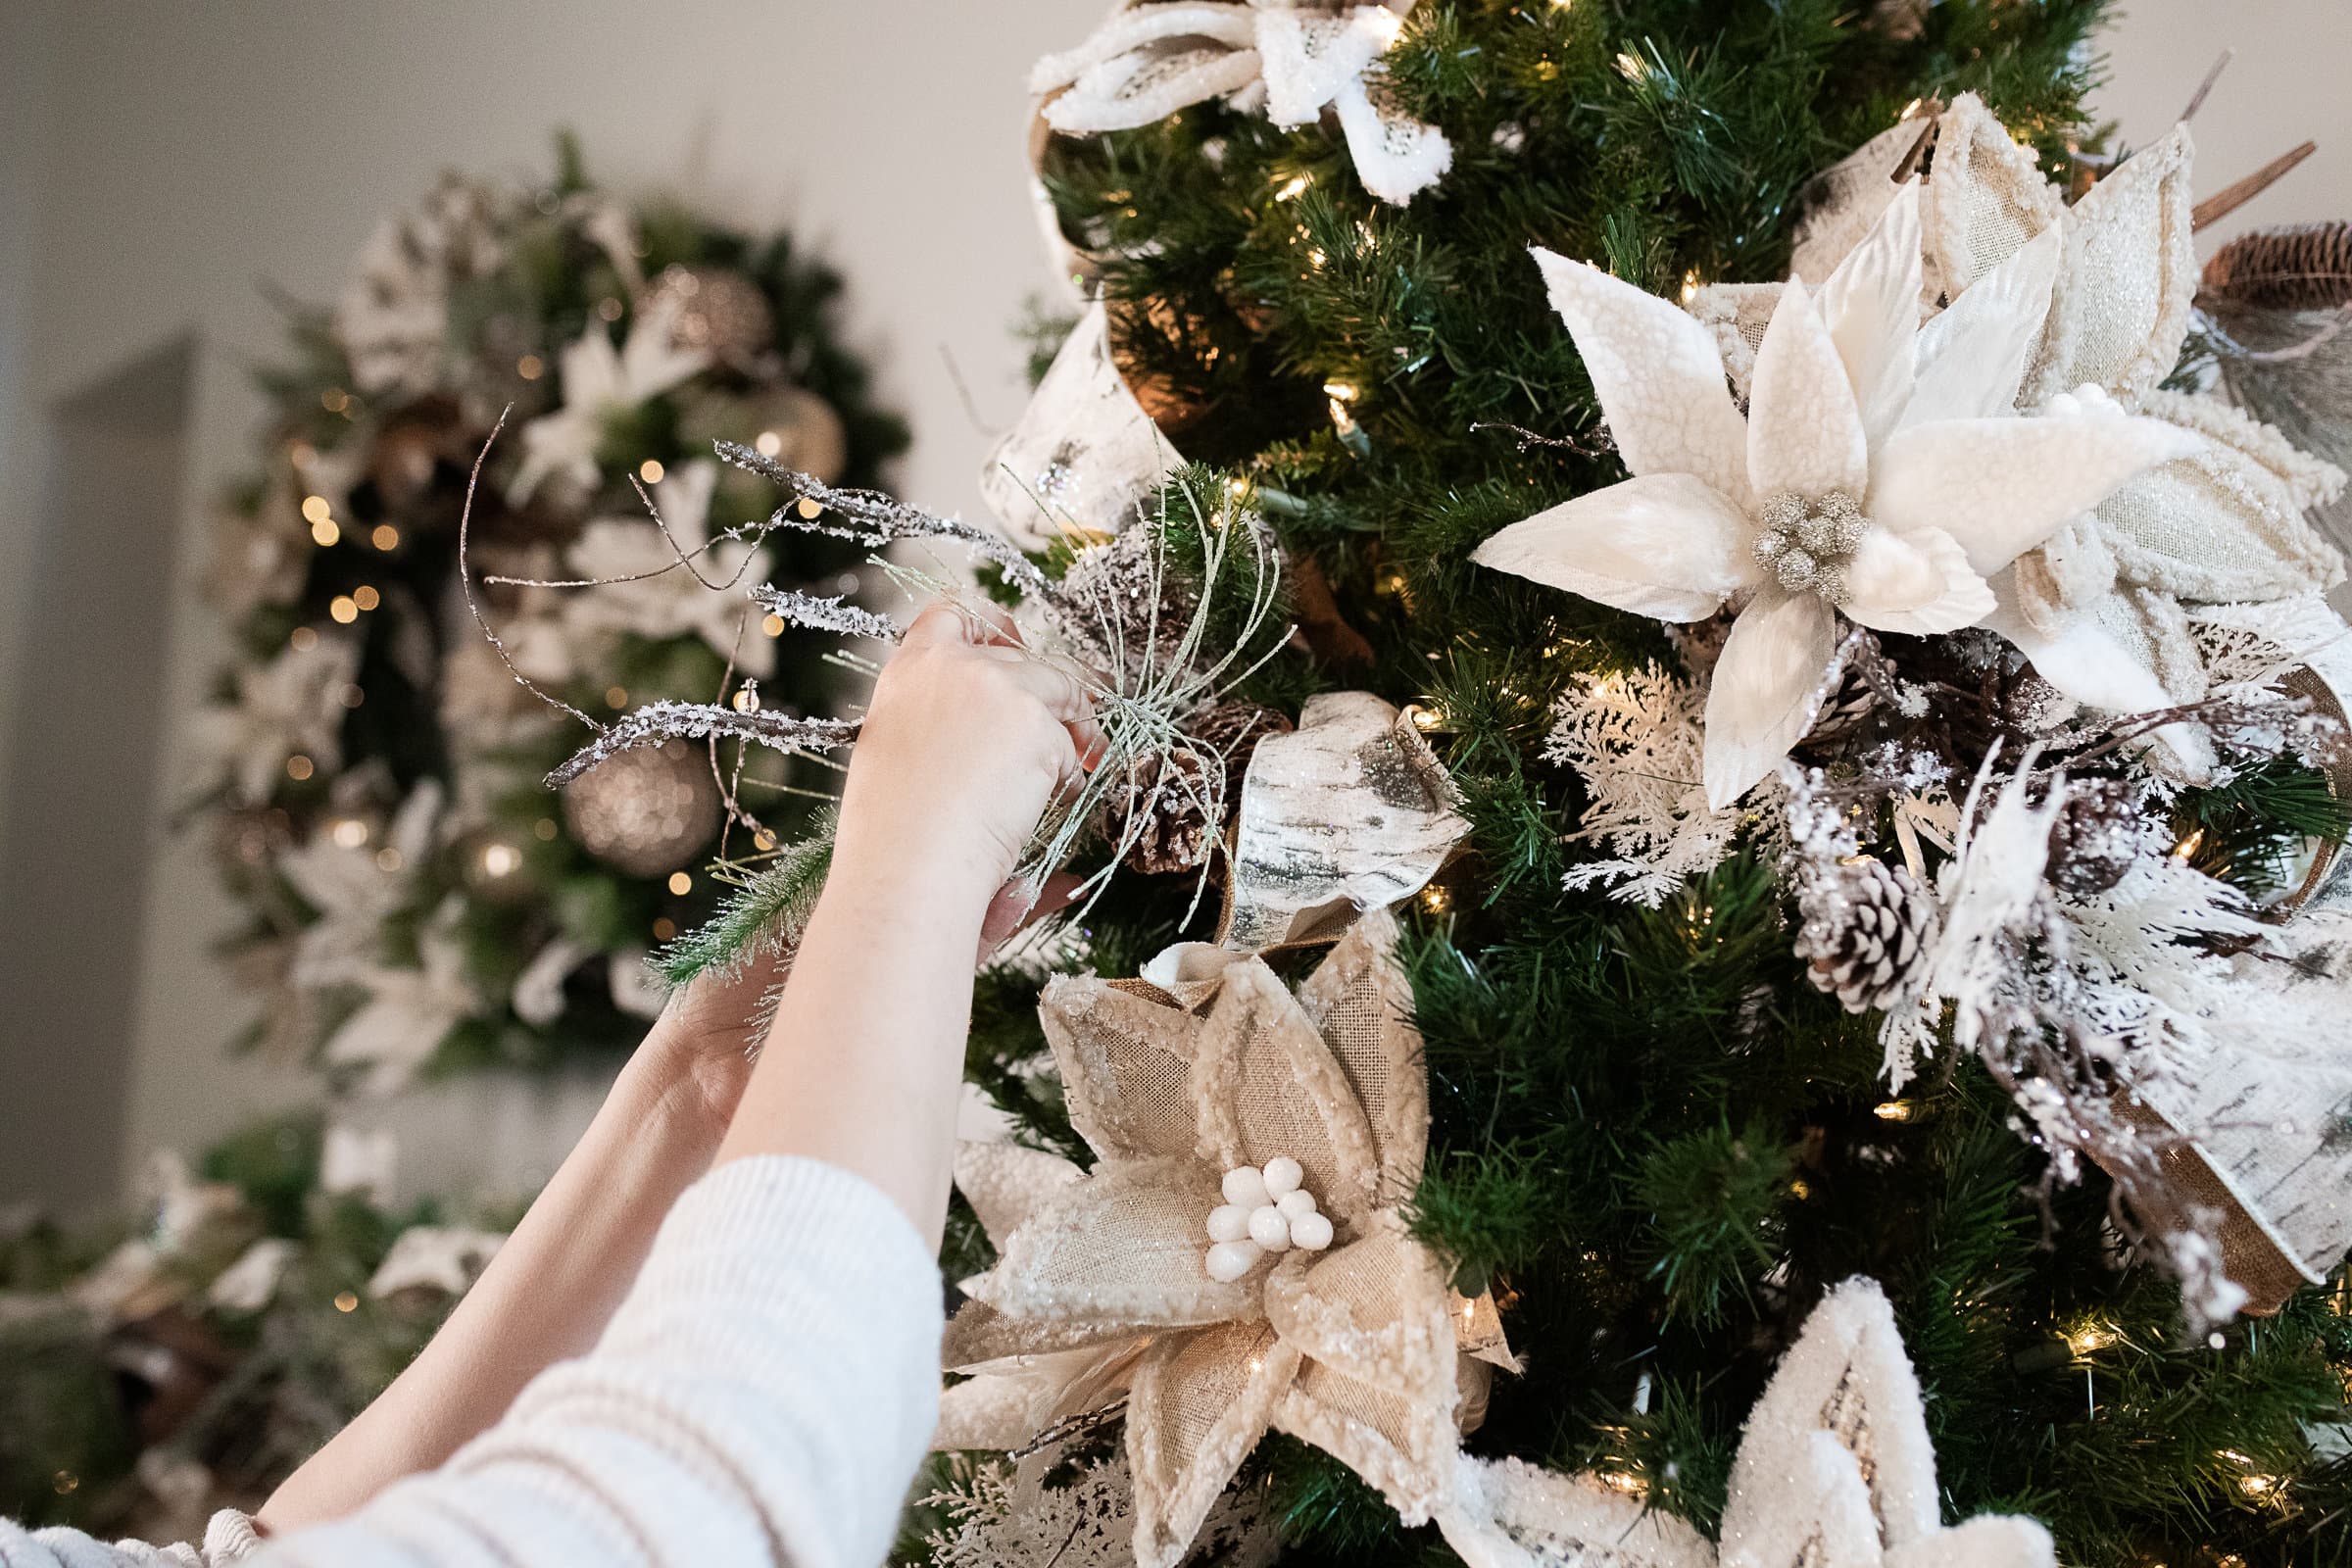
- 3.) Add a topper to create a polished look – I like to start with my topper, as I do not have to worry about brushing up against my décor when placing it. There are many different options for a topper including stars, angels, or my personal favorite, a spray topper. For a gorgeous spray topper, utilize individual picks. The key here is to look for picks that have some height and include a variety of textures (leaves, berries, tall & straight, jeweled, greenery).
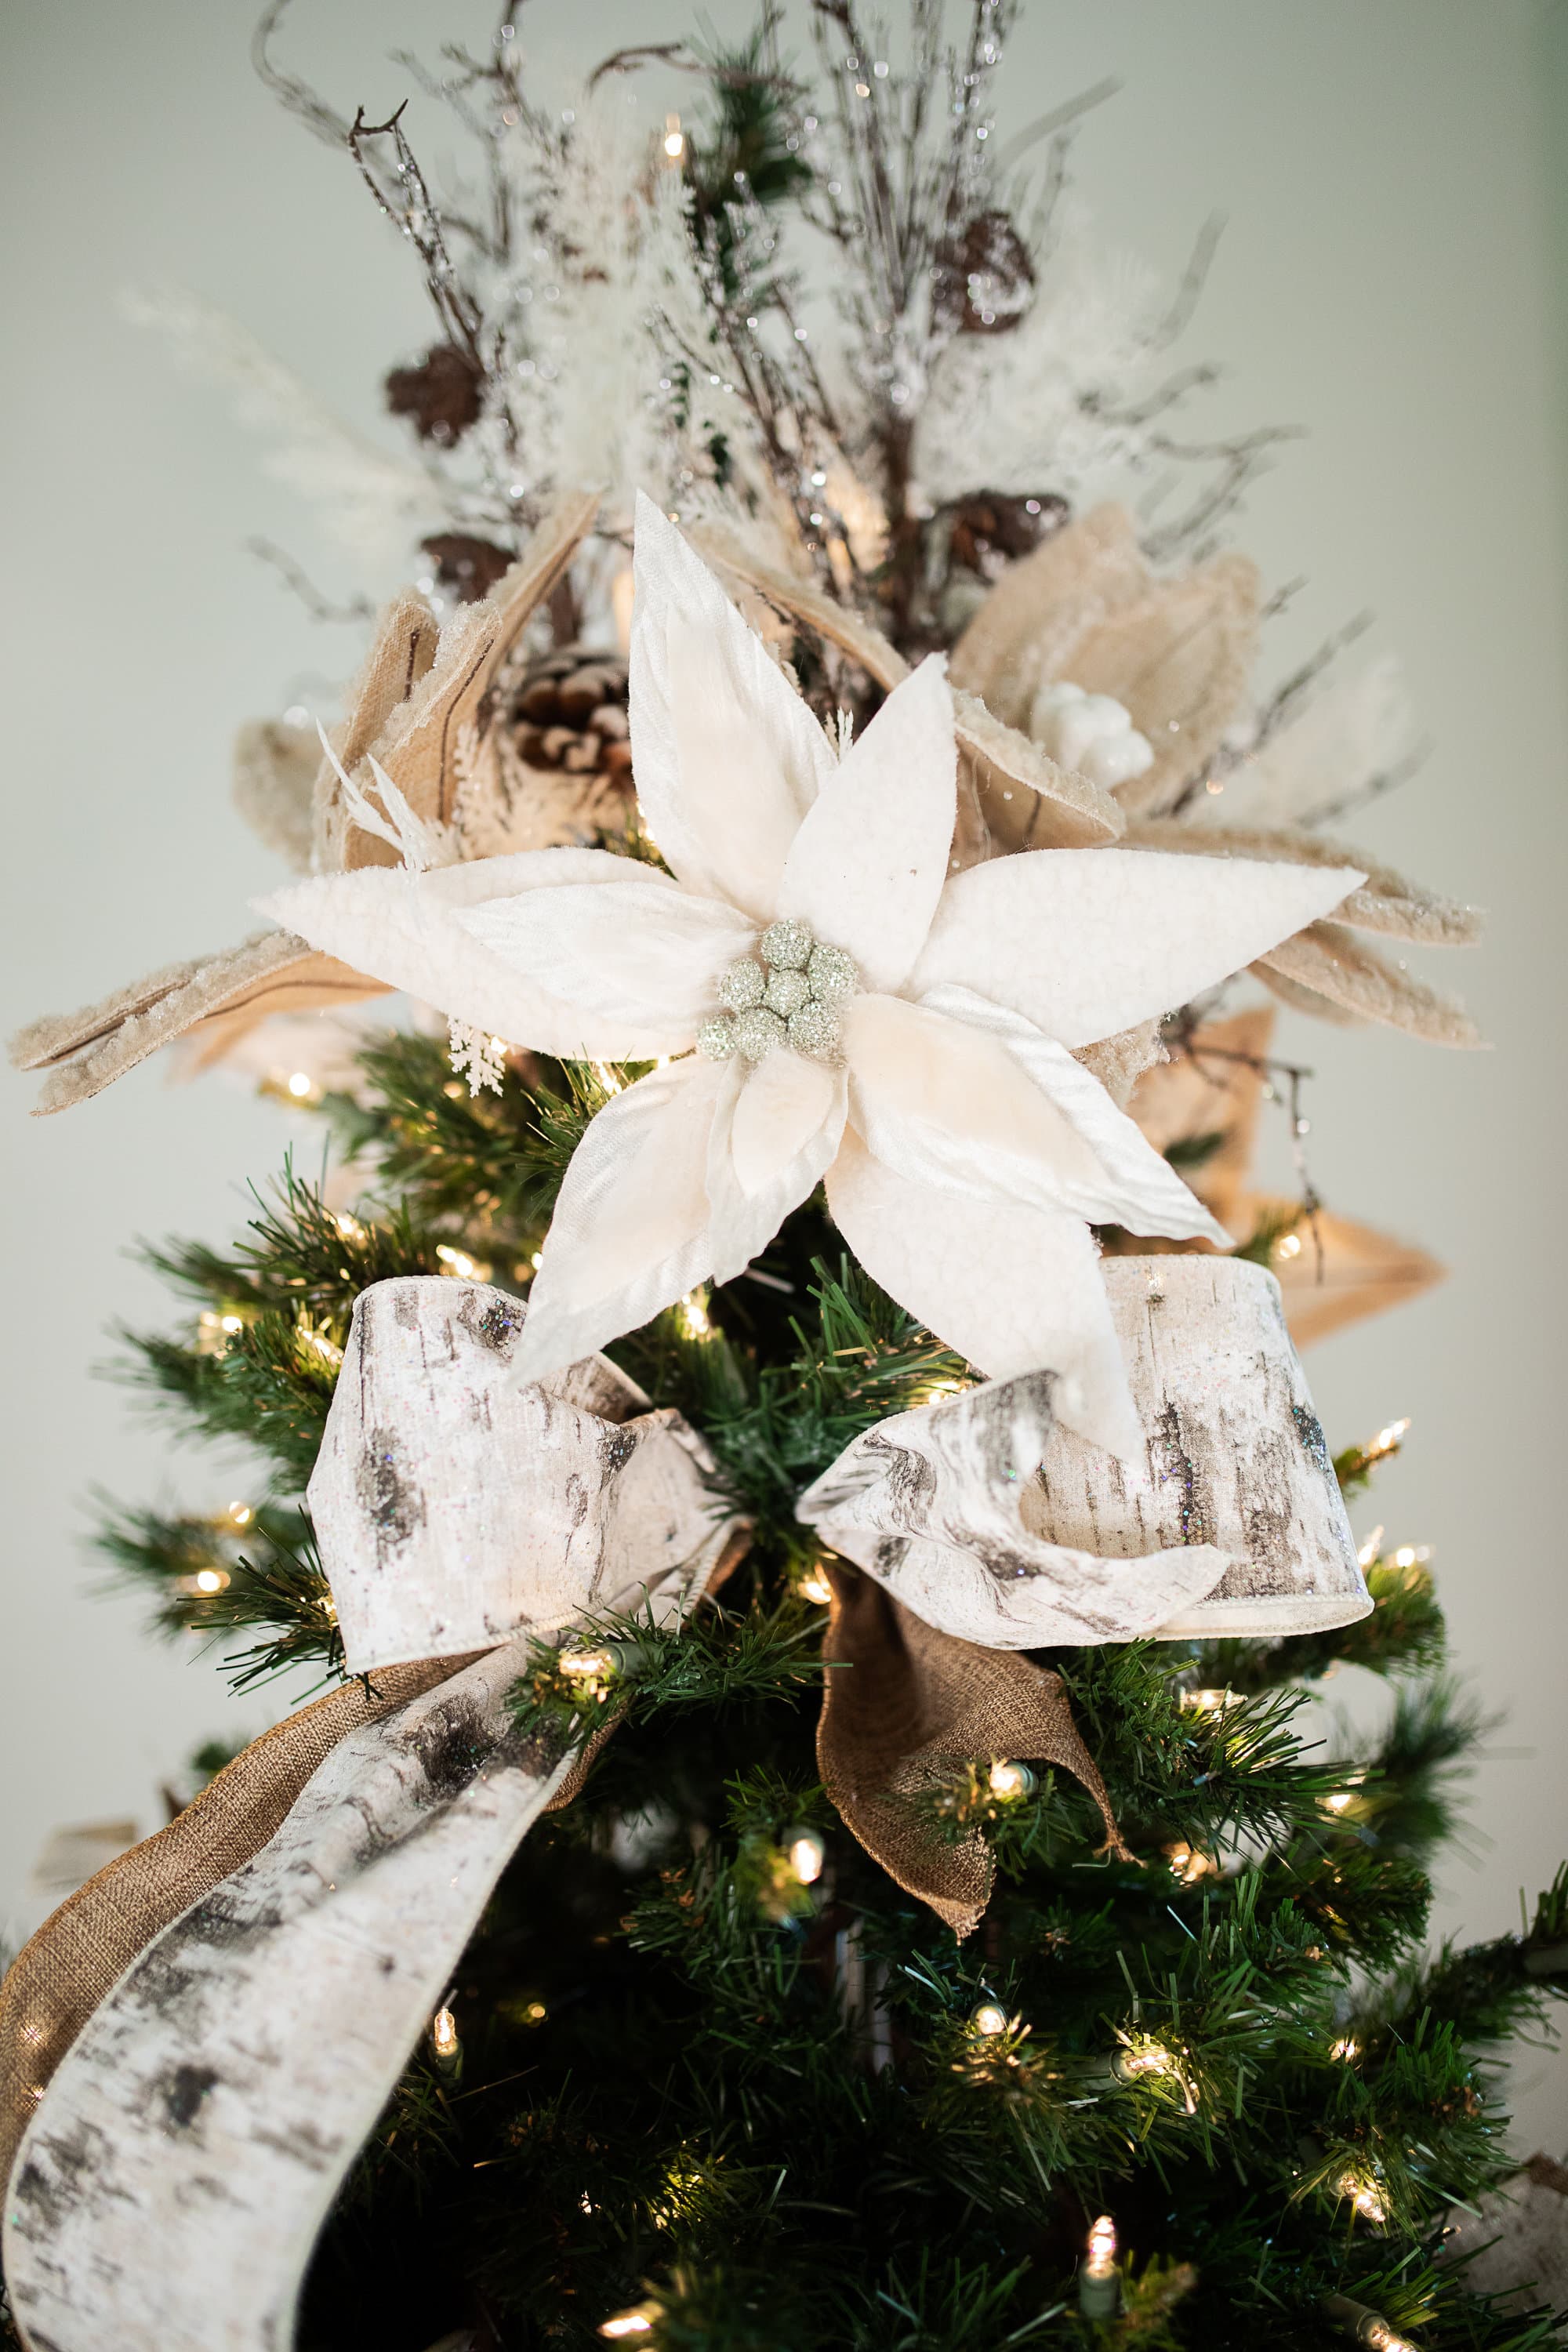
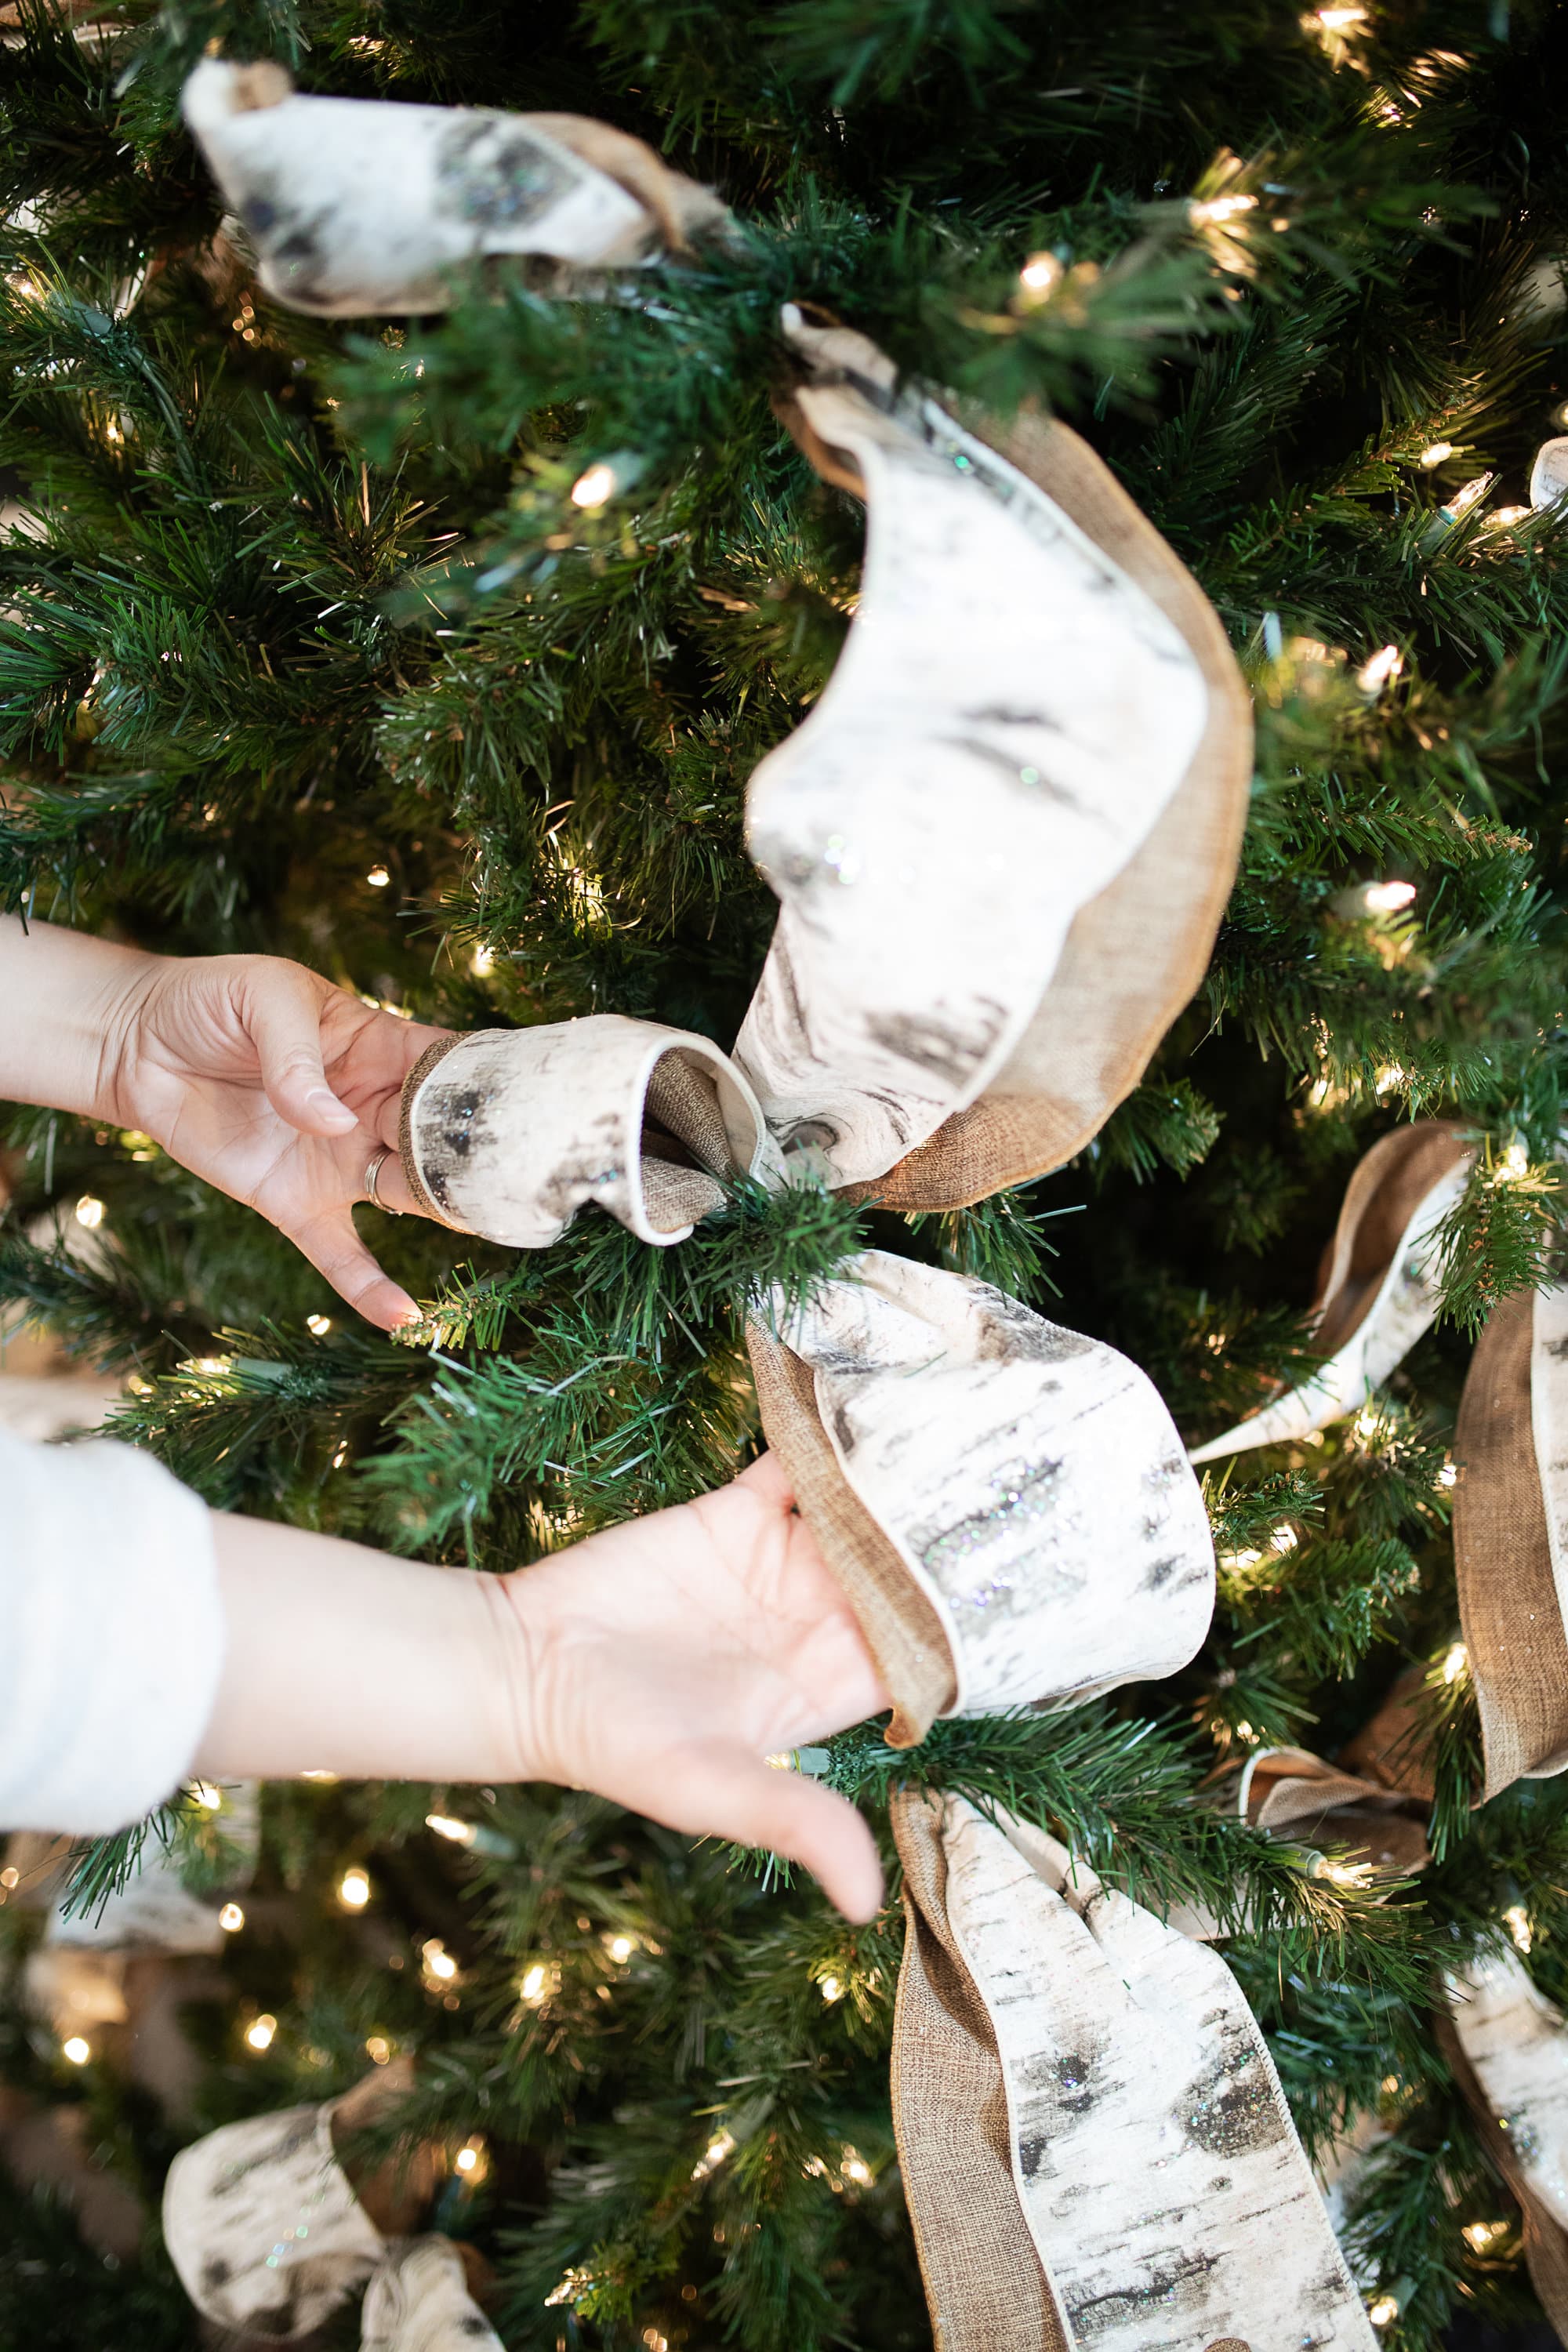
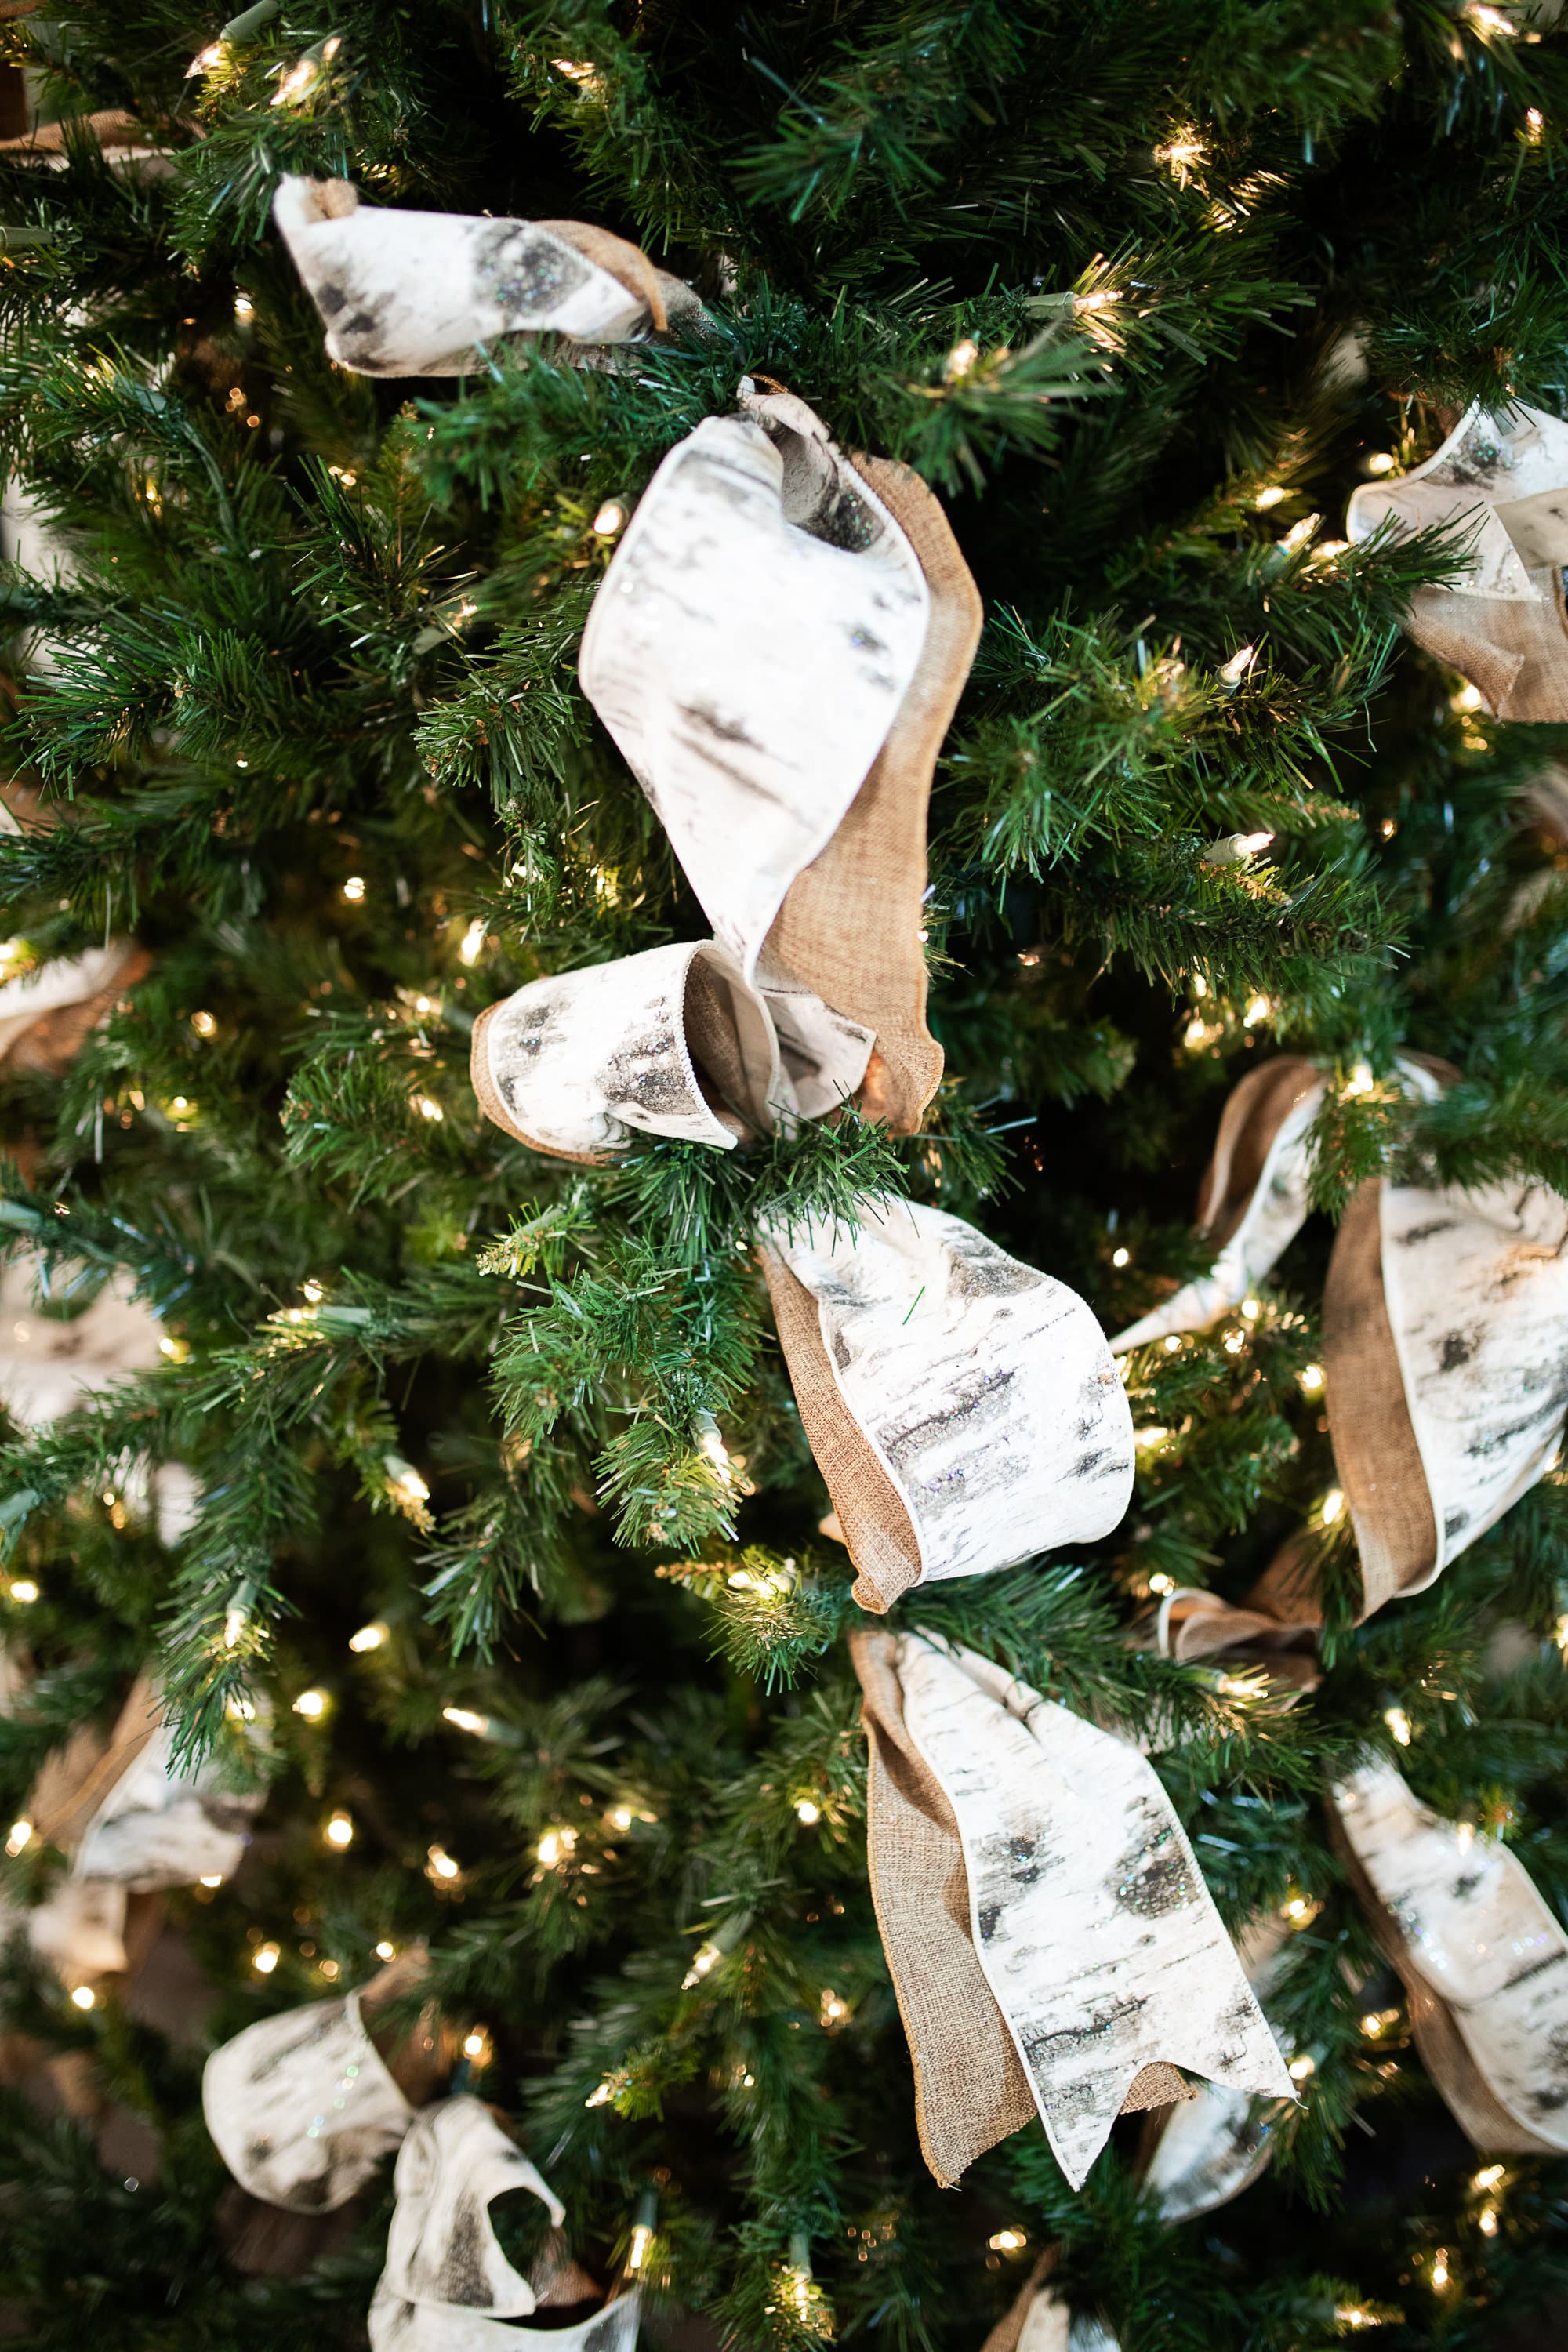
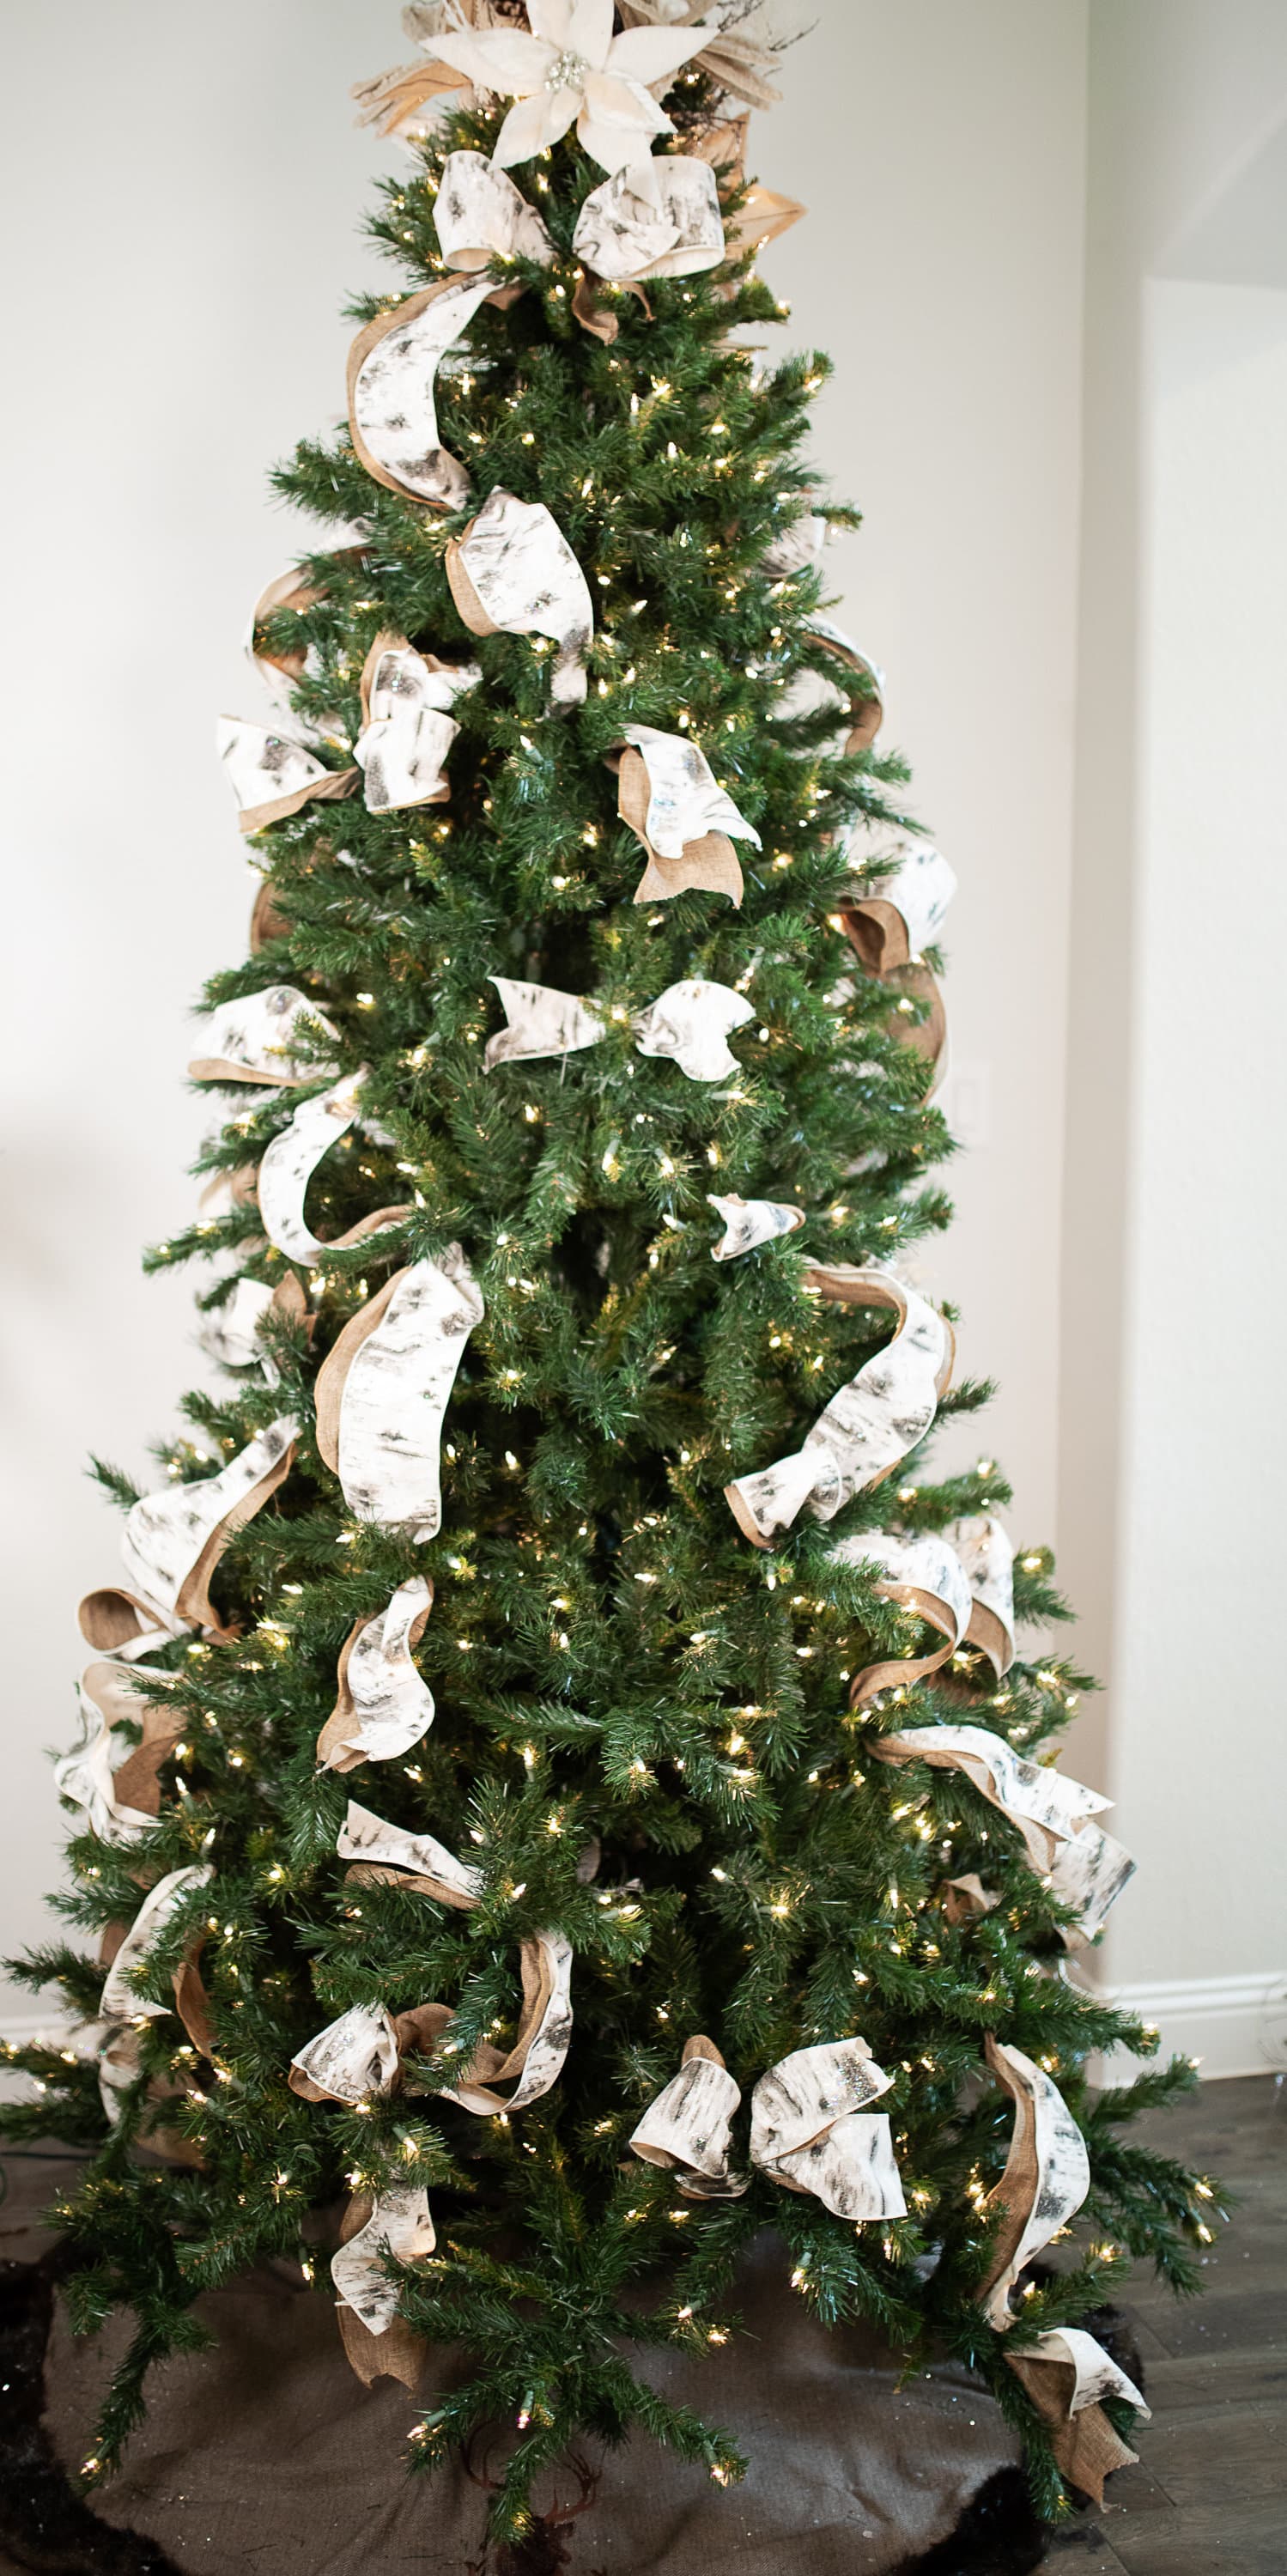
- 4.) Weave ribbon throughout- Ribbon is my favorite element on any tree! It just creates so much interest in your design and can pull everything together. With that said, I often hear that ribbon is the most intimidating component of the tree, but it doesn’t have to be!
- Start at the top of the tree. I like to create a simple two loop bow at the base of the topper. This conceals any stems. Keeping the ribbon attached, create two loops about 18” or so, securing the ribbon with the branches of the tree. At the bottom leave a small tail and fishtail the ends or cut them at an angle. This is all one continuous piece.
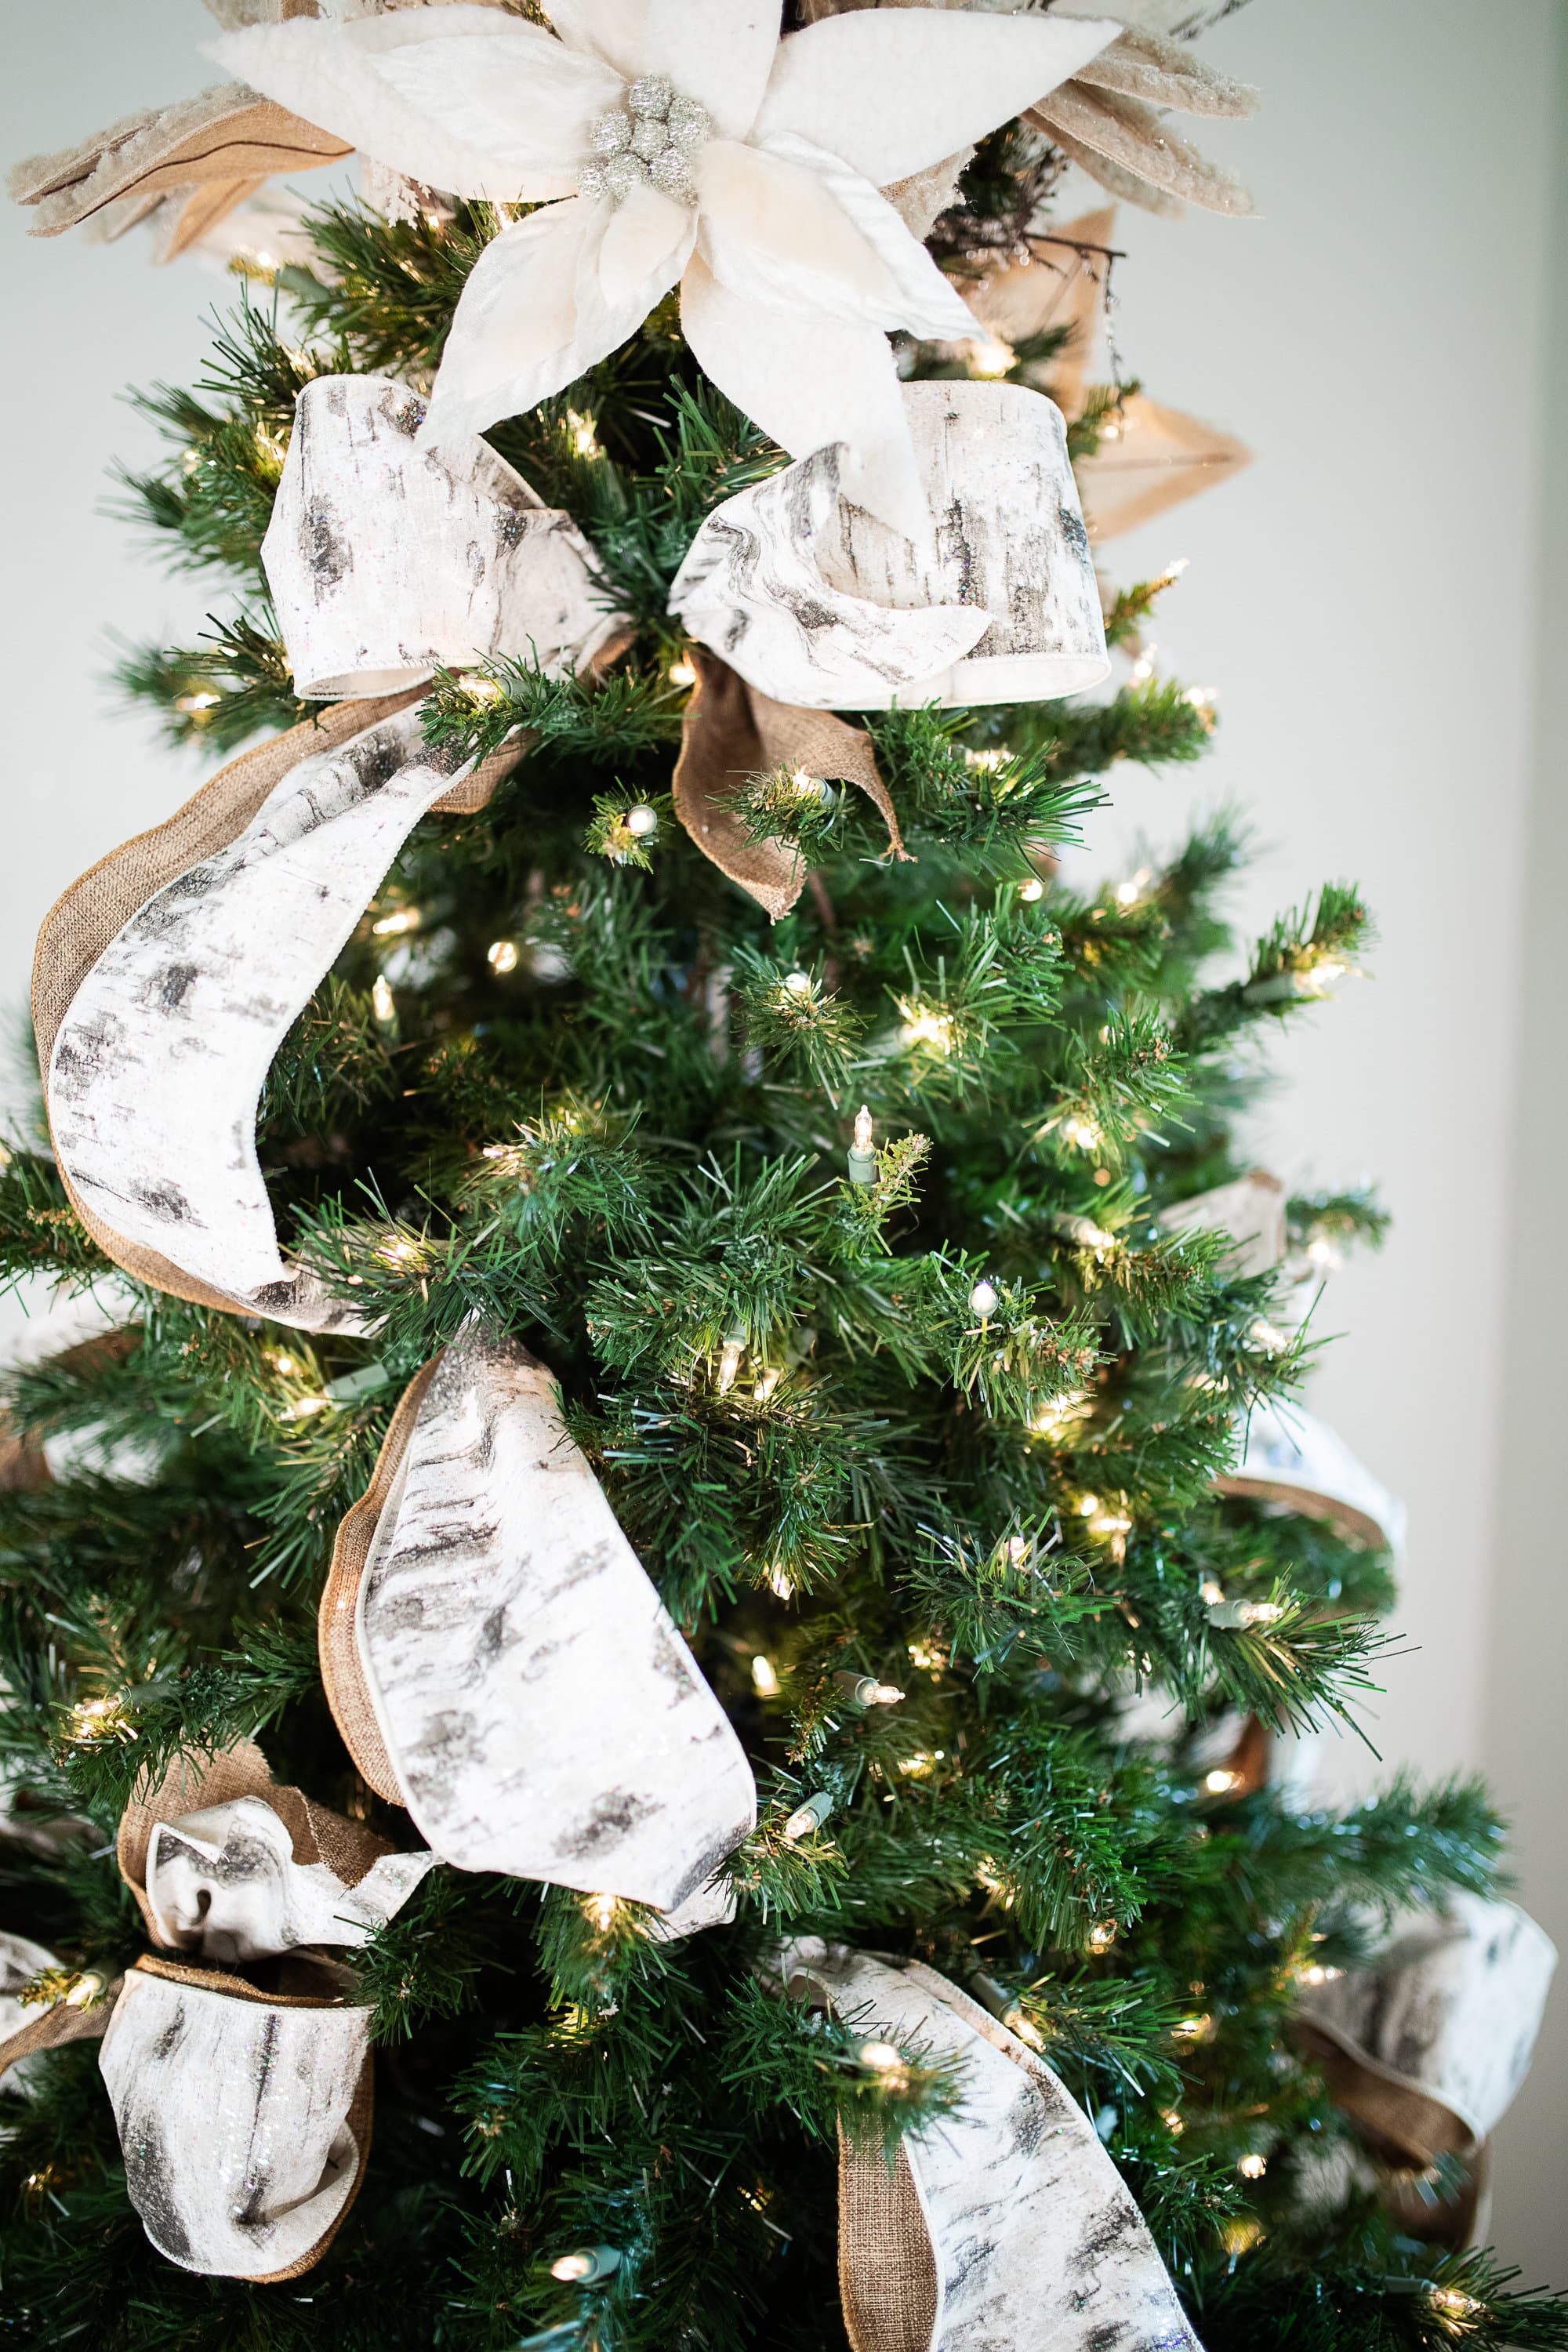
- Now we want to repeat this process throughout the tree organically. Come to the left or right of the initial piece and create a series of two loops cascading down the tree. You can get as adventurous as you want on this. Sometimes I will add a small loop into the mix between my two larger loops. Once your ribbon is placed, look for any areas that seem to be less sparse. Add a simple two loop bow or ribbon tail here to fill in. Don’t worry about perfection! Once the rest of your trim is placed, it will look much better and be forgiving of those areas that aren’t exactly right.
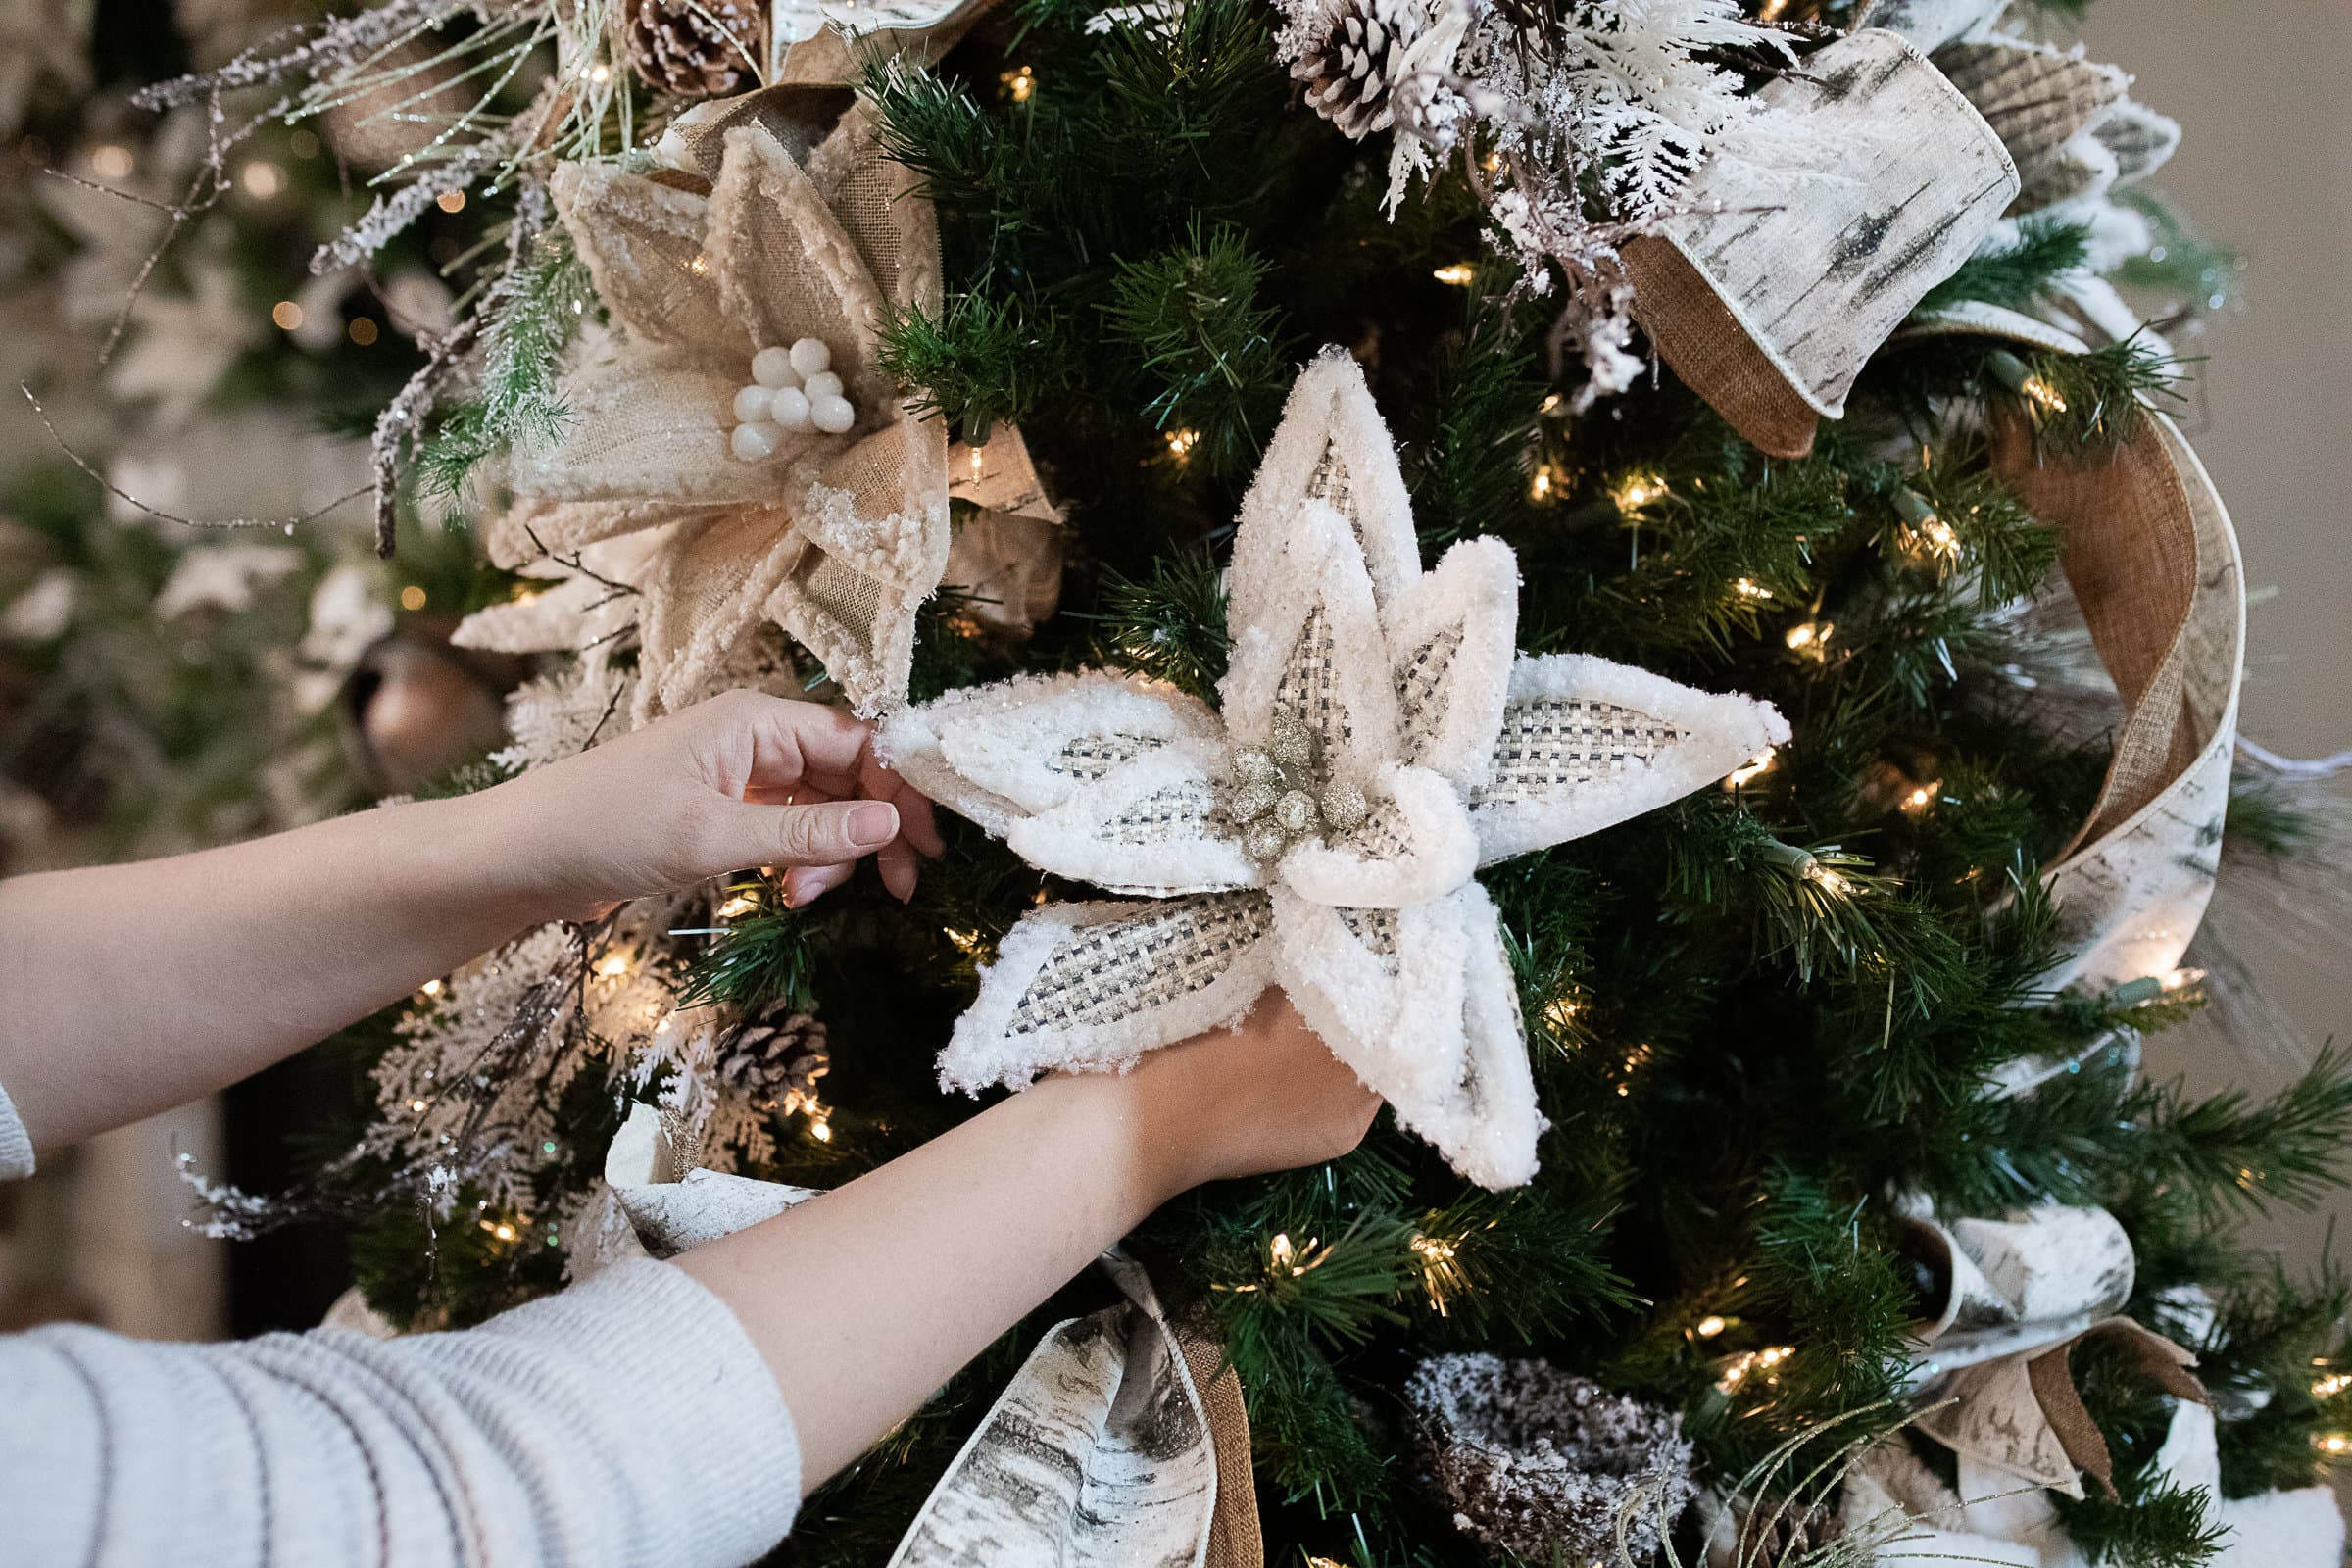
- 5.) Add Floral Clusters-Clustering your florals is a great way to achieve that designer look. To create a cluster you need between 3-5 pieces that are a mix of florals and sprays. I generally will choose two or three flowers and two sprays for this. Place your florals on the top, angling each head so that they will all be visible when placed on the tree. Pull the bottom one forward a little bit and angle the top two out to the sides. Lay the florals on top of the sprays, allowing the sprays to cascade down a bit.
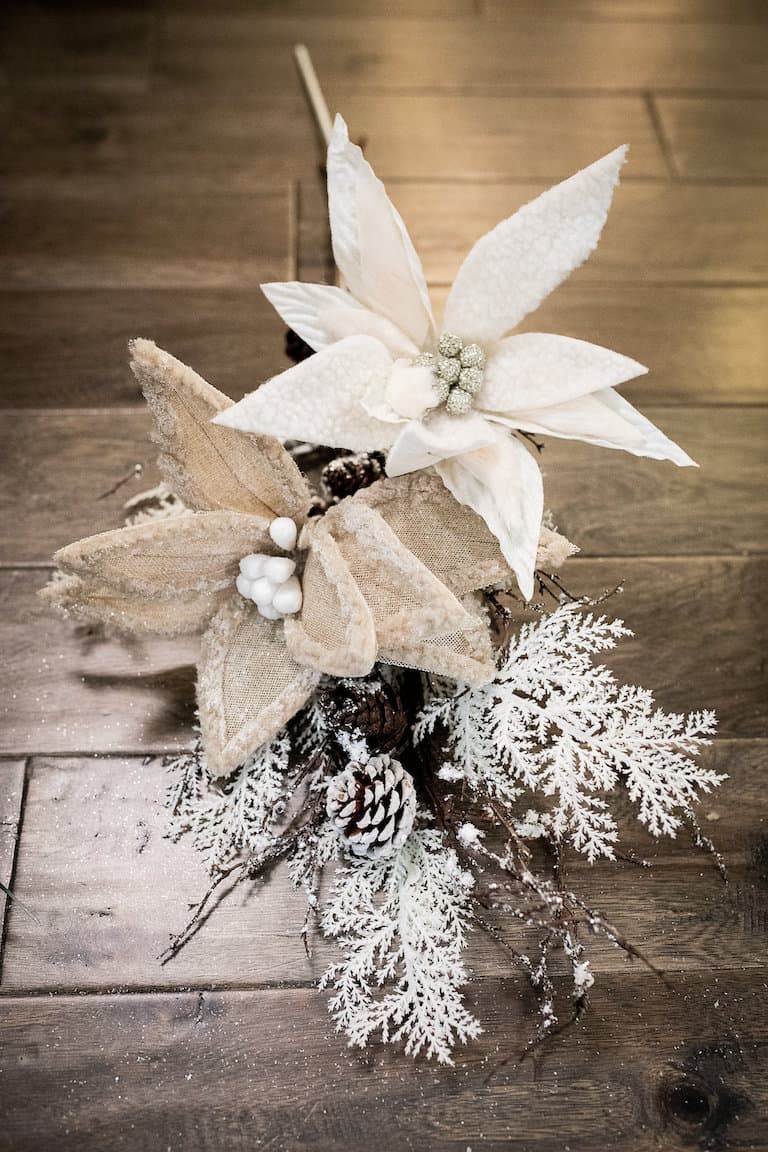
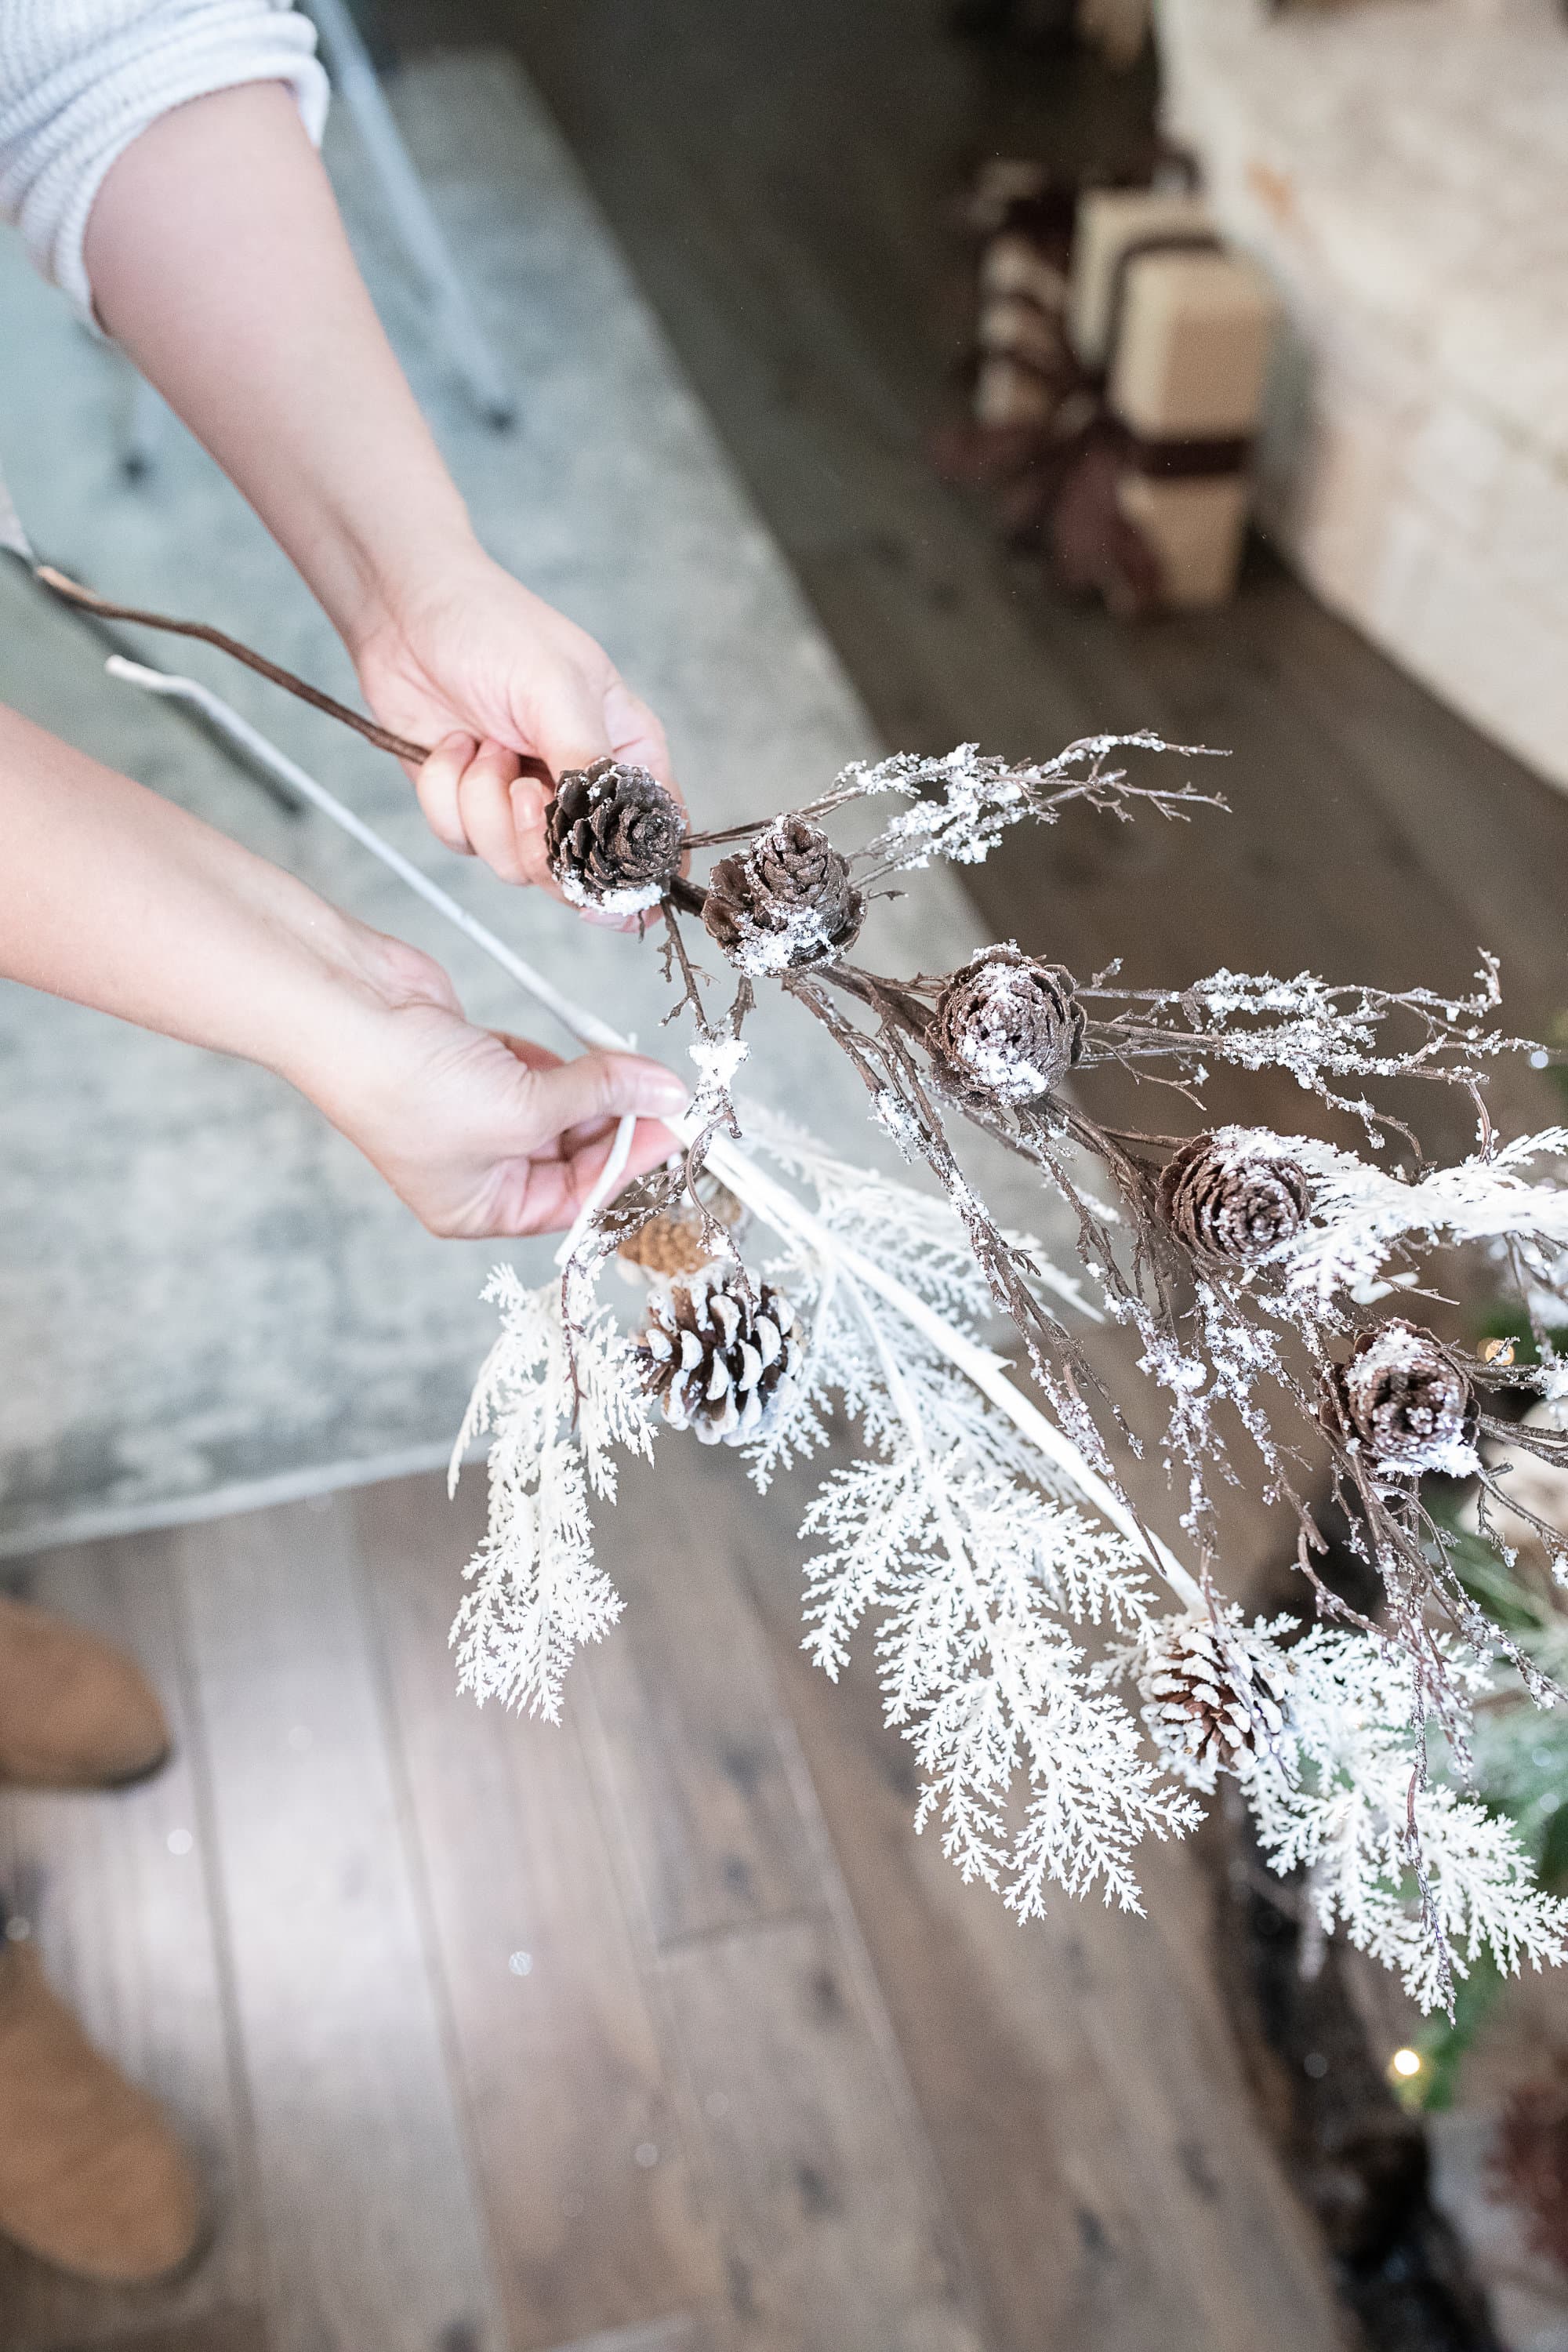
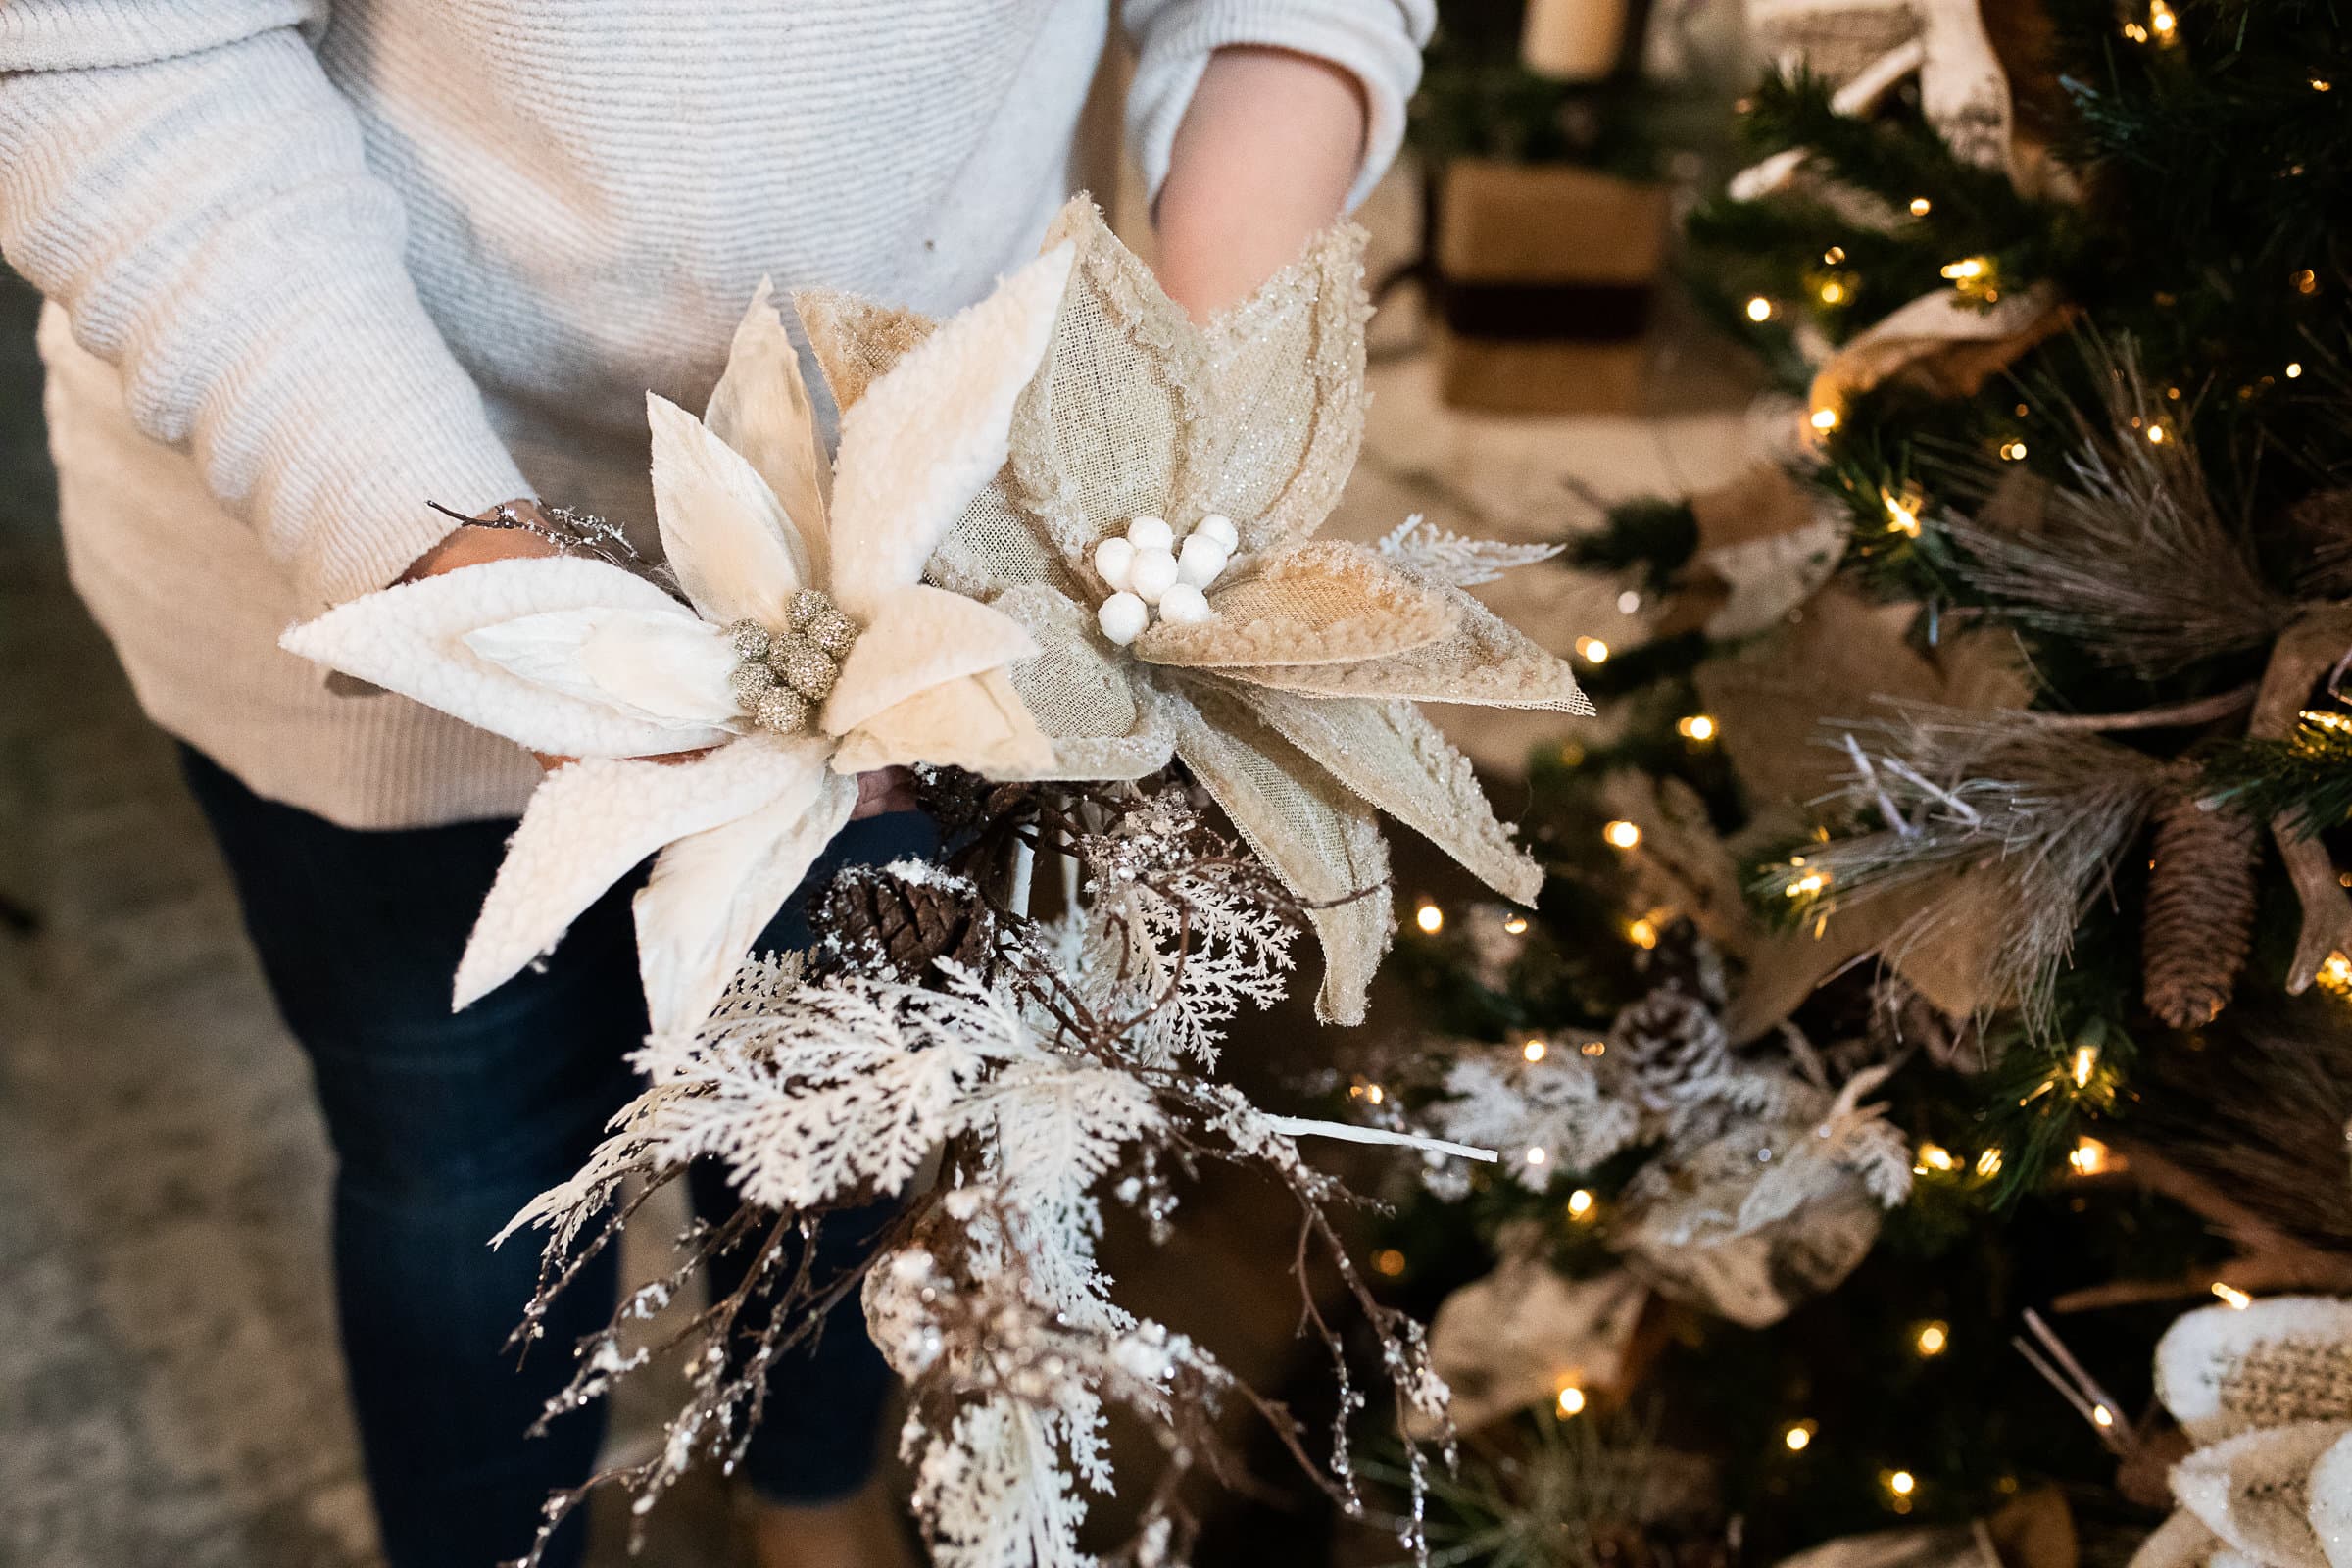
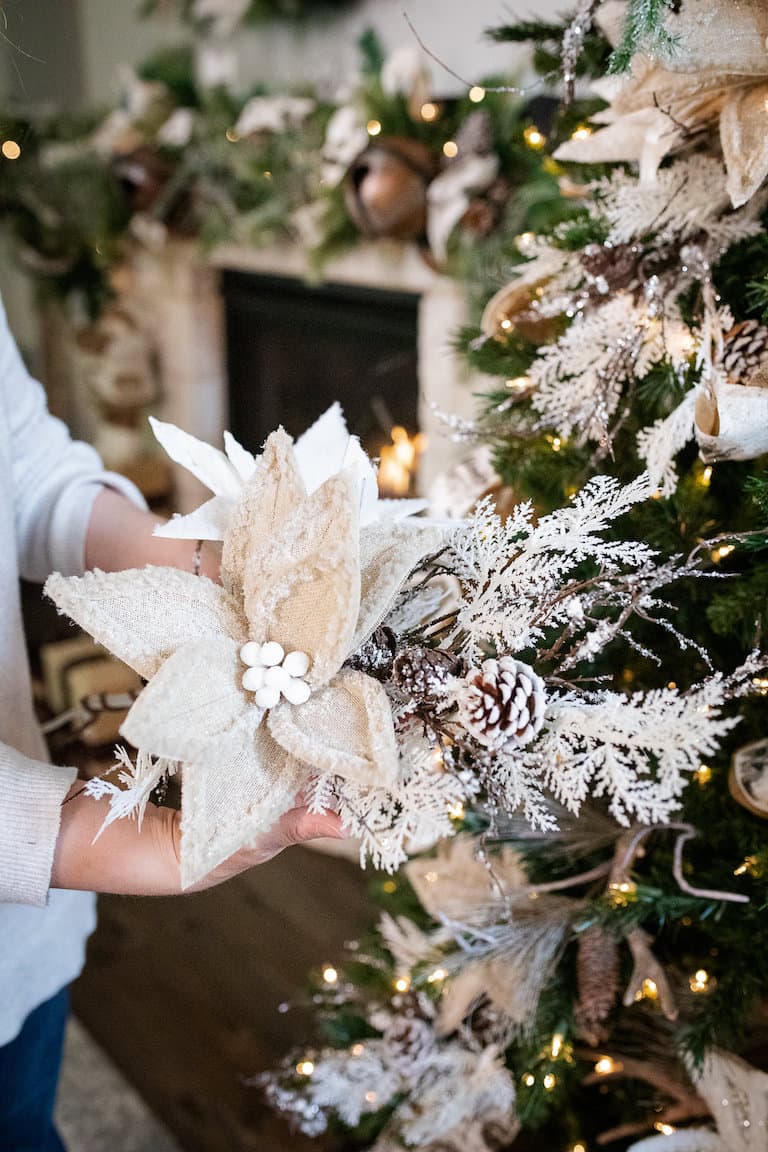
Now take one stem and wrap it around all the pieces to hold it all together. Now it is ready to place on the tree. When placing floral clusters, work in a zigzag pattern down the tree. If you place the first to the right, then place the second more on the left side. A good rule of thumb is one per foot of tree, so a mid size 7.5’ tree would use 7 clusters. A 9’ tree would use 9 clusters. When you get into 9’ and larger, your tree gets drastically wider at the base, so they often can accommodate more than just one per foot. A full 9’ tree can easily accommodate a dozen and a full 12’ tree can take between 18-24.

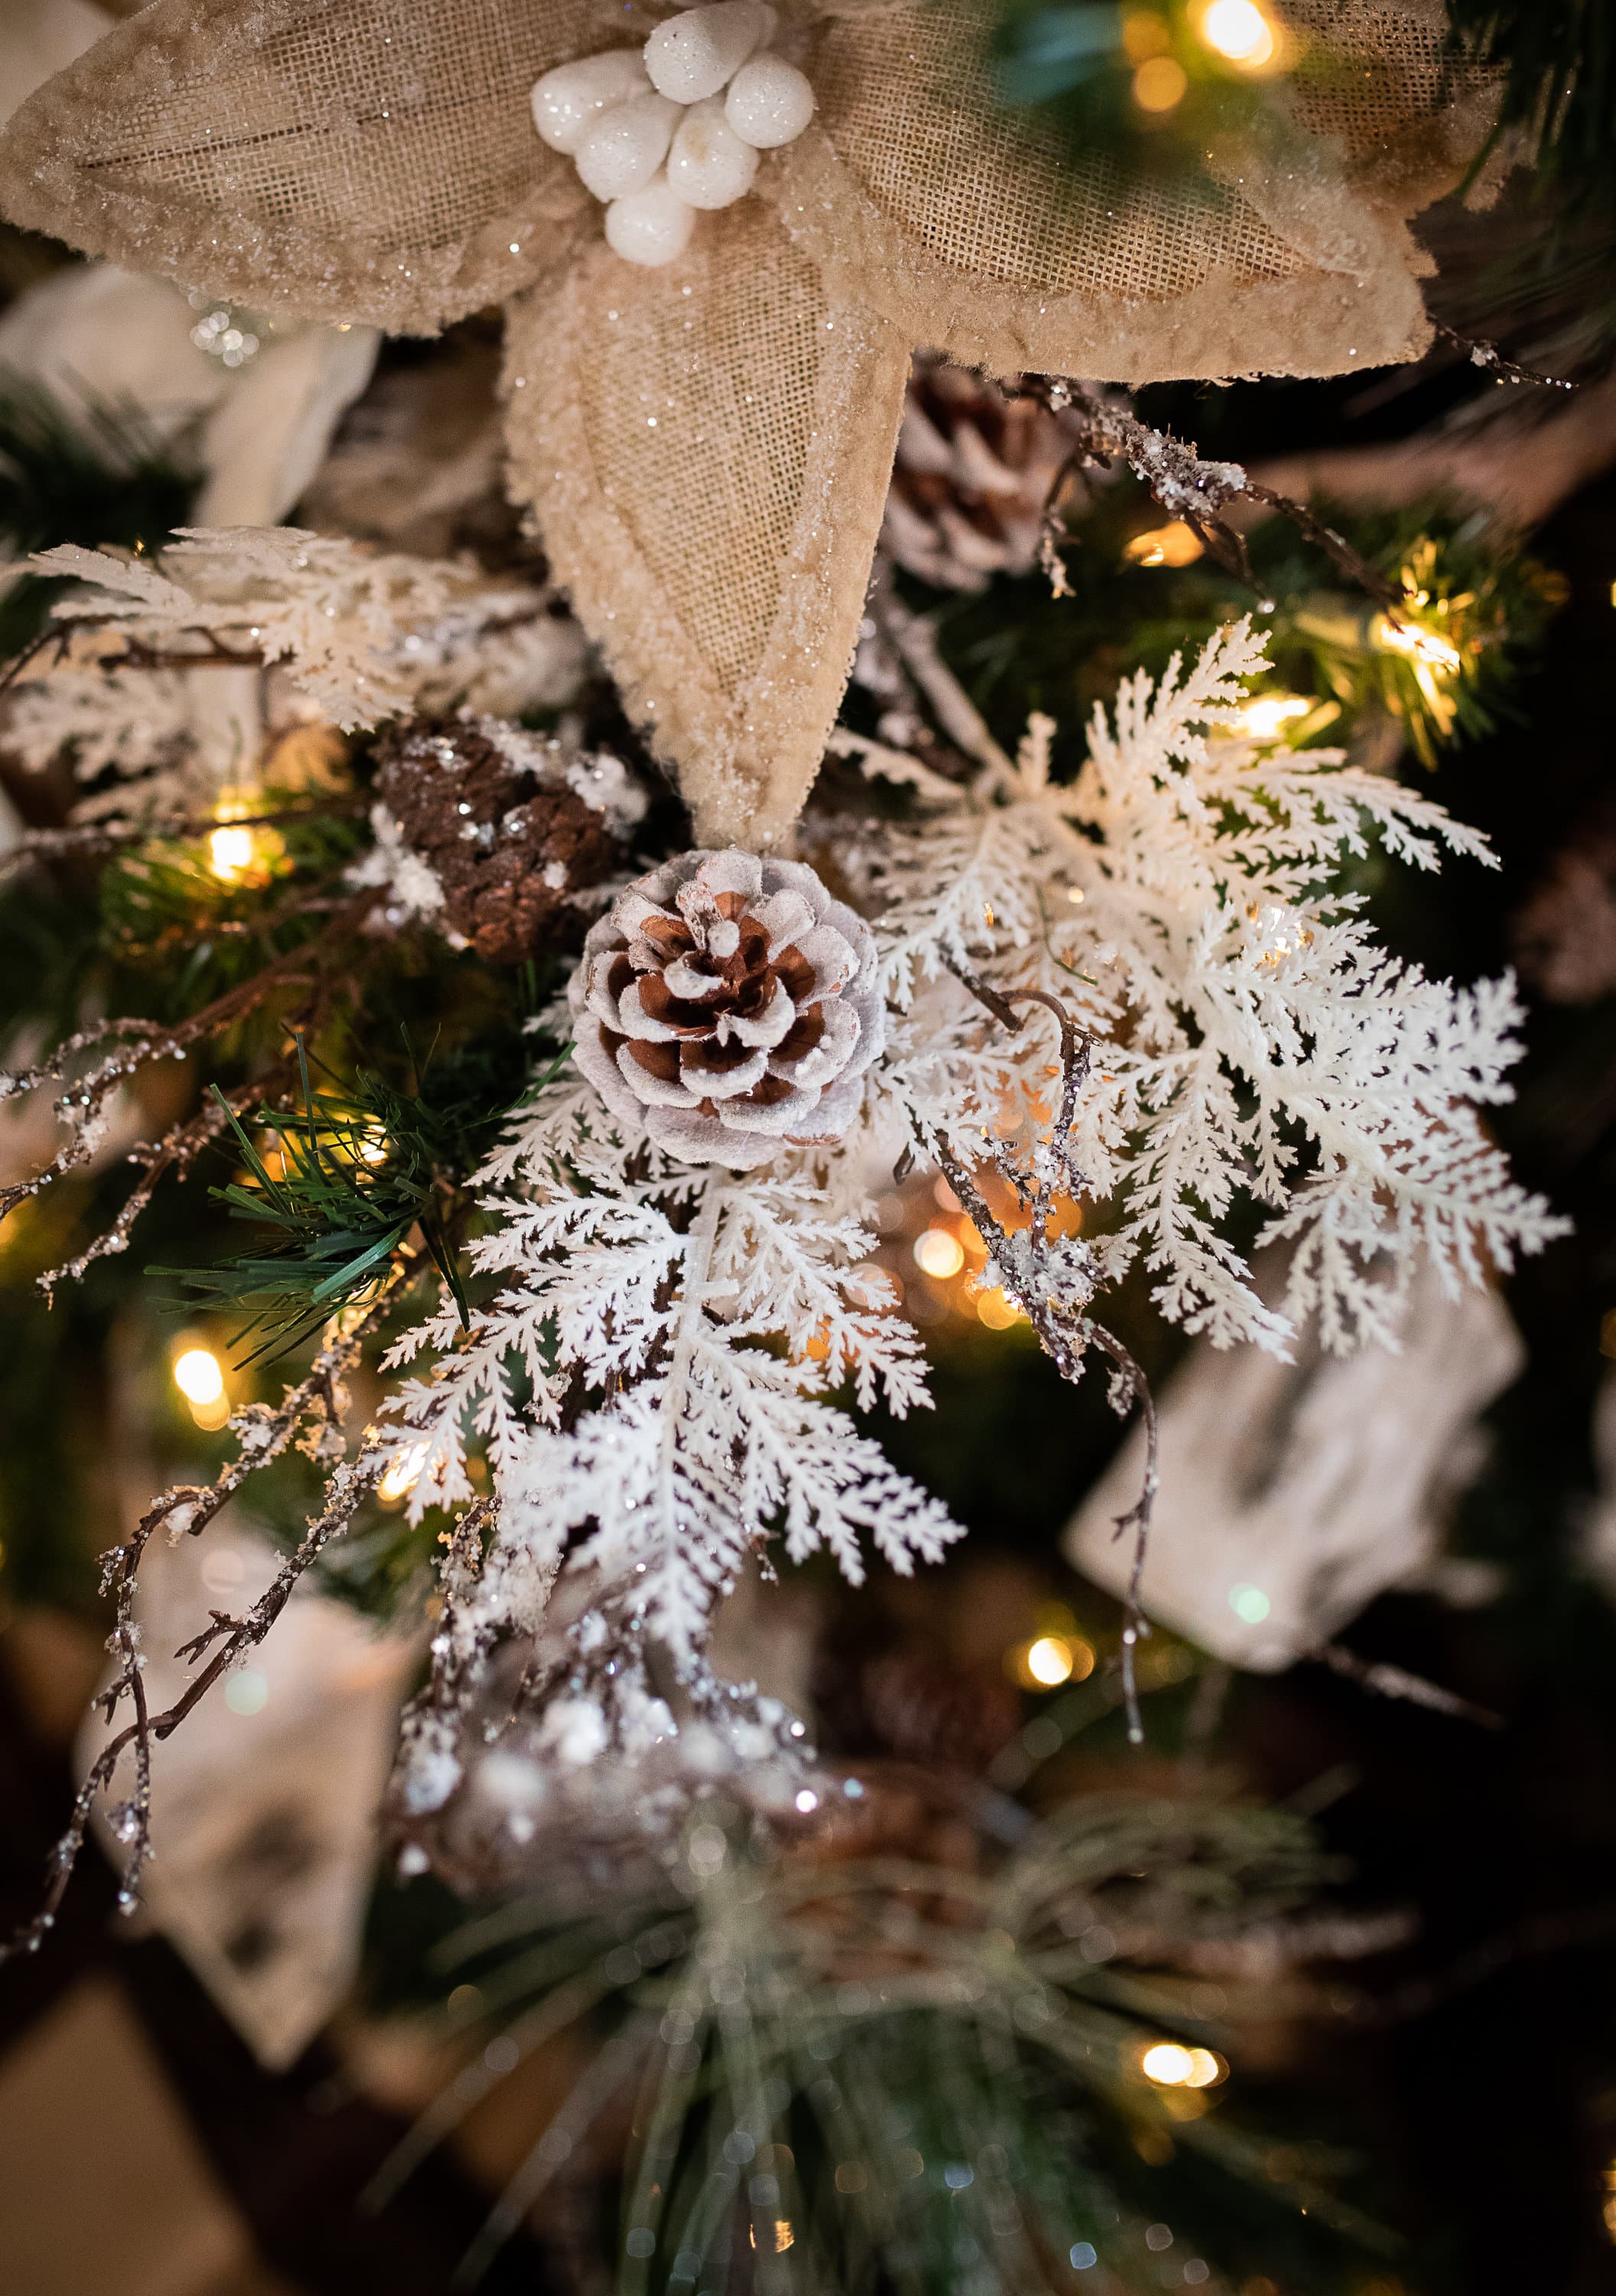
- 6.) Filler Sprays- Use individual picks and flowers to fill in any empty areas. It might seem like an unneeded layer because your tree is likely looking pretty full at this point, but don’t skimp! To me this creates the finishing touch by adding texture to your tree. Use a handful of different styles (leaves, berries, mixed foliage etc.) and fill in wherever you have space.
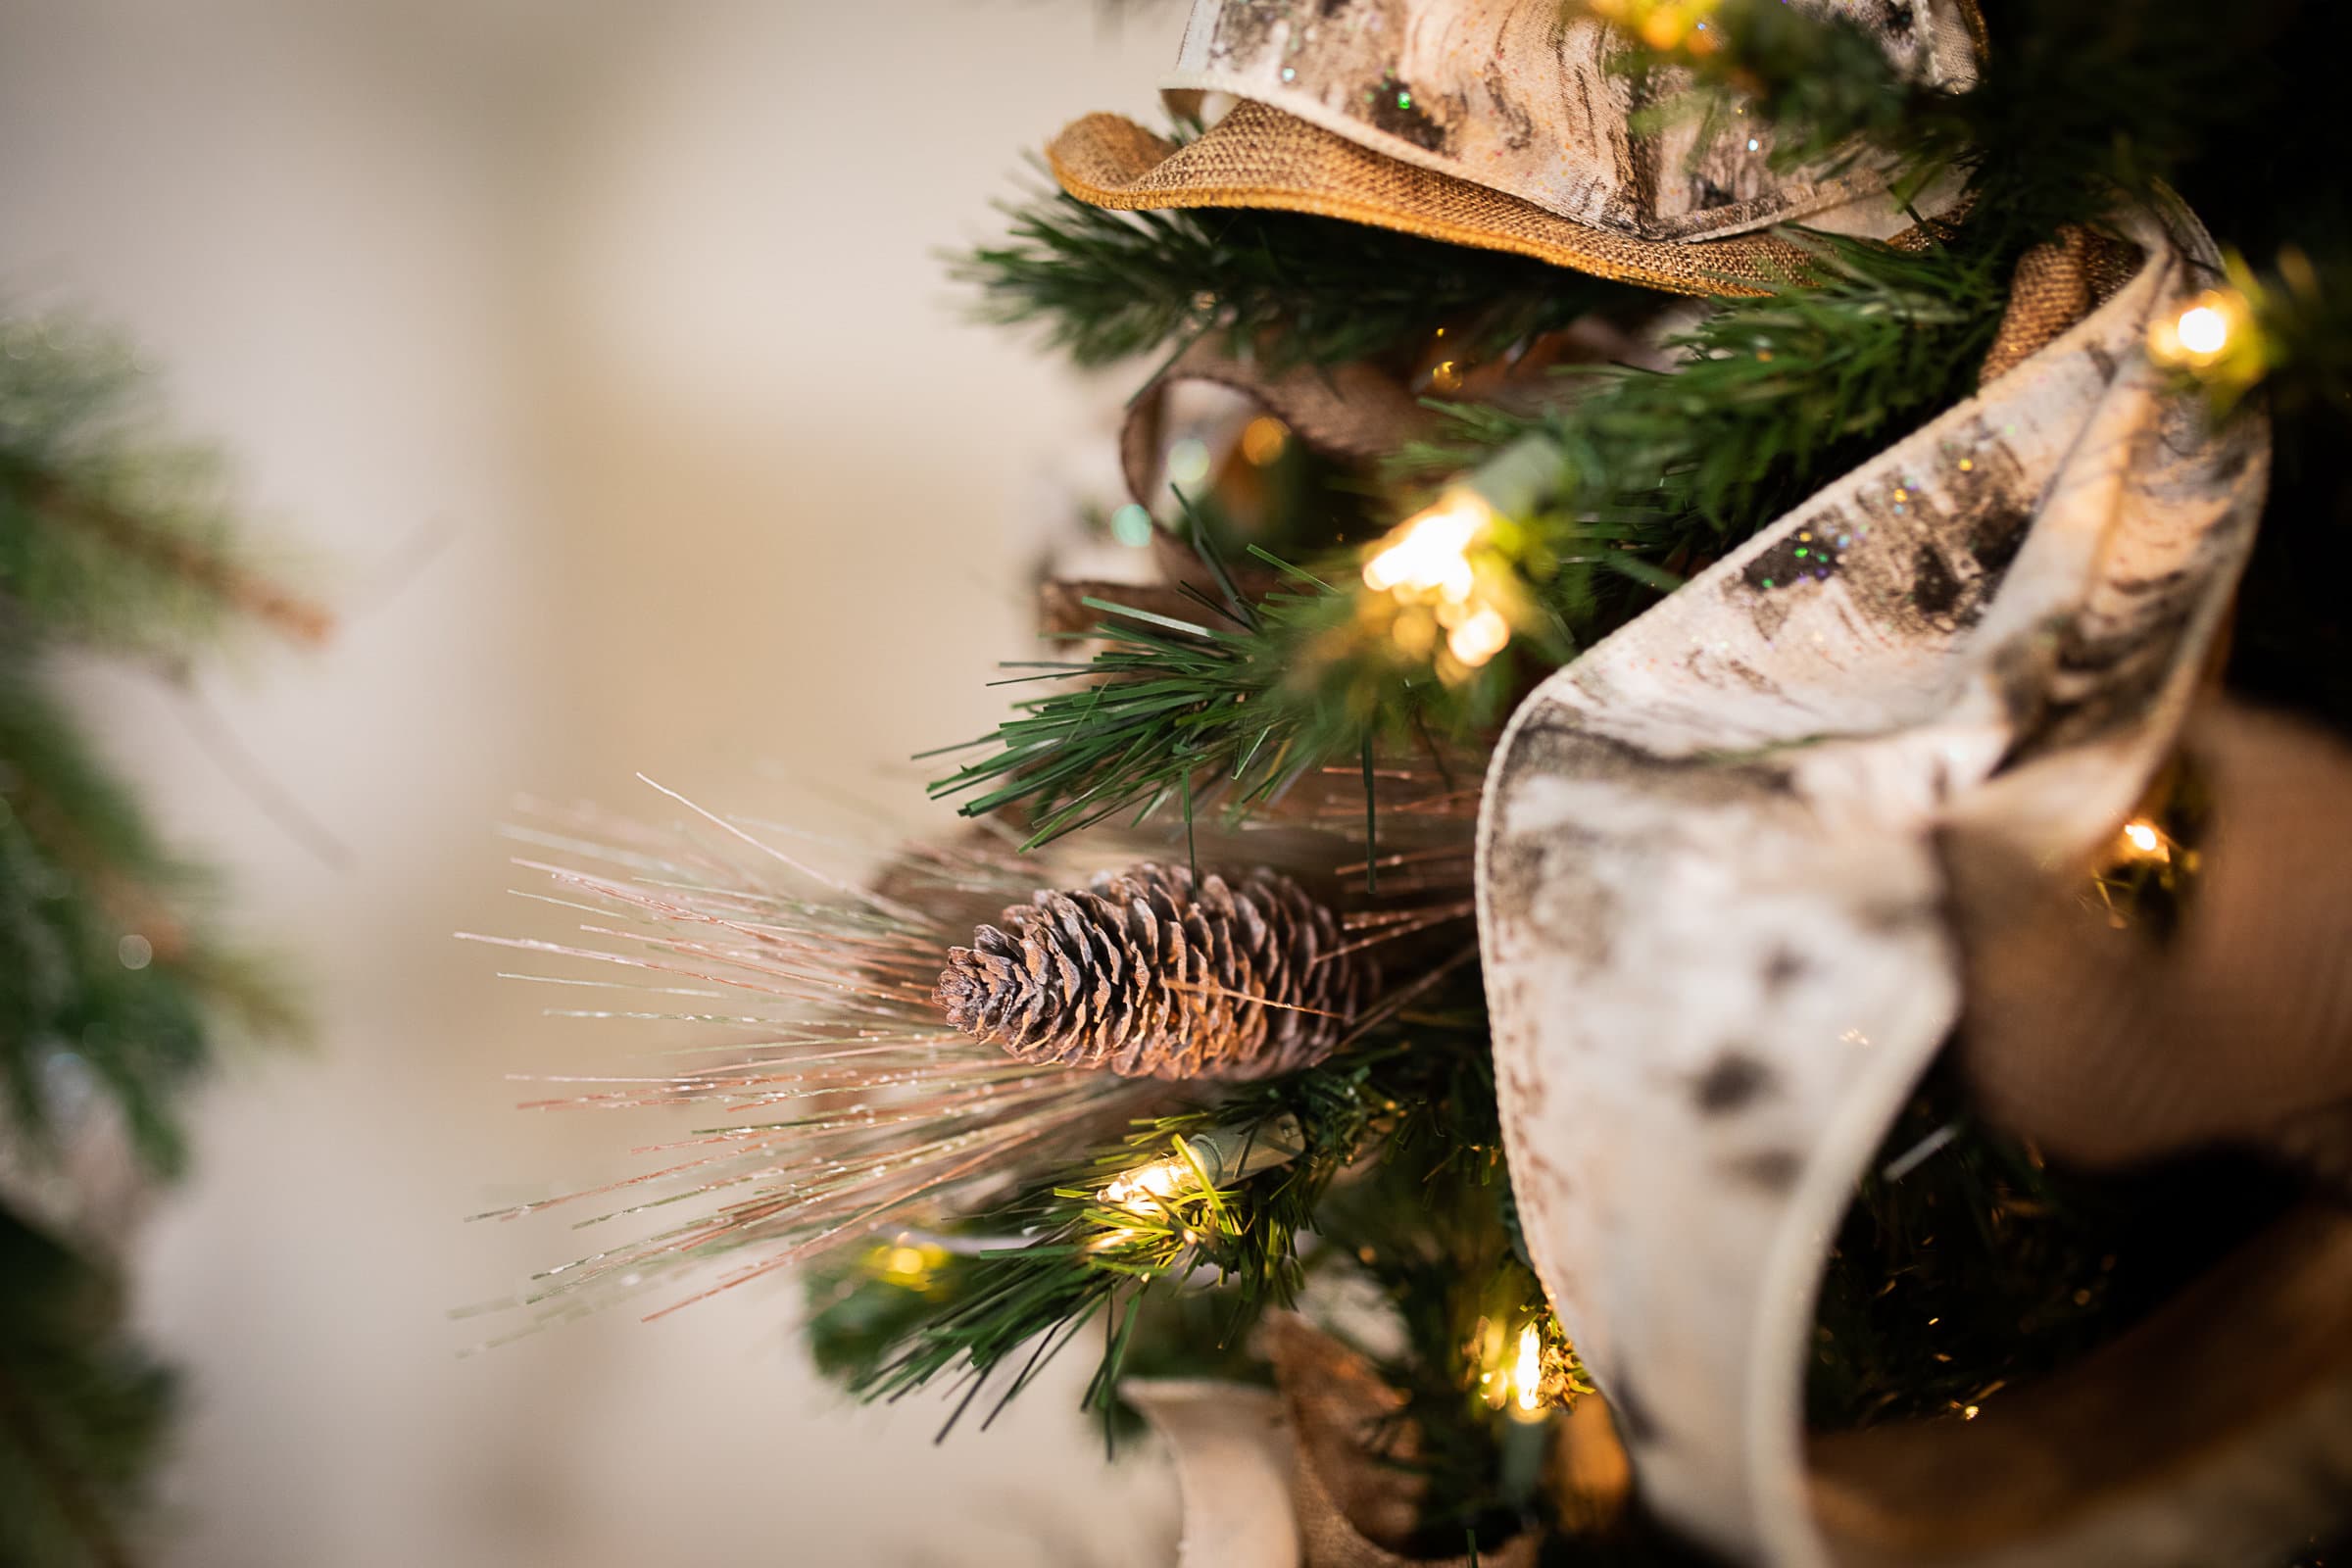
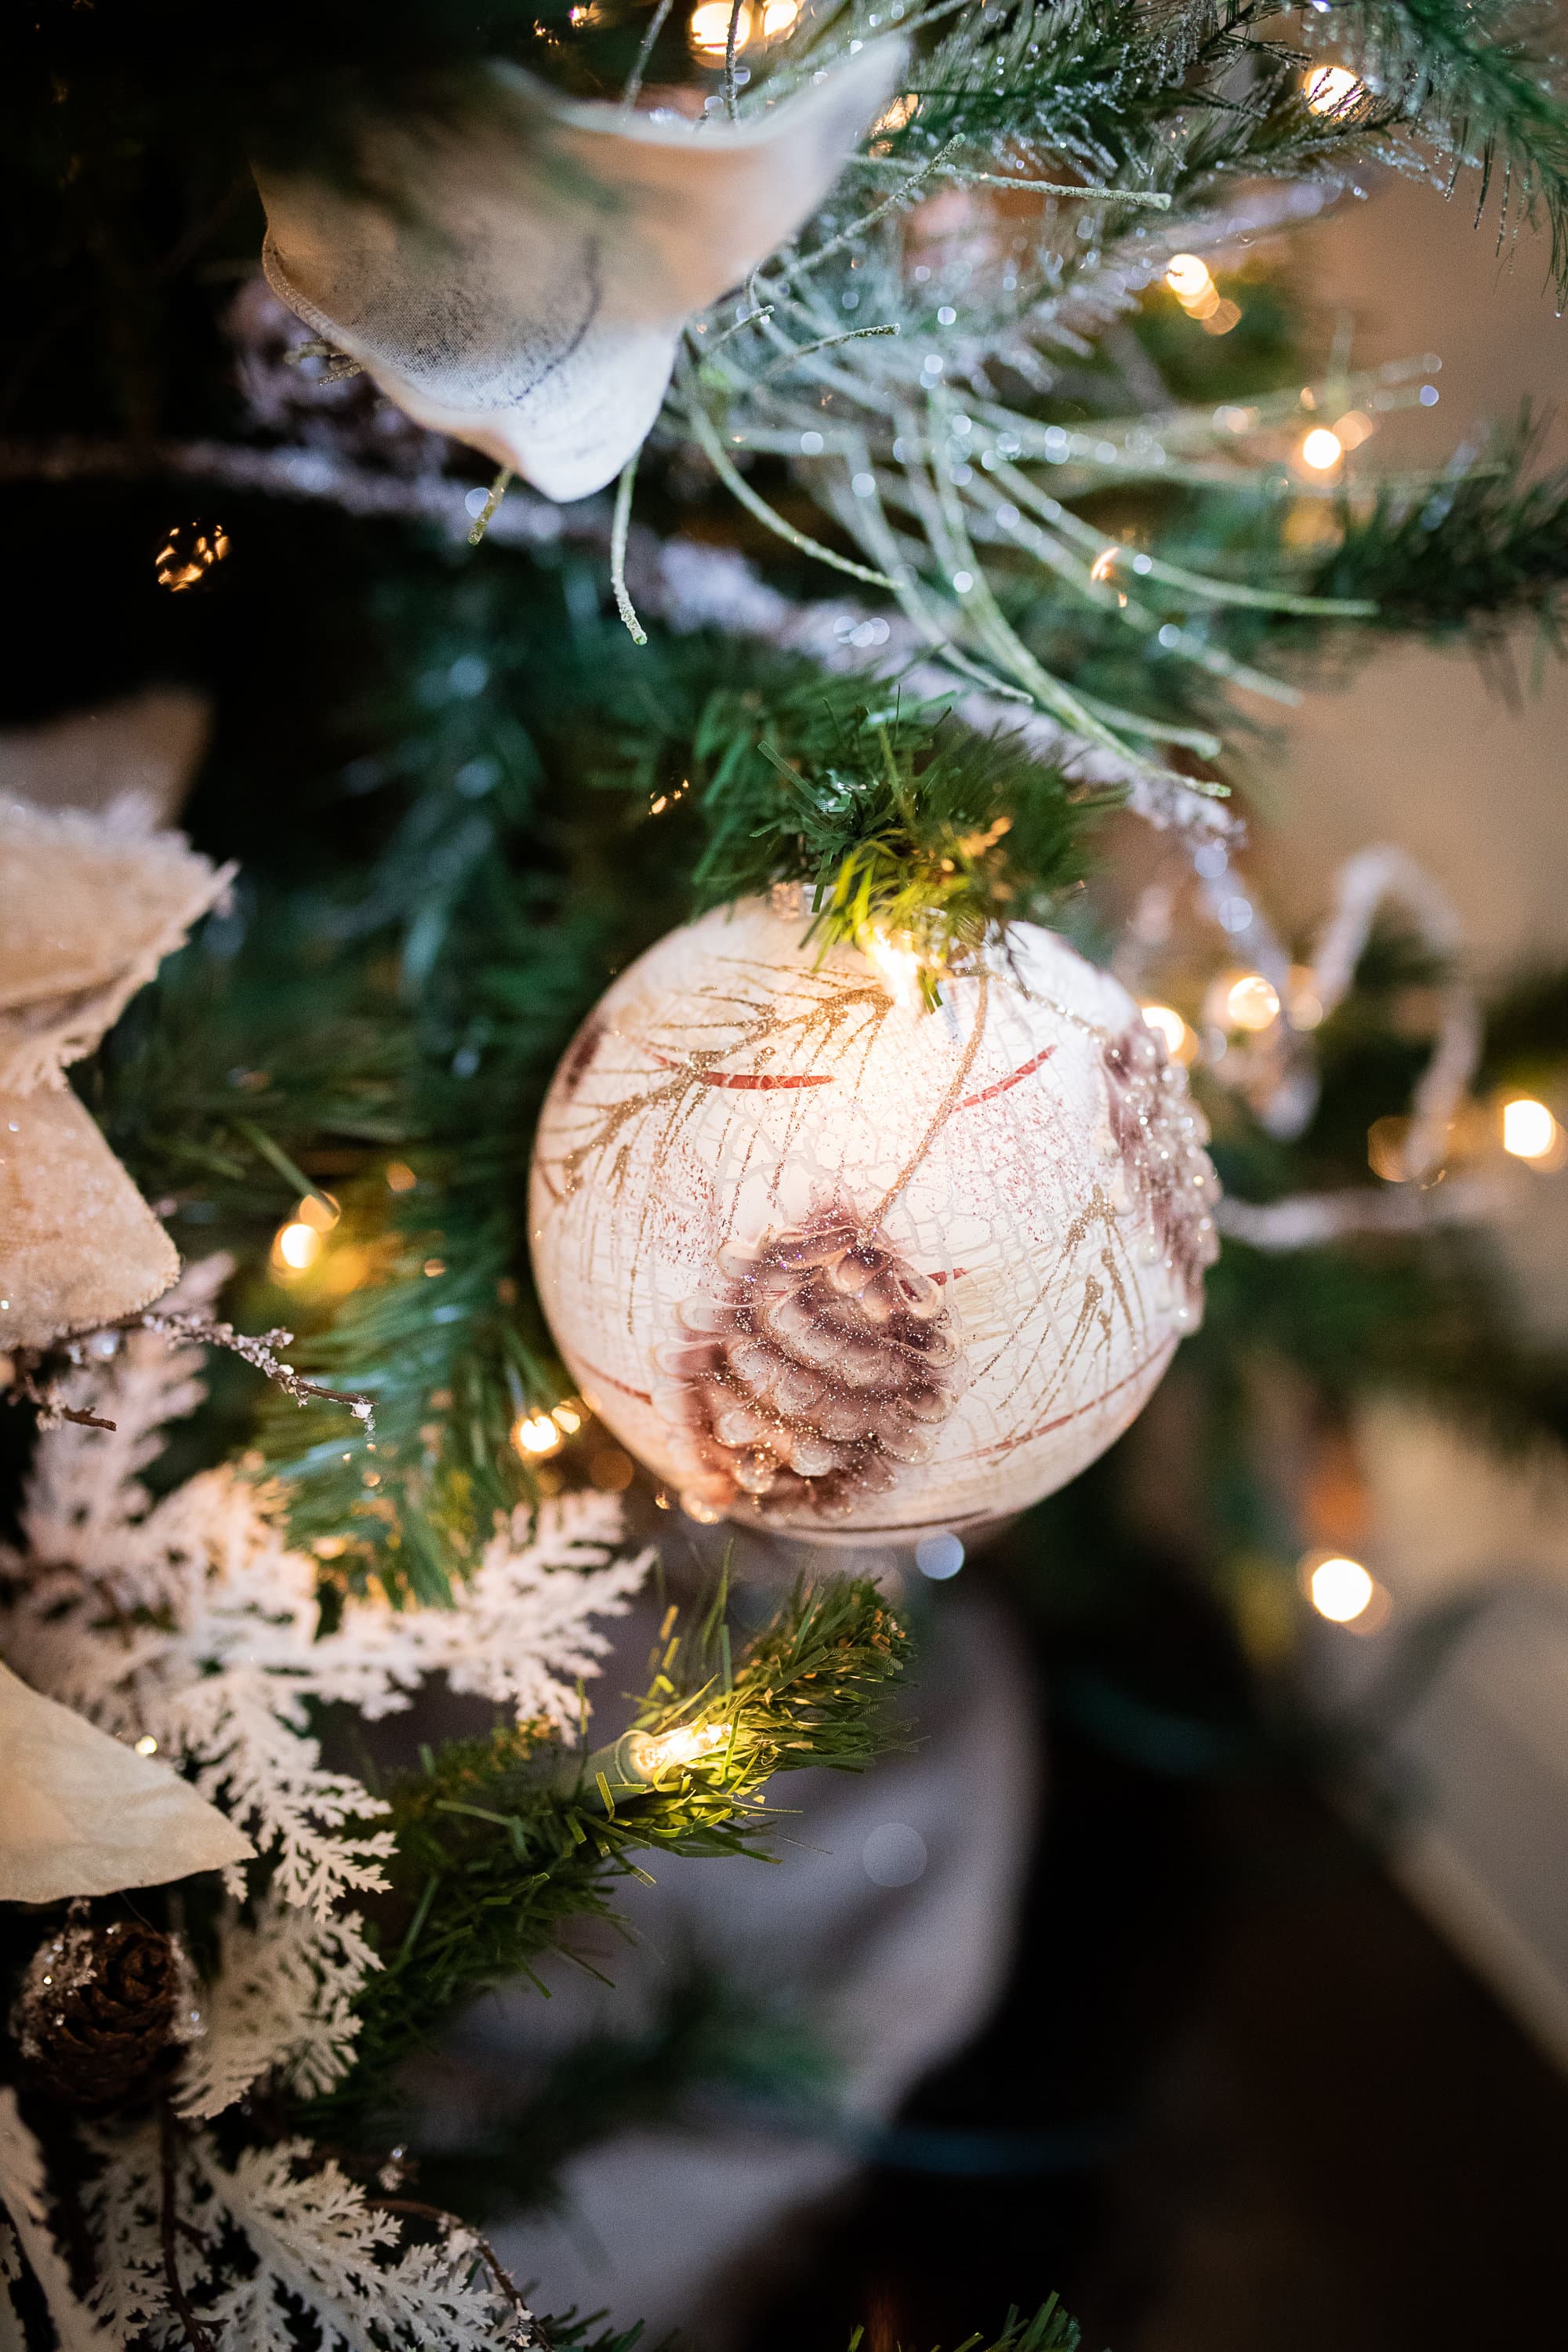
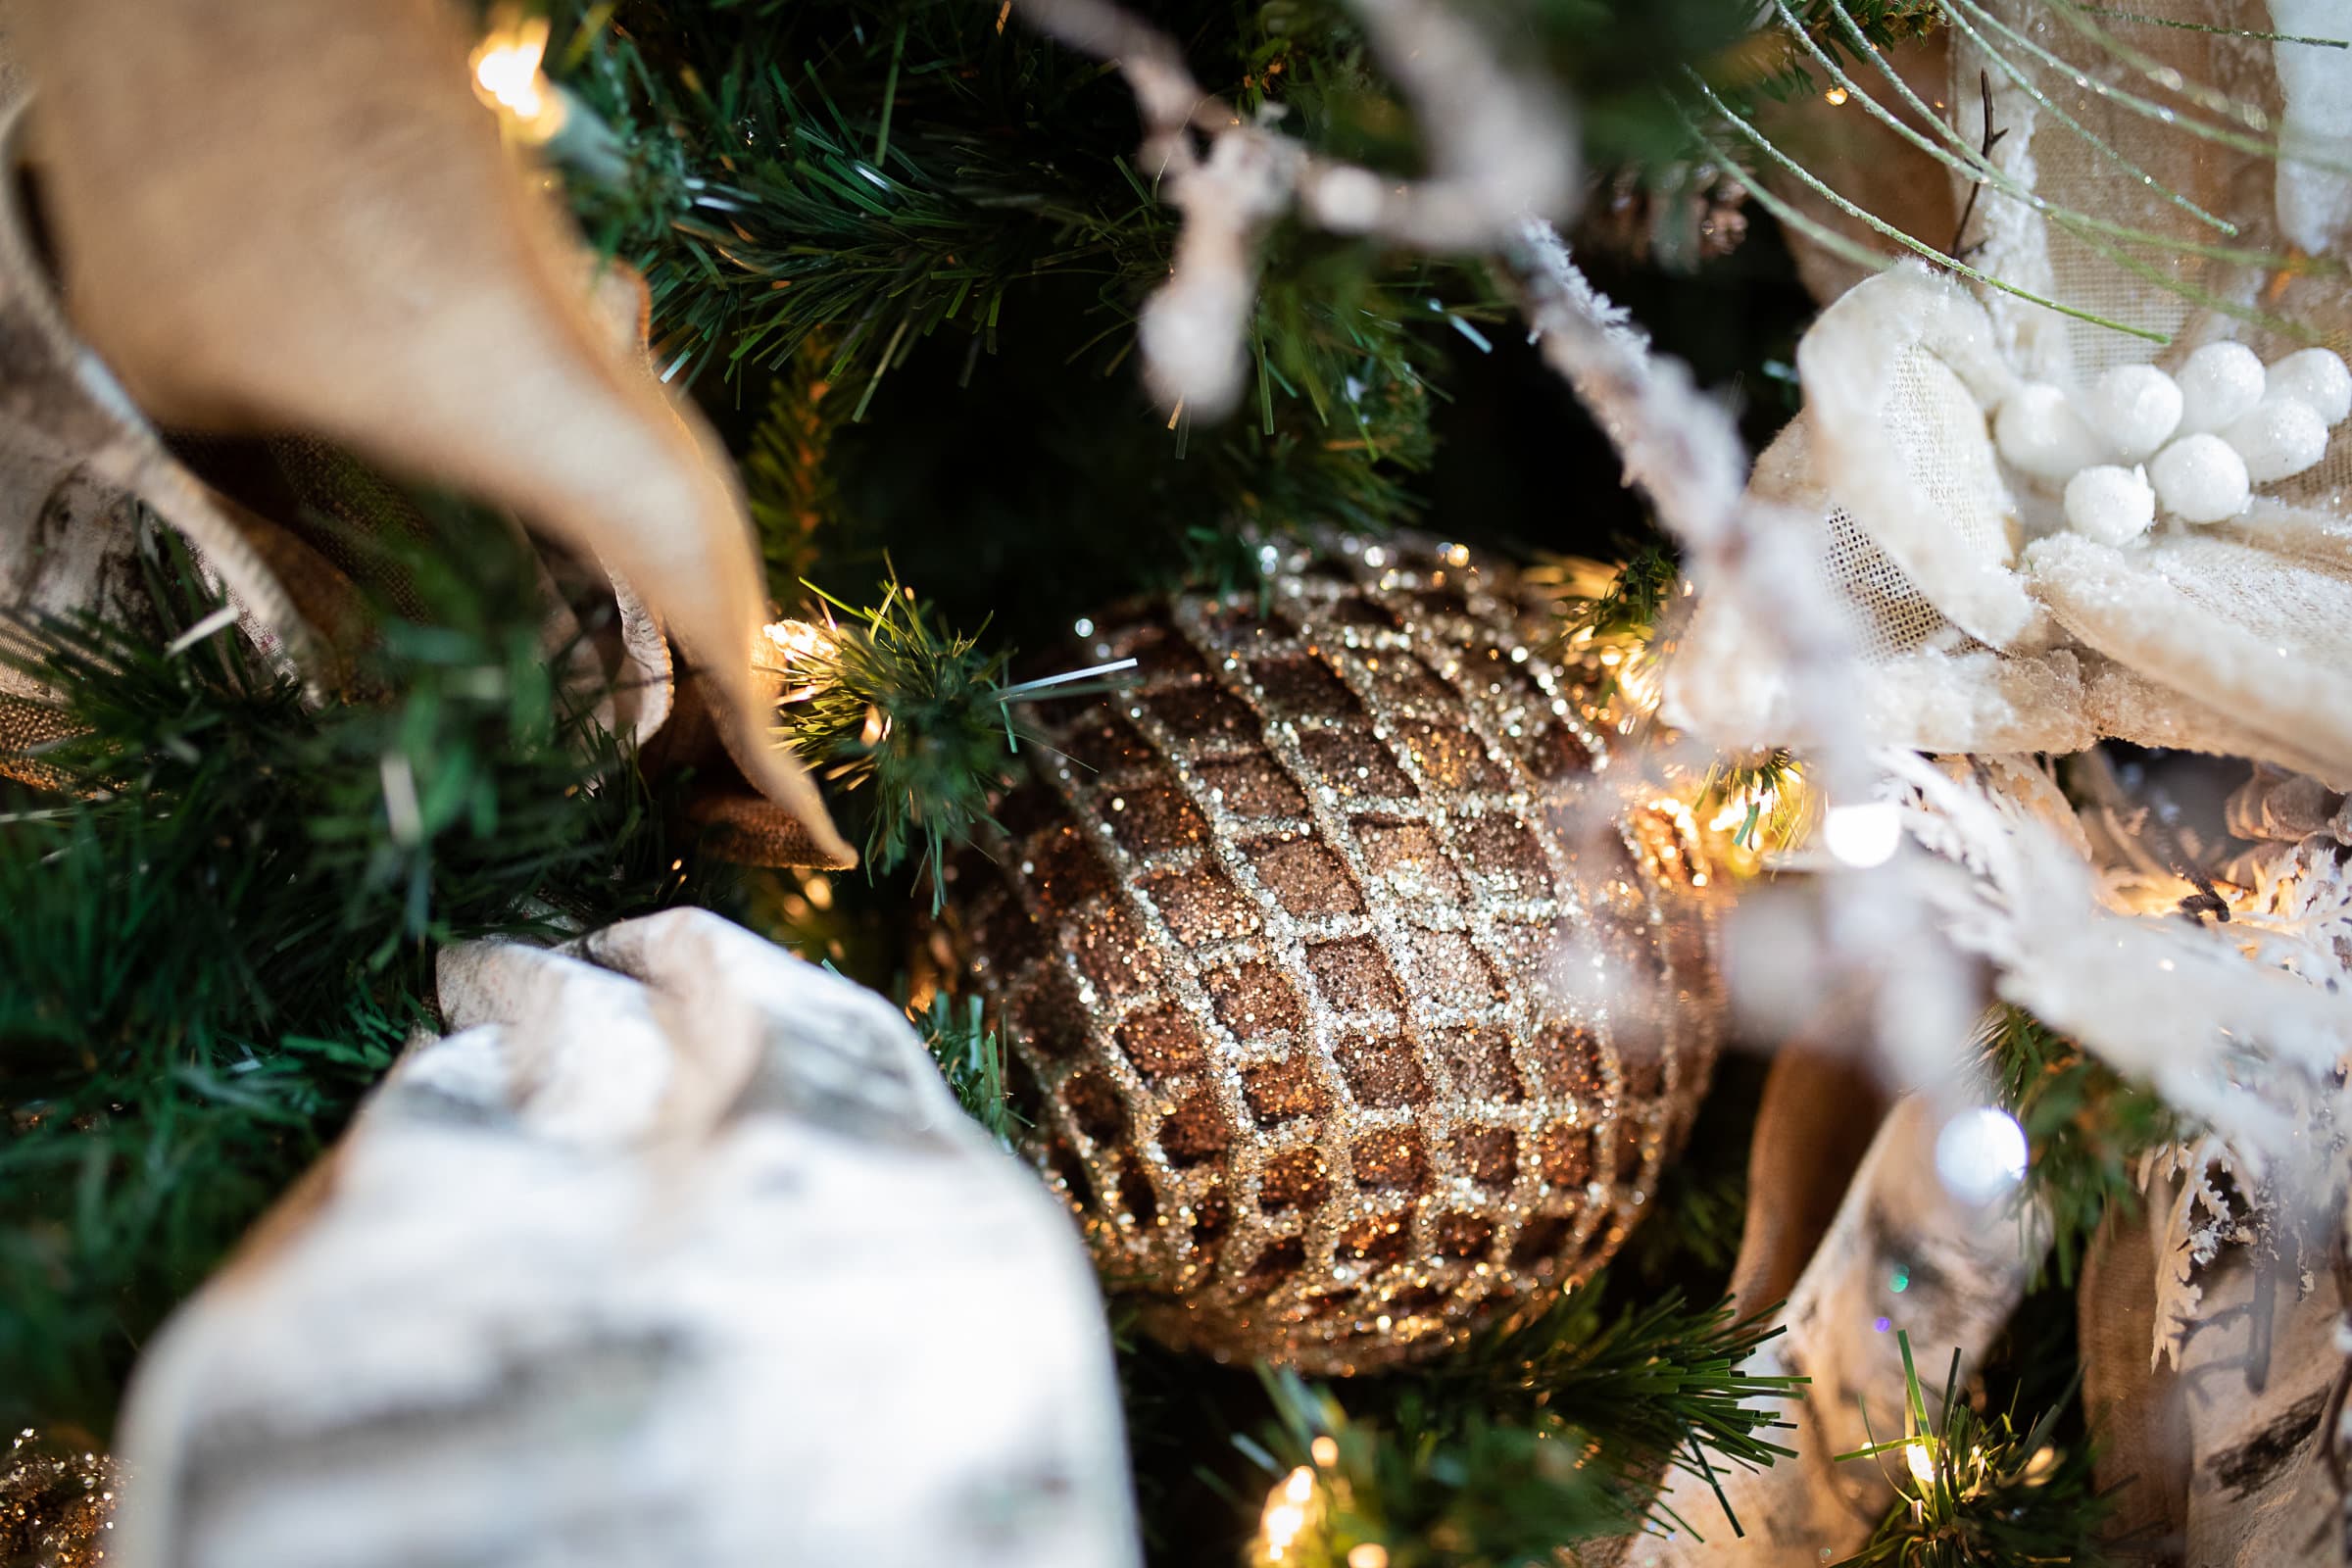
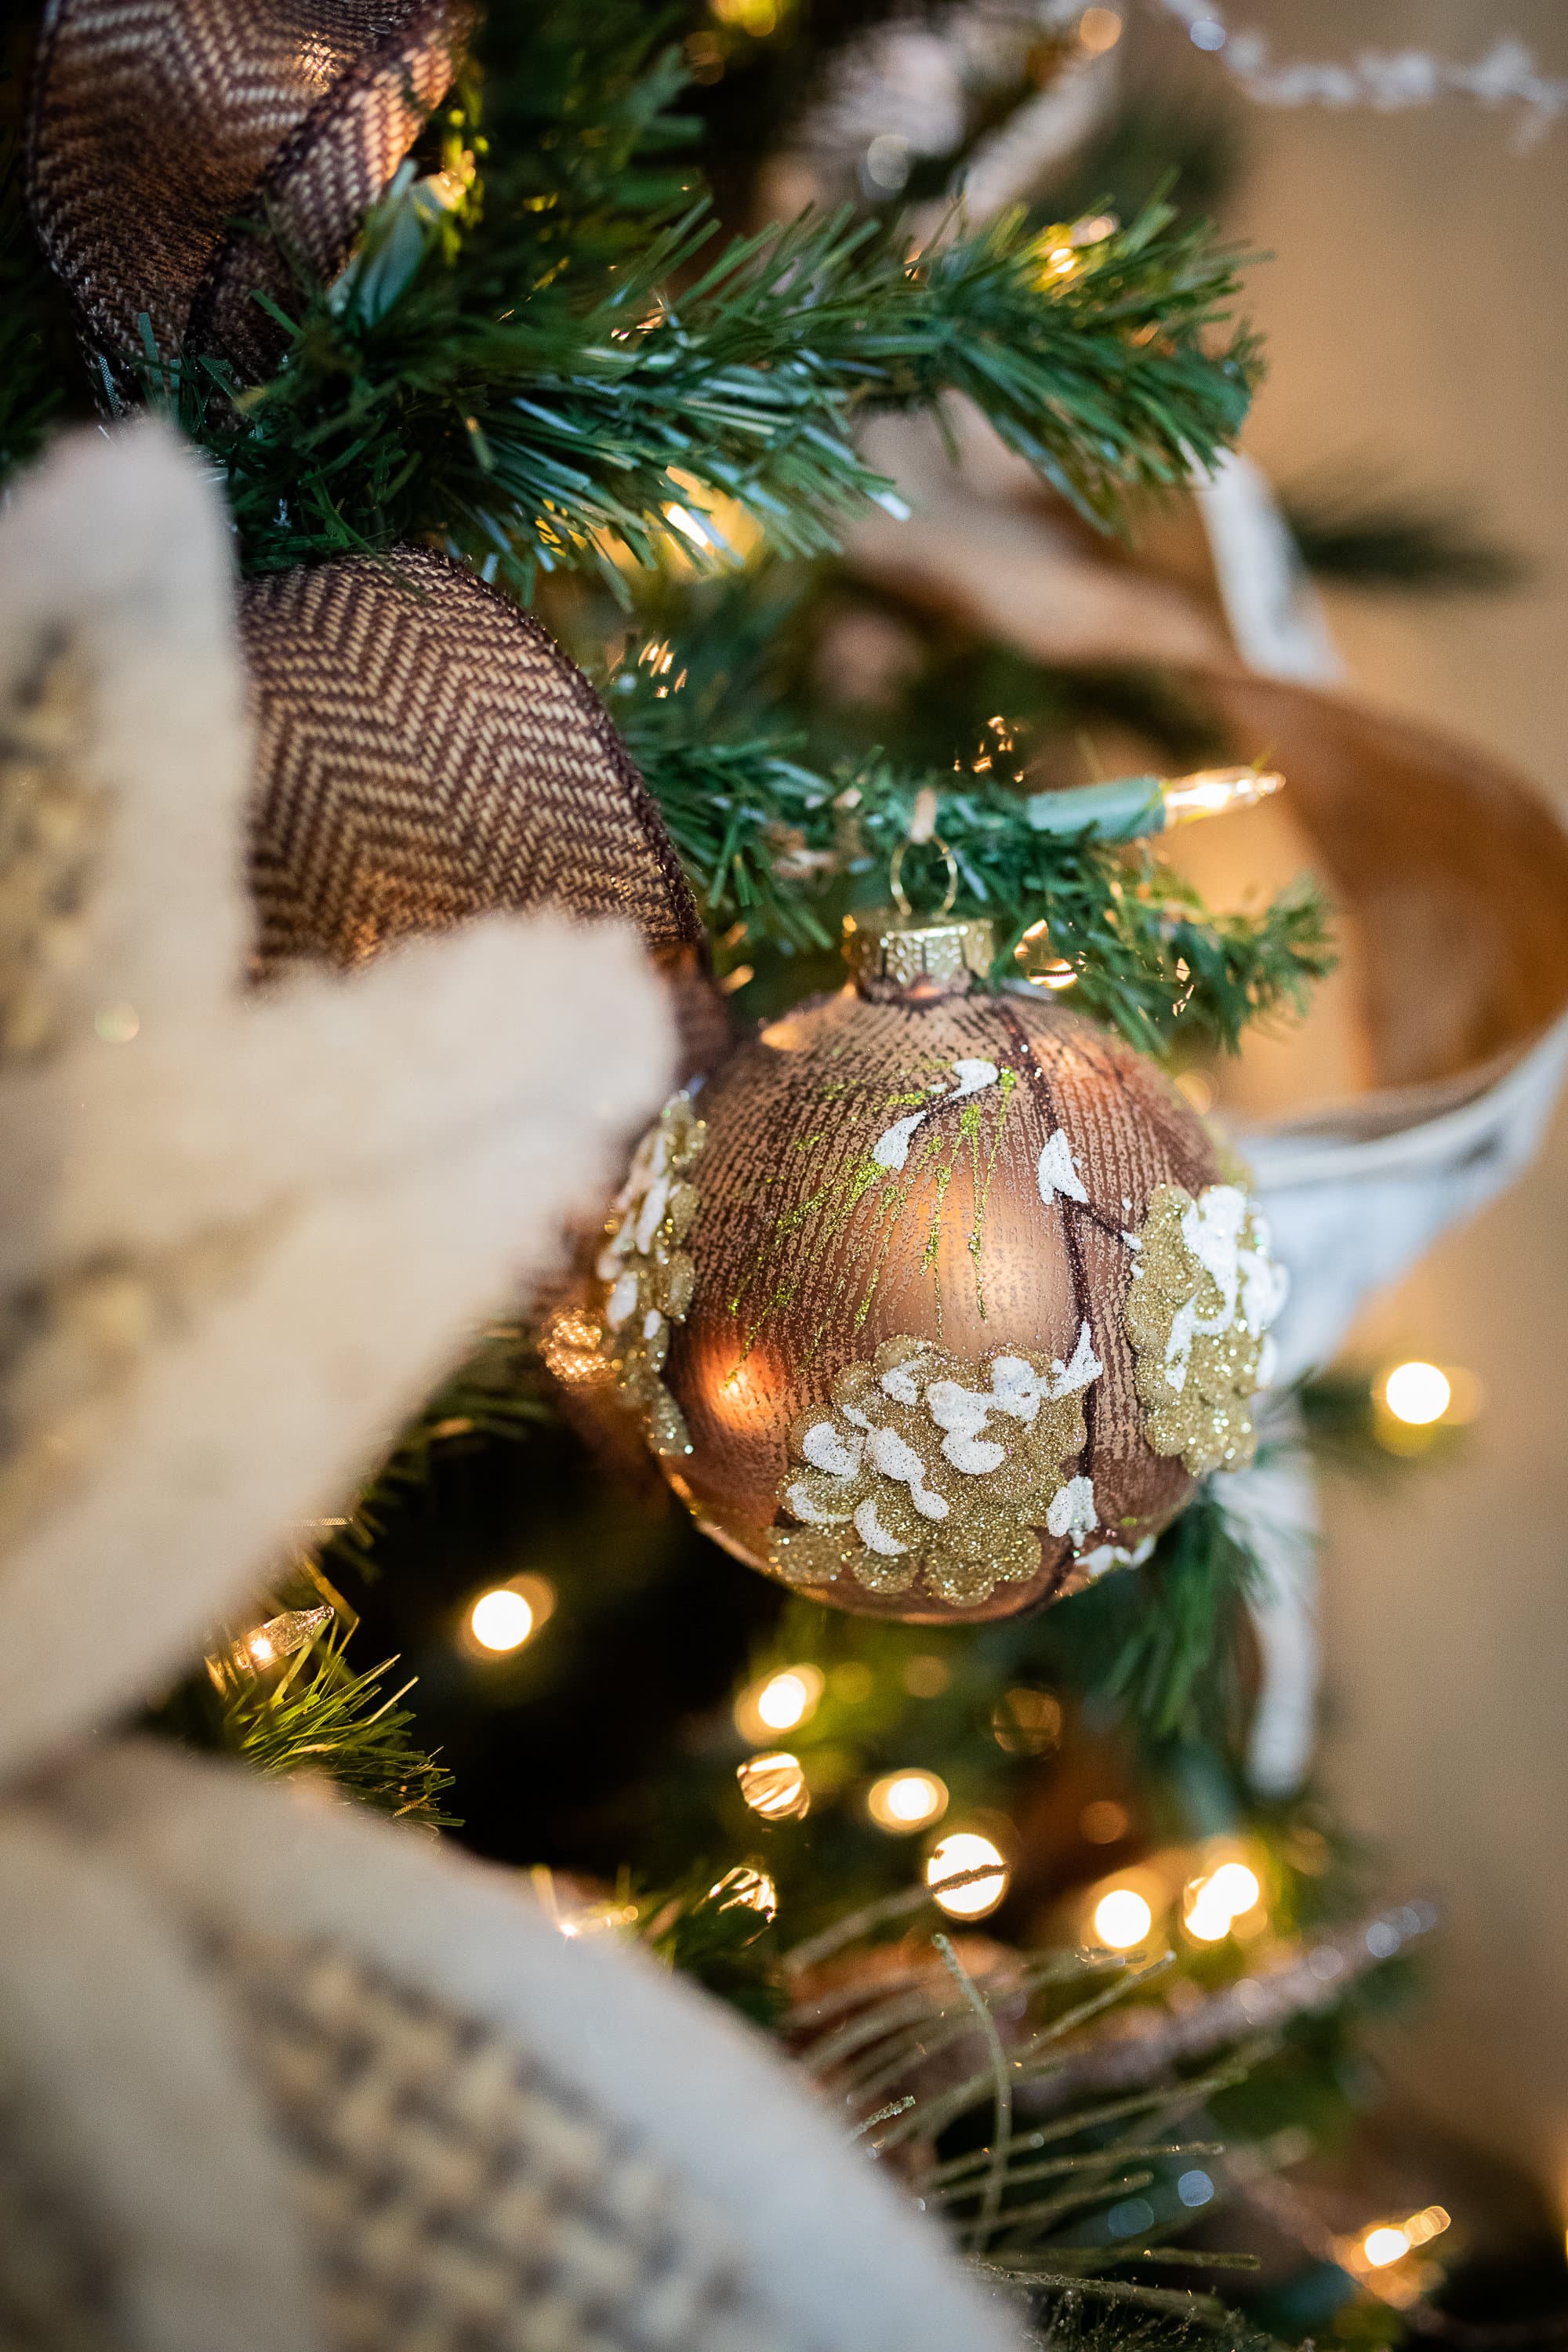
- 7.) Large Ornament Balls- Now you want to create interest on the inside of the tree. Use larger balls (shatterproof balls are great) as filler. When you tuck these deeper into the tree, they fill any holes and help to conceal the pole. When placing, stand back and look for places around your ribbon and florals that look a little empty.
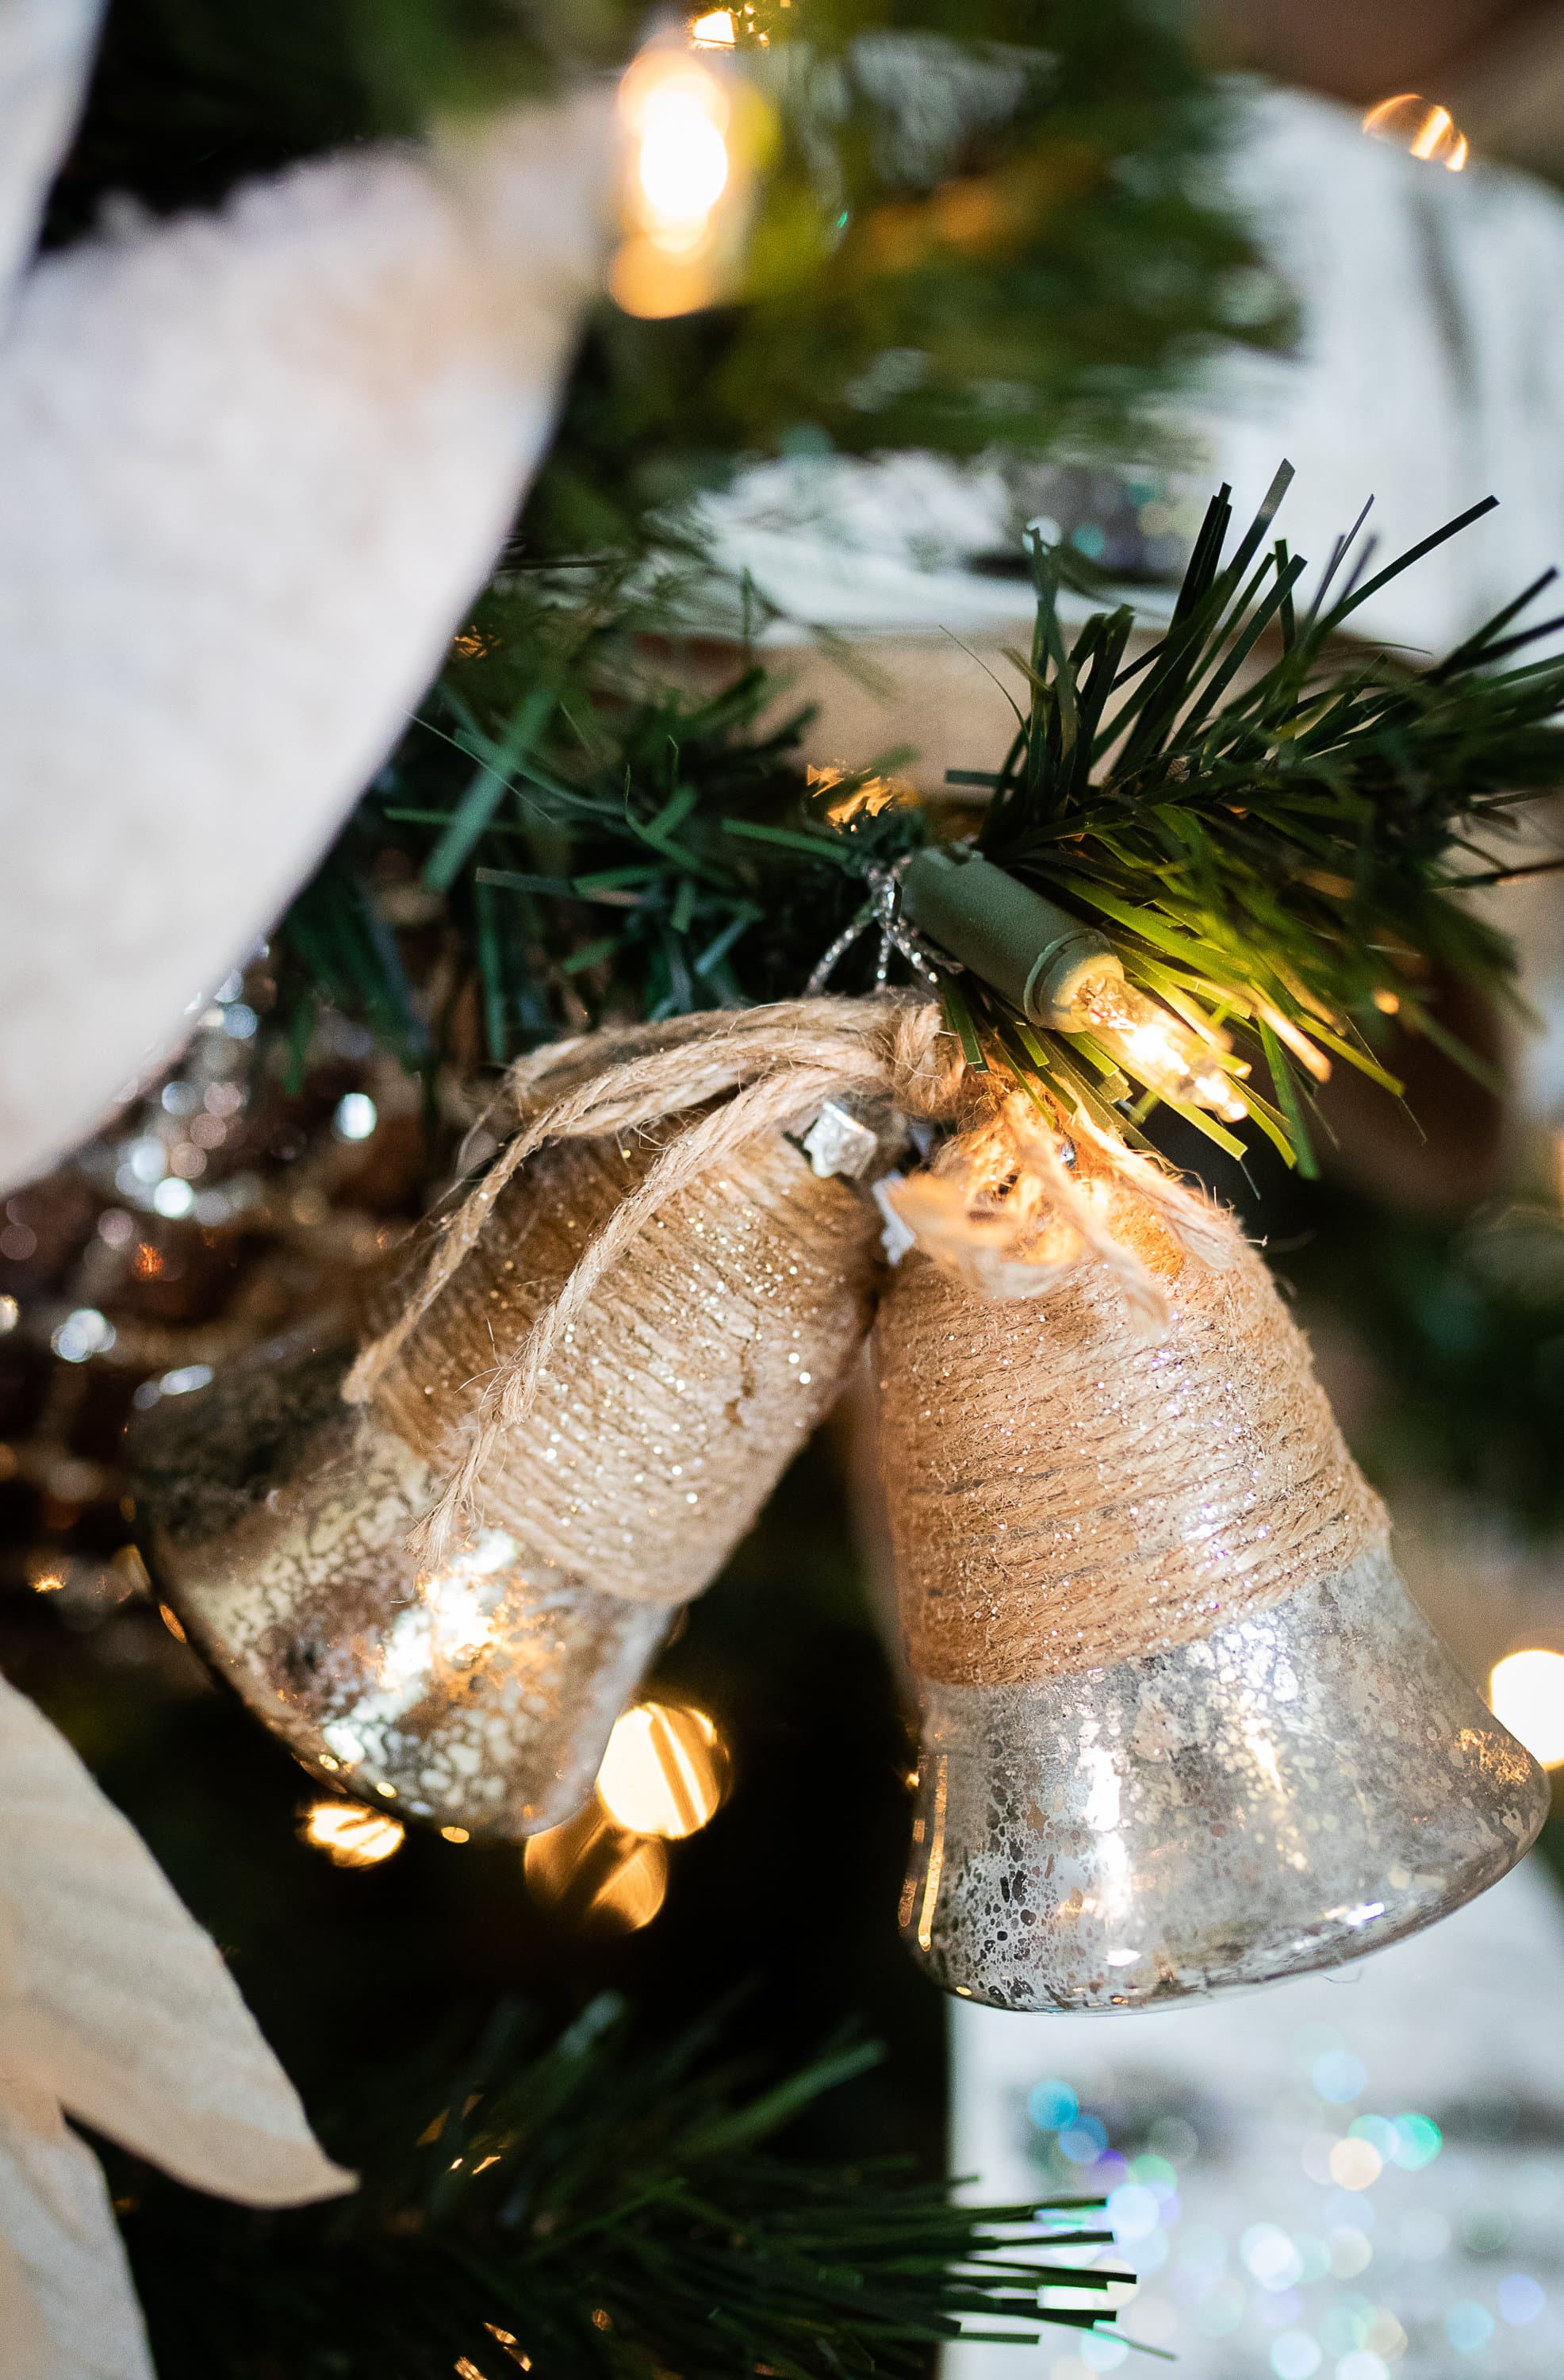
- 8.)Specialty ornaments- These are going to be any ornament that is not a ball, so if you have a special collection of gathered ornaments, now is the time to make these shine. You will want to hang smaller specialty ornaments on the ends of the branches. Wrap the string around the branch a few times to create control in how the ornament hangs. This will allow it to be close to the branch, so that the string is not a distraction to the design.

Watch here to see a full video tutorial of how to decorate a perfect themed Christmas tree:
Do you use any of these steps in your designs?