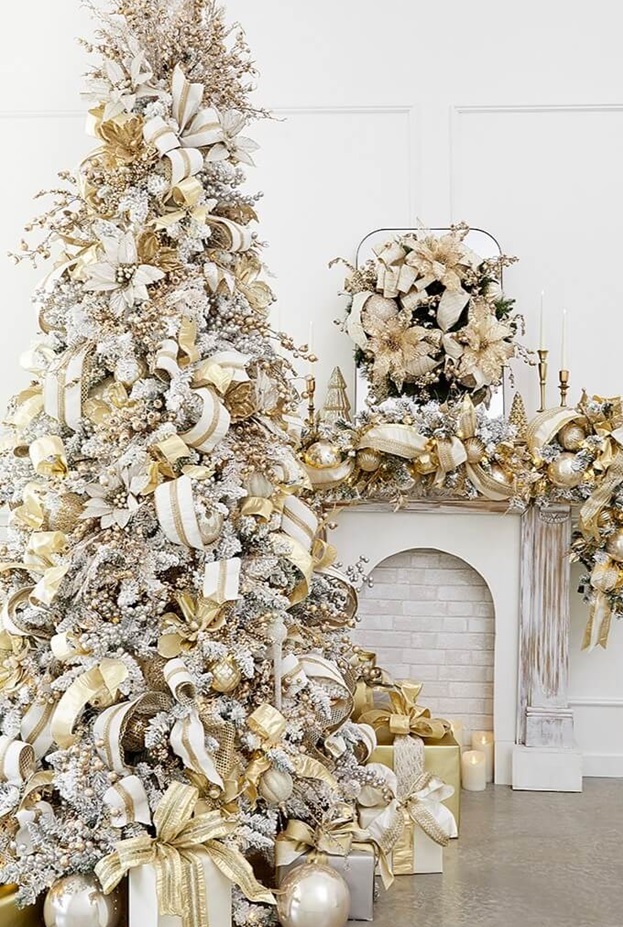
There’s nothing quite like the magic of a designer Christmas garland placed over a mantle! In this look we're walking through today, the golds, the pearl-tones, and the lights bring it all together to create an elegant, memorable impression that’s truly one-of-a-kind!
If you’ve always wanted to make your own glam Christmas garland, follow along here; we’ll cover the essential components of a gorgeous garland, including ribbons, flowers, ornaments, and filler sprays (chosen from our Natural Elegance collection). We’ll also give you tips on how much of each item you’ll need, so you can replicate this exact look—or adapt it to your unique style (which you can replicate in other Christmas greenery, like wreaths, too). Let’s get started!
Step 1: Lighting the Christmas Garland
We all know the magic that twinkling lights bring to our Christmas decor. An absolute favorite to use for Christmas garlands are cluster lights —you can find them at right at the previous link. They last for 50,000 hours and have 768 bulbs, so you get an amazing amount of light! Here’s how to add them to the garland:
- Start by folding your garland in half. Find the center and attach the lights in the middle of the garland.
- Work your way to the end on each side. Attach the lights on both ends, making sure the power cord is on the side that’s closest to your power source.
- Distribute the lights evenly. Once the lights are attached at the center and ends, divide the garland into four sections. Zigzag the lights through each quarter of the garland, making sure they’re evenly spaced out. This gives the garland a beautiful, balanced glow.
Step 2: Adding Christmas Ribbon to the Garland
Christmas ribbon is the foundation of a glam garland, and helps create a baseline color scheme. Plus, there are endless ways to use it to make the look your own! For this Christmas garland, we’ll be using a glamorous sheet music ribbon along with some gold foil ribbon as an accent for a chic, elegant look. But you can easily adapt this to any theme.
For a 9-foot garland, you’ll need about 10 yards of ribbon in total—5 yards of your main ribbon and 5 yards of an accent ribbon. Here’s the technique I use:
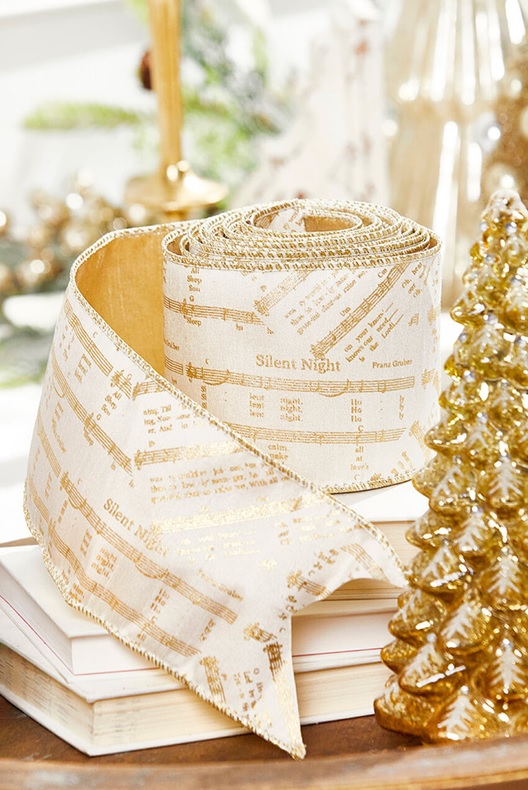
- Cut your ribbon. Start by cutting your ribbon at an angle to create a fishtail effect at the ends.
- Pinch and twist. Begin by pinching the ribbon in the middle and twisting it into the garland. Then create your first loop, making sure it’s not too tight. You want it to flow nicely and naturally.
- Make your loops. I typically make two billows or loops per section, but you can adjust based on how full you want your garland. Make sure each loop has a little “jog” in it (a slight backward shift) to give it a more dynamic, organic look.
- Add a little extra embellishment. Once the main loops are in, I like to create smaller faux-bows (just a loop of ribbon) to fill in gaps and add interest.
For an even simpler option, you can use "bow ties" instead of full loops. Simply cut a 9-12 inch piece, cut dove-tail accents on each side, pinch the ribbon in the center and use a garland piece to anchor it in the middle!
Step 3: Incorporating Christmas Florals
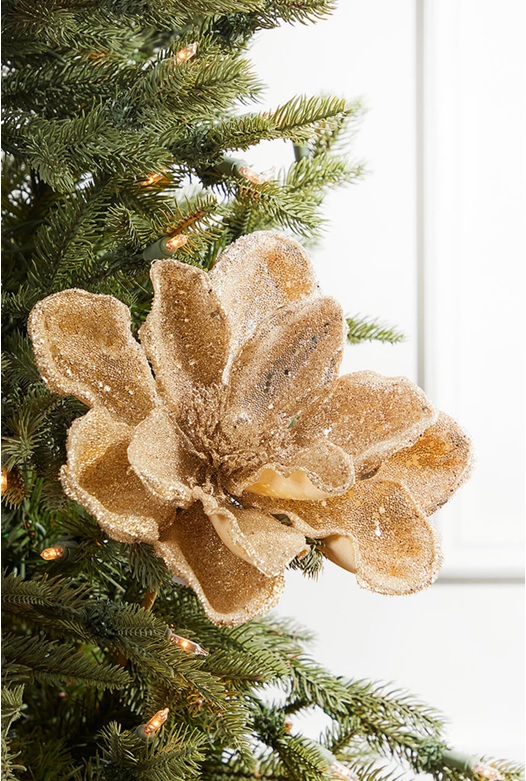
Now that the ribbon is in place, it’s time to bring in some Christmas flowers. For a glamorous look, we recommend alternating between magnolias and poinsettias, the light and gold tones of which work just perfectly with a “glam” Christmas garland.
- Use 7 flowers total for a 9-foot garland. For balance, we’ll use 3 magnolias and 4 poinsettias.
- Cut the stems down so they’ll fit securely in the garland. We typically recommend cutting them down to about 6 inches, but adjust based on your garland's thickness.
- Arrange the florals. Place the magnolias in the center and on the two outer sections of the garland. Then, alternate the poinsettias in between, filling in any gaps.
-
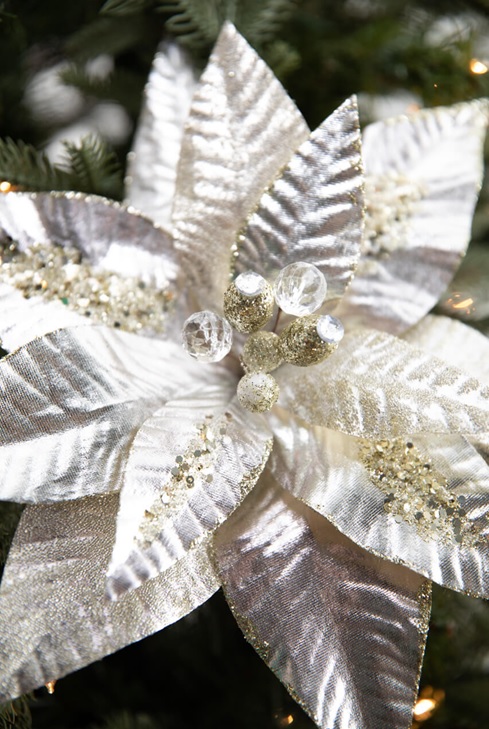
Tip: Use a bit of glue on the floral stems to keep them in place. If you’re not gluing, you can secure the flowers by wrapping them with stems of the PVC Christmas Garland.
Step 4: Adding Christmas Ornaments
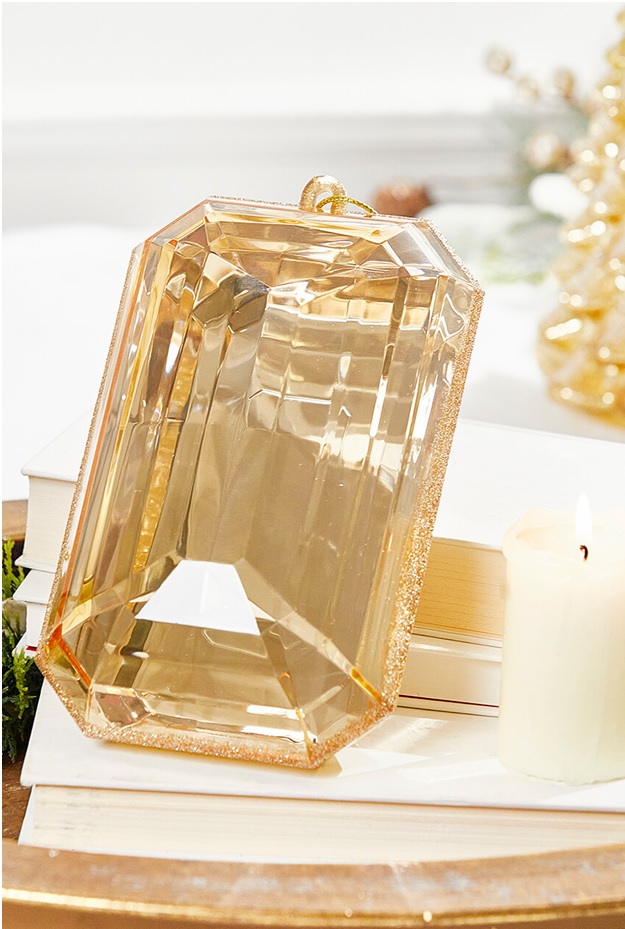
Christmas ornaments add that perfect pop of color and sparkle to your garland. For this design, we’ll be using 16 ornaments total—4 different styles, with 4 pieces of each style.
Here’s the breakdown of the types we’re using:
- Shatterproof ornaments (great for durability)
- Jewel-like ornaments (a current hot trend, the Champagne Jewel Ornaments you can find here are perfect for creating a glam garland!)
- Accent ornaments (with a frosty, textured finish)
- Iced ornaments (for a frosted look)
- Distribute the ornaments evenly. Start by placing your first set of 4 ornaments in the first section of the garland, and continue working your way around to the other sections, making sure to repeat the same order.
- Wire or glue. For durability, we recommend you use a little glue on the back of each ornament to secure it. You can also wire them in place if you want to keep the garland reusable.
Step 5: Adding Filler Sprays
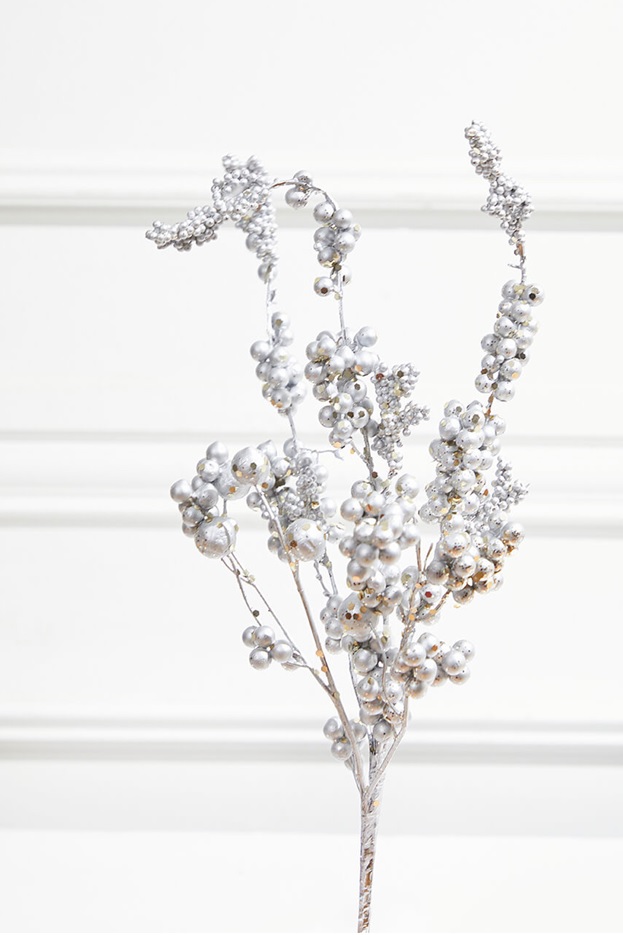
Now, for the final step: filling in any gaps with beautiful filler sprays. We’ll be using two styles:
- Dewberry sprays (these have lovely frosted berries and come in various colors)
- Leafy sprays (these add texture and dimension)
- Cut and arrange the sprays. We’ll use about 12 filler sprays total—half Dewberry and half leafy sprays. Cut the sprays into smaller pieces to fit the garland.
- Glue in place. Add the filler sprays strategically around the garland, focusing on any areas that look sparse. These little additions make a huge difference in adding texture and richness to the design.
Create Your Own Glam Christmas Garland Today!
There you have it—a gorgeous, customized Christmas garland that’s perfect for any style or holiday theme! Whether you go glam like we did today or opt for a more rustic, cozy feel, the technique remains the same. The beauty of using a “recipe” approach is that you can switch up the elements to fit whatever look you're going for. Just switch up the style of ribbon, florals, ornaments and sprays you use and you can create any themed garland you like. Pick up a Norfolk Pine garland, some themed Christmas decorations, and get started!
If you enjoyed this tutorial, don’t forget to bookmark our blog and check out Decorators Warehouse in Arlington, Texas! You should also check out our socials and follow us. For a more detailed tutorial, please see the following video on our YouTube channel, and make sure to like and subscribe! Happy decorating, and have a Merry Christmas!
