With Christmas just around the corner there are some simple DIY tips that will help with your outdoor lighting projects. Hanging Christmas lights can be intimidating, but it does not have to be this way! There are 3 essentials that everyone needs to know in order to accomplish the perfect look. Let’s break this down into three main essentials: LED C9s, Socket Cord, and Clips. It is that simple and we will break each of these down further to explain the needed details to provide an outstanding display this Christmas season.
- Select your favorite C9 bulb
- Pick the right clip
- Determine the right amount of cord
In each one of these sections we will provide information on the product as well as the installation process.
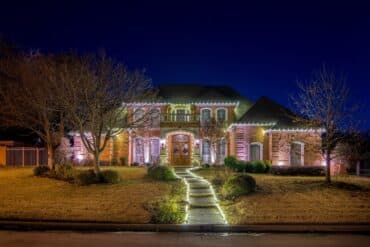
Selecting Your Favorite LED Bulb
LED Christmas lights have come a long way over the years with improvements in color, endurance, and longevity. Aesthetically it is really important that the light bulbs have a true color that matches expectations but also maintains the color over a long period of time. At DW Pro Lights we believe that the quality of the product is an important factor and we make sure that our product meets and surpasses the industry standard. In this section we will cover the durability, color, and the finish of LED bulbs.
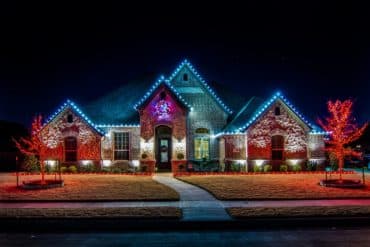
Why buy LED bulbs instead of incandescent bulbs?
LED bulbs are virtually indestructible, cool to the touch, and are really bright! When the LED bulbs first came out they provided the solutions to the problem of power consumption and overloaded fuses, but they were not as bright and the colors were drastically different from the incandescent bulbs. Now we have the SMD (surface mounted device) technology that ensures an amazing color that comes from a much brighter light. With the SMD upgrade the LED bulbs have also improved in the amount of electricity used because each diode is positioned in such a way that every lumen is visible to the eye.
Choose your Bulb Color:
We have a huge variety of colors available at dwprolights.com! The ability to mix colors to create the combination you would like is a fun feature when you DIY. Some popular combinations are: Candy Cane (Warm White and Red or Cool White and Red), Frozen/Dallas Cowboys (Cool White and Blue), Traditional (Warm White, Red, and Green), and Red/Green combo just to name a few. Another interesting trend that has developed in the last few years is to duplicate the colors in a pattern. For example with the candy cane pattern every other bulb will be red. In the duplicate pattern the first 2 bulbs will be red then the next two bulbs will be warm white and then the next two bulbs will be red and so on. Even though it is a lot of fun to play around with different patterns, using Warm White bulbs throughout the project is still a great way to go and is a popular choice.
Choose your Bulb Finish:
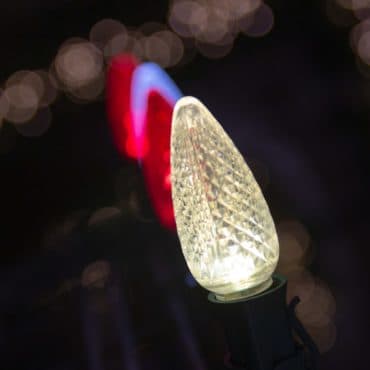
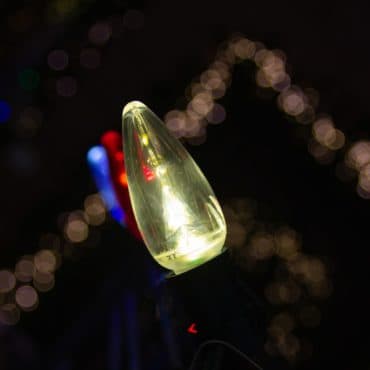
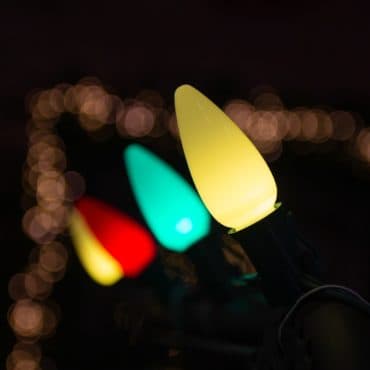
In addition to color, there are three main finishes in the C9 lighting world: Faceted, Smooth, and Frosted. I am often asked which is better to use or more popular. Faceted is the leading selection because it is the first type of finish that was used with LED bulbs when it first came out. Also it provides an elegant look with the “diamond” cut prism effect, and it has remained popular over the years because customers have grown to appreciate the way it disperses the light throughout the bulb. However, a growing number of customers have requested the smooth finish for its clarity and brightness. All three finishes offer a bright bulb, but the brightest is the smooth finish. The frosted finish has a nostalgic feel to it that resembles the ceramic incandescent bulbs of the past, but it also provides an elegant and warm feeling delivered through opaque covering.
Year after year we have helped customers in this process of selecting their light bulbs, and can say without a doubt that with the finish of the bulbs there is no wrong answer to which type of bulb you should use. It can be a hard decision but for the most part there is no remorse after the decision has been made.
Picking the Right Clip
One of the most frustrating things in putting up Christmas lights is when lights fall down in the middle of the season due to cheap clips. Or when the bulbs are pointing in random directions along the roofline because the lights are hanging on nails installed along the facia board! With the various styles of houses that have unique rooflines there is a need for a wide selection of clips to attach the lights. In this article we will cover the proper clips for three different stages on a house: Roofline, Landscape, and Ridgeline.
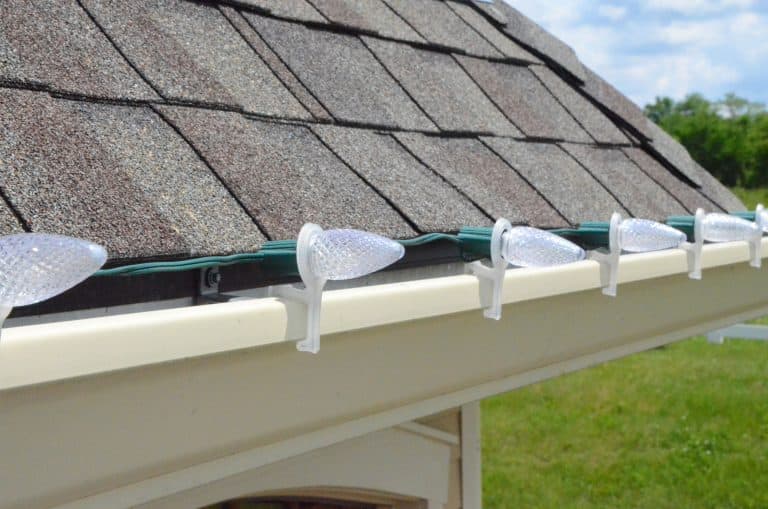
The roofline is the most common part of the house that has Christmas lights and is often referred to as the “drip edge”. So for the edge of the roof what is the best clip? We call it the smart clip. This clip has many features that make it the “smart clip” for any homeowner to use. First, it is the clip of choice because it has a UV inhibitor built into it that withstands the detrimental effect caused by the sun. Even though lights are most commonly used in the fall and winter months, clips can degrade over the years by the sun’s heat causing it to become brittle and crack. With the smart clip you will have a clip that lasts just as long as your LED bulb. Secondly, the smart clip has an enclosed head that keeps the clip attached to the socket. This will ensure that the clip will not fall off upon installation, take down, and storage. With the head being enclosed you can bulb the line on the ground without having to worry about which direction the clip is on the socket, because it easily rotates. With these features you will reduce any frustration that are normally caused by clips for the roofline.
The second stage that we recommend in lighting is the landscape. Stakes have become the clip of choice in attaching the lights to the ground and one of the main problems is in keeping the lights straight as they outline the flowerbeds, sidewalks, and driveways. We recommend our quick stakes that come in 7.5” length for their durability and fast install. The beauty of the quick stake is the three prong design that allows for an easy and secure attachment that will hold the light bulb firmly and will allow you to remove the bulb without difficulty. In hard soil the durability of the stake will penetrate any soil, especially in the dense North Texas dirt, and has a long enough stake to secure the light bulb in loose soil. This is a stake that lasts season after season and will solve any previous issue with lighting around flower beds, sidewalks and driveways.
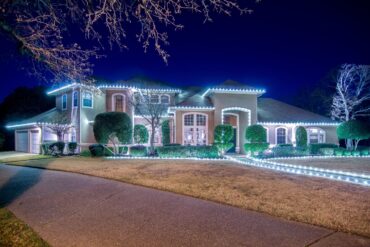
Bring the roof out of the shadows by lighting the ridgeline. Most houses have an amazing architectural design that is missed at night by not lighting the ridge cap and hips of the house. There is only one clip that I would use for the ridgeline and that is the ridge clip. Attaching the lights to the top of the house has always been done by stapling or hot gluing to the shingles, which almost always damages the shingles. That problem is solved by the “saddle” feature on the clip and how it attaches to both sides of the ridge. There are three different notches (10”, 12”, metric) that allow this clip to work on 99% of the composite shingles.
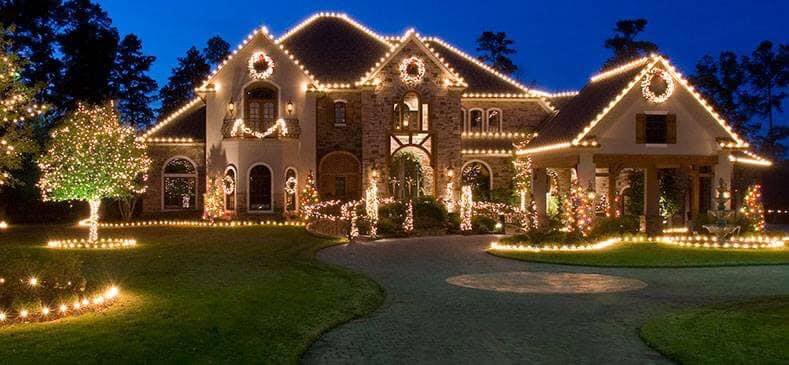
With the bright LED bulbs you can create a wonderful lighting display on the roofline, landscape and the ridgeline, and this is easily accomplished with the right type of clips. Picking out the right clip will ensure that you have a long lasting and secure way of attaching your lights.
Determine the Right Amount of Socket Cord
The often overlooked part of the lighting project is the socket cord. By having good commercial grade LED light bulbs and socket cord, you are able to select the desired light bulbs and then customize those lights to fit onto your roof exactly. You can set up your lights on your roof or landscape professionally by following three simple steps:
First, select the desired spacing of the bulbs. We sell 6” and 12” spacing on the socket cord and the most common is the 12” spacing. Some will choose the 6” spacing to really wow the neighborhood but you will see the majority of the houses using 12” spacing. The farther you are away from the house the closer the lights will appear.
Second, determine the amount of lights needed for the project. There are many ways you can figure out how many feet you need, but the easiest way is to walk off the roofline with average steps and multiply by three. It is not important to get the exact measurement but it is ideal to have at least the amount needed for the project. Once you figure the total footage needed then you may select from the different sizes of socket cord which are: 25’, 100’, 500’ and 1000’.
Third, attach the bulbs and the clips to the socket cord and start installing them on the house or landscape. With the male and female connectors you are then able to cut the cords at your desired length. This feature is an amazing way to install the lights without having to use an electrician. We also have a video on “how to customize your Christmas lights” available to show you the step by step process.
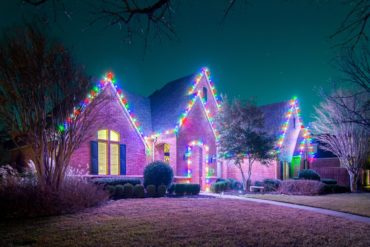
When it comes to holiday lighting, C9 LED bulbs have become the ideal way for having a display that is beautiful and bright. Now with the commercial grade products and the ability to customize the cord to whatever length is needed, you can accomplish an amazing amount of holiday cheer like a professional!
Once you've mastered the outside lighting, it's time to make sure the interior of your home is merry and bright. Whether you choose to use our "easy button" and purchase a themed Christmas tree decor bundle, or create your own unique look with our wide selection of Christmas decor, you’ll find what you need from our 60,000 square feet of inventory right at your fingertips. By pairing a textured Christmas tree ribbon with a beautiful assortment of flowers, sprays, and ornaments, you can achieve a designer look that matches your personal style.
