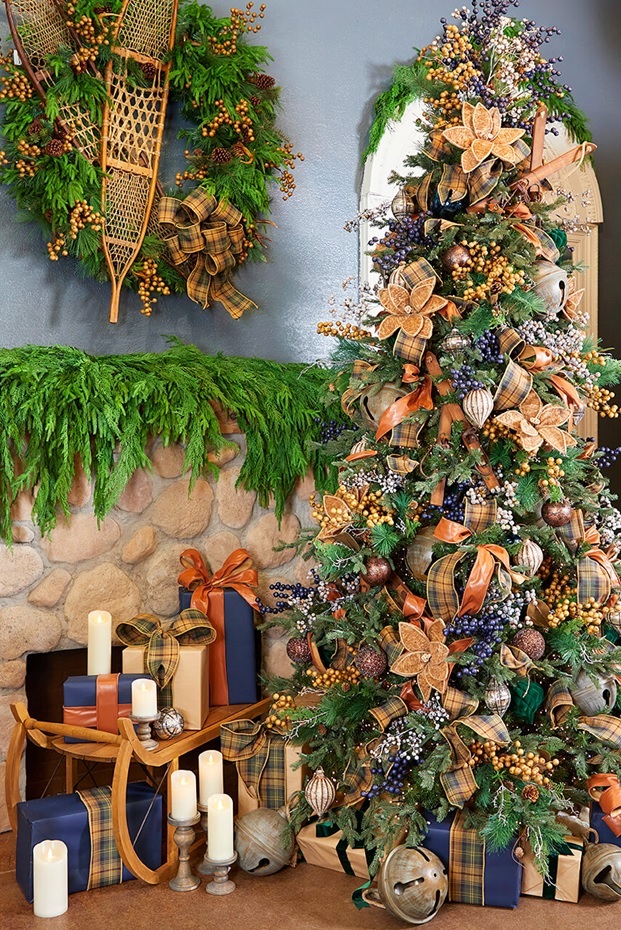
Hi everyone! Today we’re here to walk you through the process of decorating a beautiful designer Christmas tree using rustic decorations. We’ll break it down into simple steps, so anyone can follow along. Let’s dive in and create a stunning Christmas tree you’ll love.

Step 1: Creating the Tree Topper
The tree topper is the centerpiece of your design and sets the tone for the rest of the decorations. We use a simple four-step process that works for any tree style.
Materials:
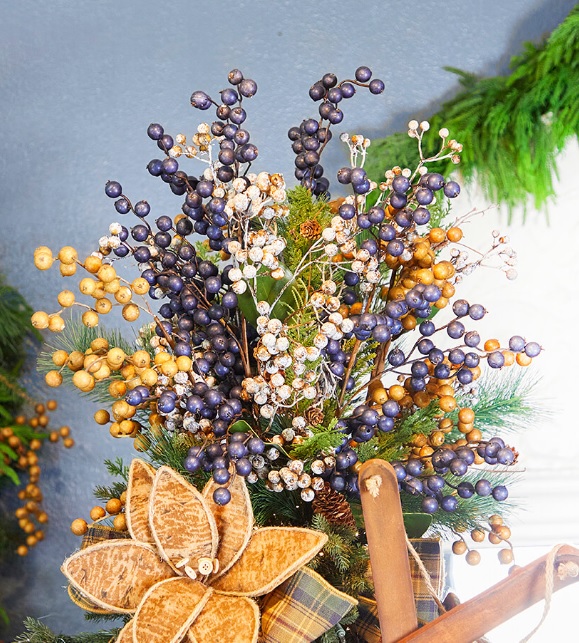
When creating a topper, we typically use Christmas sprays or picks. For this example, we’re focusing on a natural, earthy woodland palette. Here’s what we used:
- Greenery with pinecones and magnolia leaves: Adds a natural and full look.
- Butternut-colored berries: Provides a soft pop of color.
- Airy blue accents: Introduces a cool tone to balance the design.
How Many Sprays Do You Need?
- For a 9-foot tree, we would use four different spray styles with three pieces of each style.
- If you like a fuller topper or have a larger tree, you can scale up to 25–35 sprays.
Assembly:
- Start with the greenery: Place the bulkiest stems first along the central pole of the tree. Open the branches to spread them out in multiple directions—front, back, and sides.
- Layer other sprays: Add the butternut berries, placing them between the magnolia leaves for a cascading effect.
- Add airy sprays last: These lighten up the topper and provide a sense of balance.
With the topper complete, you’ll have a beautiful, full arrangement that transitions seamlessly into the next step.

Step 2: Adding Christmas Ribbon
Christmas ribbon adds elegance and movement to your tree, and it’s one of our favorite elements to work with. Here, we’re using two ribbons to achieve a Ralph Lauren Lodge aesthetic: a plaid ribbon paired with a cacao leather accent.
How to Make a Simple Two-Loop Bow
- Start with a tail: Pinch the ribbon and create a small loop, twisting as you go to keep the pretty side facing outward.
- Create the second loop: Fold the ribbon in half, pinch, and twist again.
- Secure it to the tree: Place the bow at the base of the topper. Use the tree branches to hold it in place—no wire is needed unless you’re using a live tree.
Adding Ribbon to the Tree
- Work in loops and tails: After securing the bow, start creating loops and tails that flow down the tree. Use the branches to secure the ribbon in place.
- Zigzag placement: Alternate the direction of the loops and tails as you move down the tree to create an organic flow.
- Incorporate an accent ribbon: Layer the accent ribbon into your main ribbon design, adding pops of color and texture.
How Much Ribbon Do You Need?
- For a 5-foot tree, use 2-3 rolls of 10-yard ribbon.
- For a 9-foot tree, use 3-4 rolls of 10-yard ribbon.
- For a 12-foot tree, use 5-6 rolls of 10-yard ribbon.
The ribbon creates a stunning framework for your tree, and with a little practice, you can achieve a professional look.

Step 3: Adding Large Ornaments and Decorations
Next, it’s time to add larger ornaments and themed elements to fill in the tree.
Materials:
- Oversized shatterproof ornaments in green and blue.
- Decorative elements: For this rustic woodland tree, we’re using giant bells and cute crossed skis.
Placement Tips:
- Start with larger pieces: Place oversized ornaments deeper into the tree to create depth and cover gaps.
- Secure themed elements: Use greenery or floral wire to attach decorations like bells and skis securely. Cross the skis for added charm and tuck them into the branches.
- Balance the design: Zigzag the placement of large elements throughout the tree for a cohesive look.
Step 4: Adding Florals and Sprays
Now that the large elements are in place, it’s time to add florals and sprays for texture and dimension.
Materials:
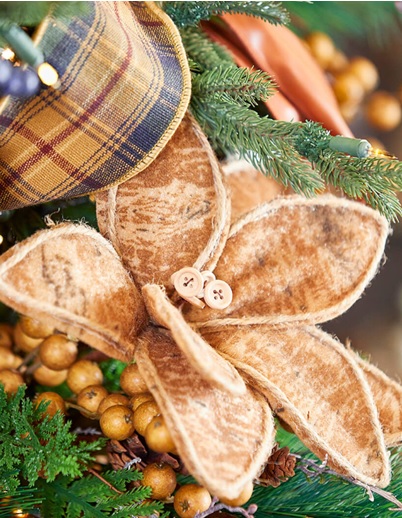
- Florals: One standout style, like magnolia blossoms, works beautifully.
- Sprays: Use the same styles as the topper to create continuity.
How to Add Florals and Sprays:
- Cap the topper: Place florals at the base of the topper to transition seamlessly into the tree.
- Zigzag placement: Insert sprays and florals throughout the tree, focusing on areas with gaps.
- Cluster sprays: Combine two sprays, such as berries and magnolia stems, into a single cluster to add dimension and visual interest.

Step 5: Adding Specialized Ornaments
Finally, finish the tree with smaller, more specialized ornaments.
Materials:
- Small Christmas ornaments in unique shapes (e.g., onion-shaped baubles).
Placement Tips:
- Outer branches: Position smaller ornaments closer to the branch tips to balance the look.
- Zigzag placement: Follow the same side-to-side placement technique for consistency.
Tips for a Designer Look
- Work in layers: Start with the topper, move to the ribbon, add large decorations, and finish with florals and sprays.
- Create balance: Always zigzag elements throughout the tree to ensure symmetry.
- Use quality materials: Invest in wired ribbon and sturdy sprays for easier handling and better results.
Why Choose Decorators Warehouse?
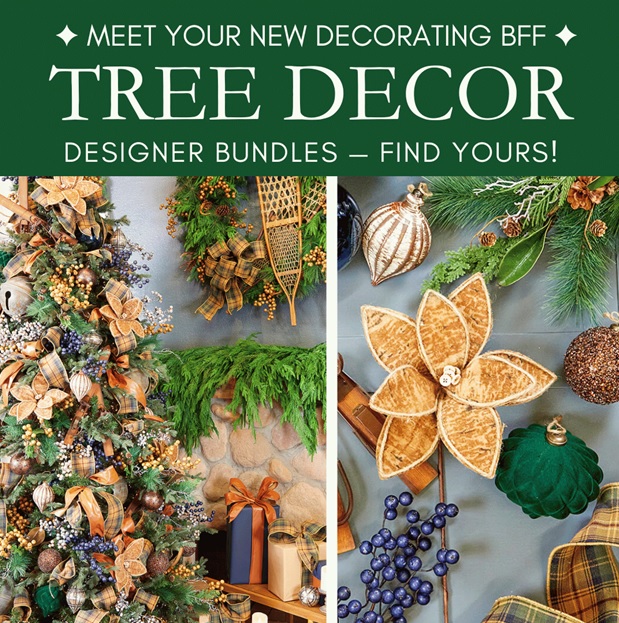
If you love the look of this rustic woodland tree, you’re in luck! Our Winter Woodland Bundle includes all the ribbons, sprays, florals, and ornaments used in this design. It’s a complete package that takes the guesswork out of decorating. You can also shop for individual winter woodland decorations online here in our Christmas store.
Final Touches For Your Rustic Christmas Tree
With the final ornaments in place, step back and admire your work. A beautifully decorated rustic tree transforms your space and creates a festive and cozy atmosphere. Thanks for following along - if you enjoyed this guide you can also watch the video here for great visuals! Once you’re finished decorating your own tree, don’t forget to post it on your socials and tag us with @decoratorswarehouse for a chance to be featured! Happy decorating! ?
