Decorating your Tree for a Farmhouse Christmas
As November is around the corner and the holiday season approaches, we know that many are thankful for health, family, and the goodness that has come. Many will also be walking through some days of remembering precious friends and loved ones — wherever you are in this season, we want to help you celebrate home and the cherished memories you hold dear!
The Big News: A Blog Hop Series
In November, we’re introducing a series of home decor bloggers, bringing their inspirations from Decorator’s Warehouse to life! Whether you love rustic, unique, or traditional looks, stay tuned for more on this compilation series with our design friends!
Decorator’s Design School - Episode #4
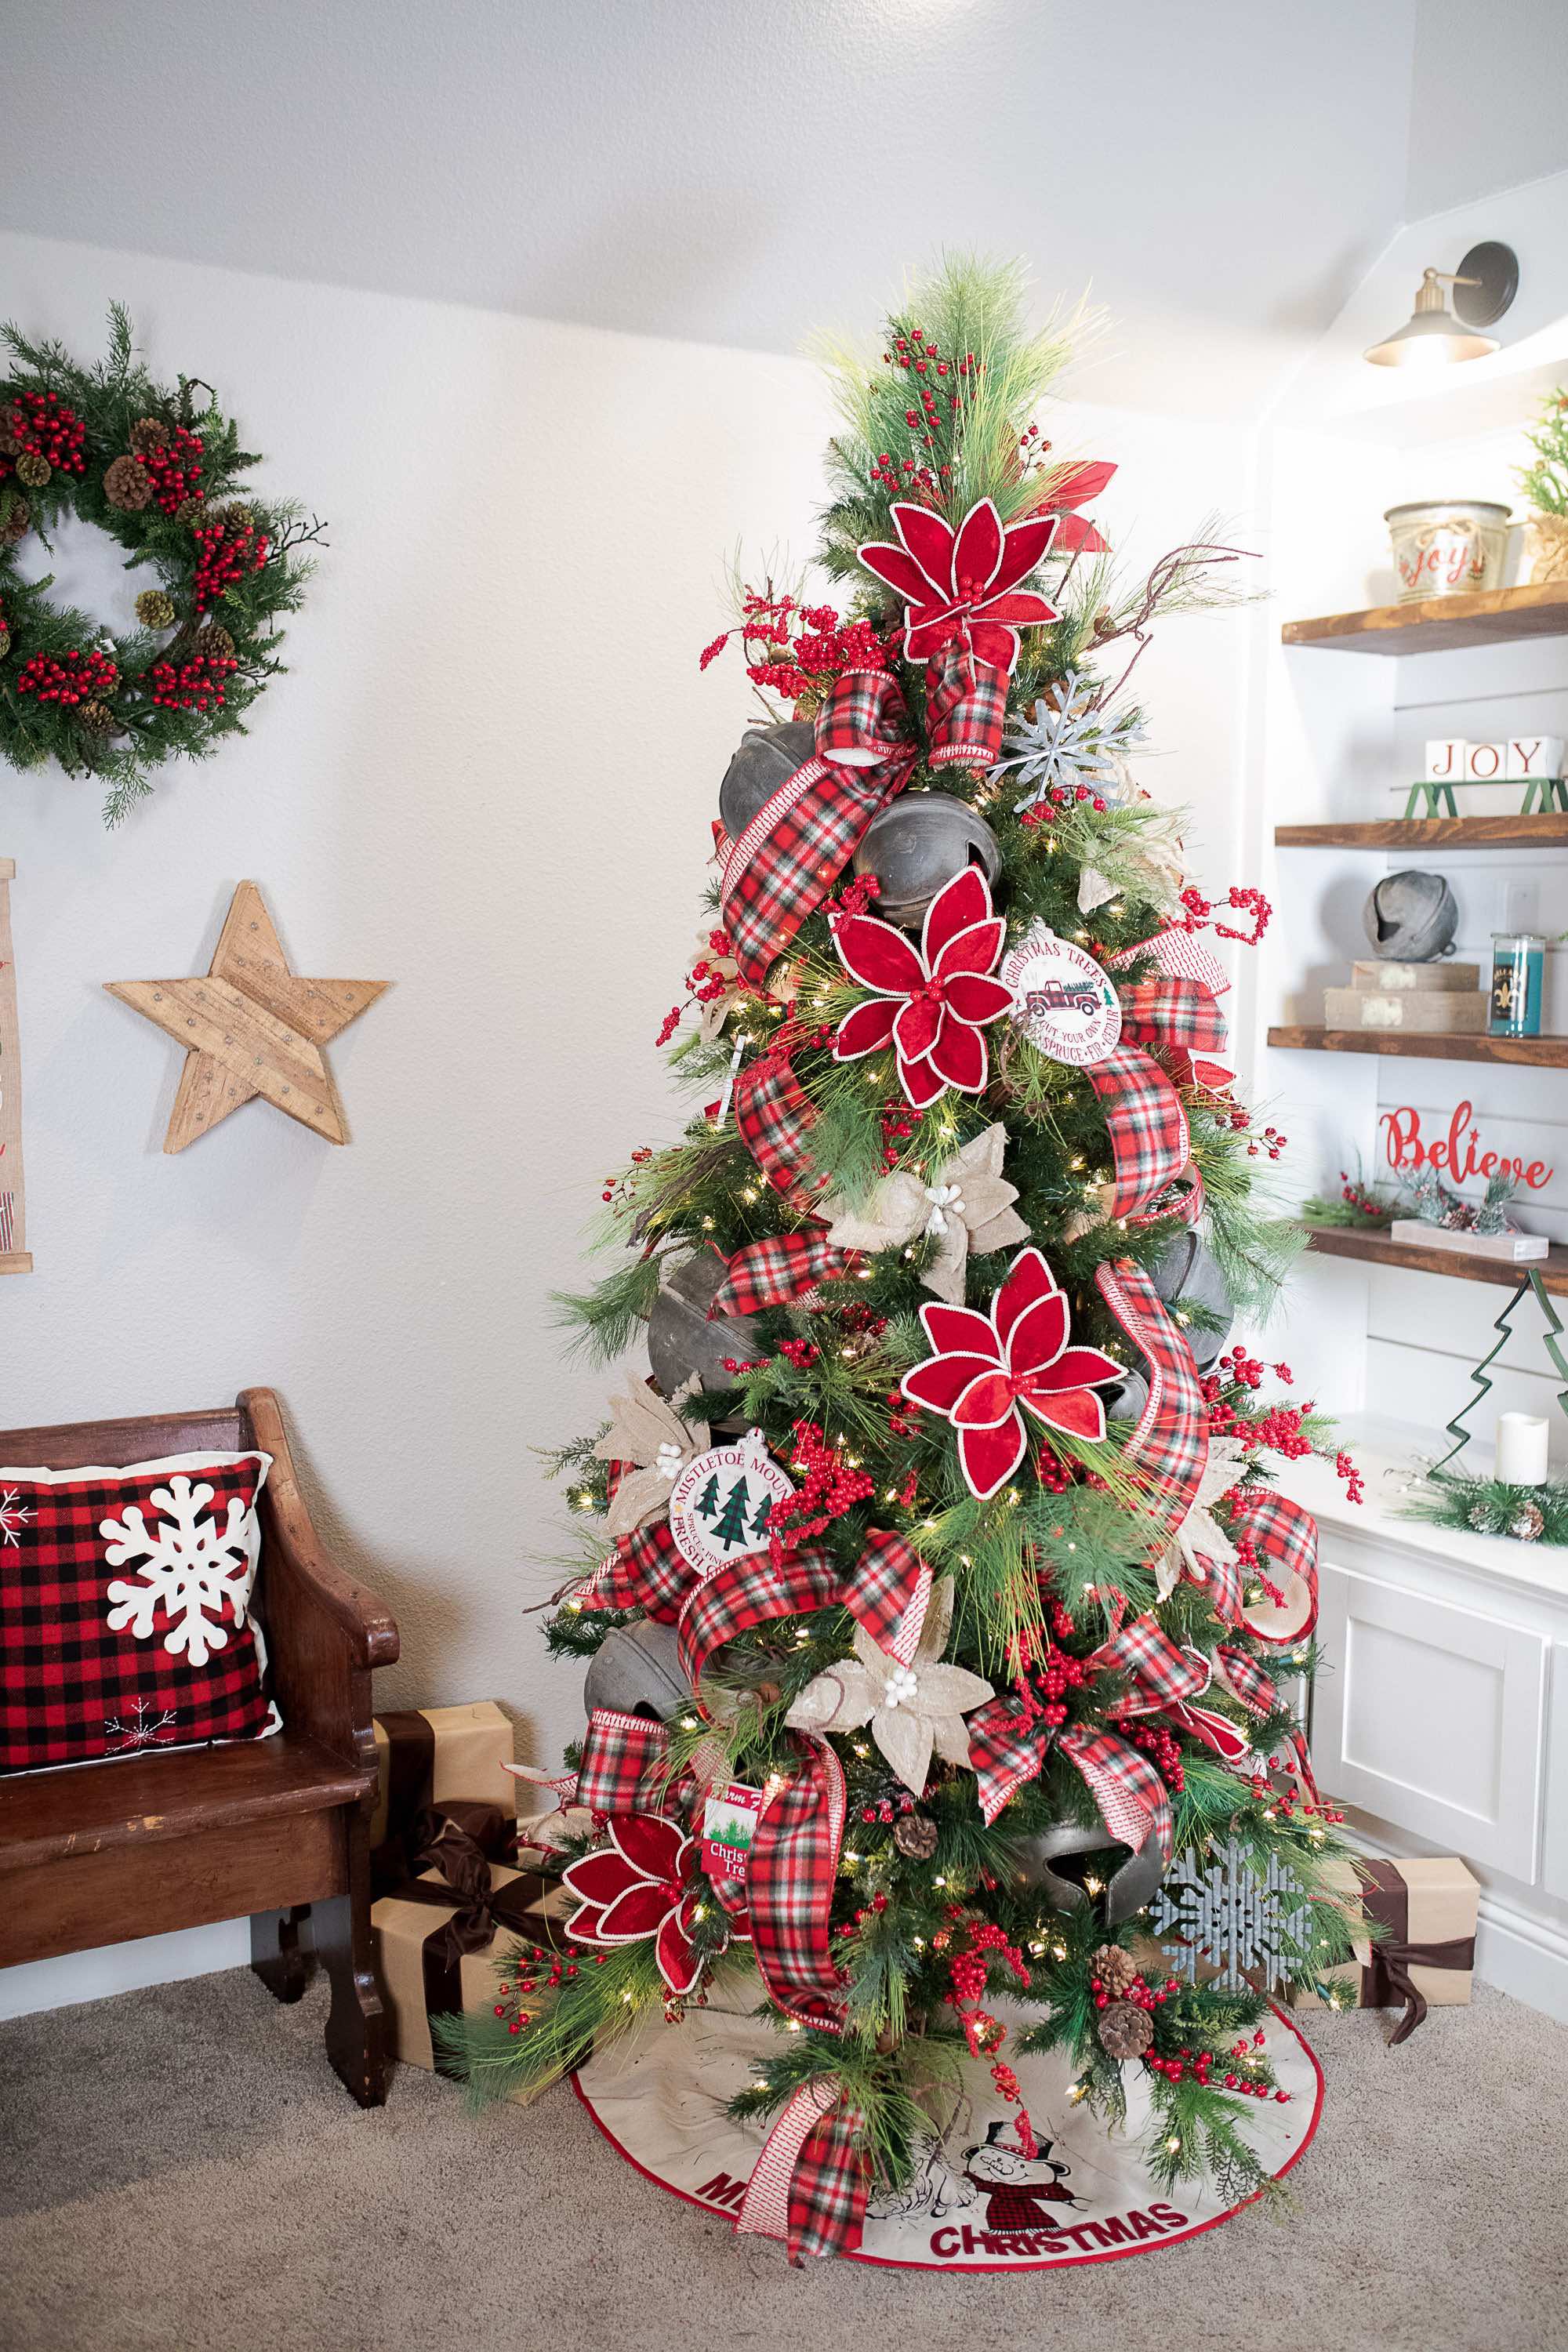
Farmhouse home decor elicits warmth and memories for so many people – if you love barns, natural charm, and neutral tones with pops of color, you’re sure to love our Rustic Farmhouse Collection.
This post is the last of this month’s design series — to catch up, check out decorating your lantern for fall and winter, creating a glam tree, and assembling a farmhouse mantle. You won’t want to miss this week’s design tips for crafting your Christmas home!
Whatever tips you find helpful today, take them and apply them to the process of creating your own inspired decor. We strive to always provide you with the simplest way to bring designer looks to your home. For the Farmhouse look, watch the YouTube tutorial for assembling the Christmas tree and check out our decorating bundles that make this process even more simple!
How to Create a Farmhouse Tree in 4 easy steps
1. Craft the farmhouse tree topper. (0:35)
- Create a floral cluster with the three main picks.
Kristin’s Design Tip: For the topper, use 2 floral clusters for a 6.5 to 7.5 tree, 3 for a 9-foot tree, and 5 for a 12-foot tree. - To assemble this Christmas tree topper, run the pine cones pick down, followed by the berry, and then add the poinsettia. Repeat on the backside.
2. Add in the oversized jingle bells. (1:55)
- Group the small and medium together. The larger can stand on its own.
Kristin’s Design Tip: Use 4 sets of bells on a 6.5-7.5 tree and 5 for a 9-foot tree. While we normally would wait to place larger items until after the ribbon, when using very large focal pieces, it can help to place them before the ribbon.
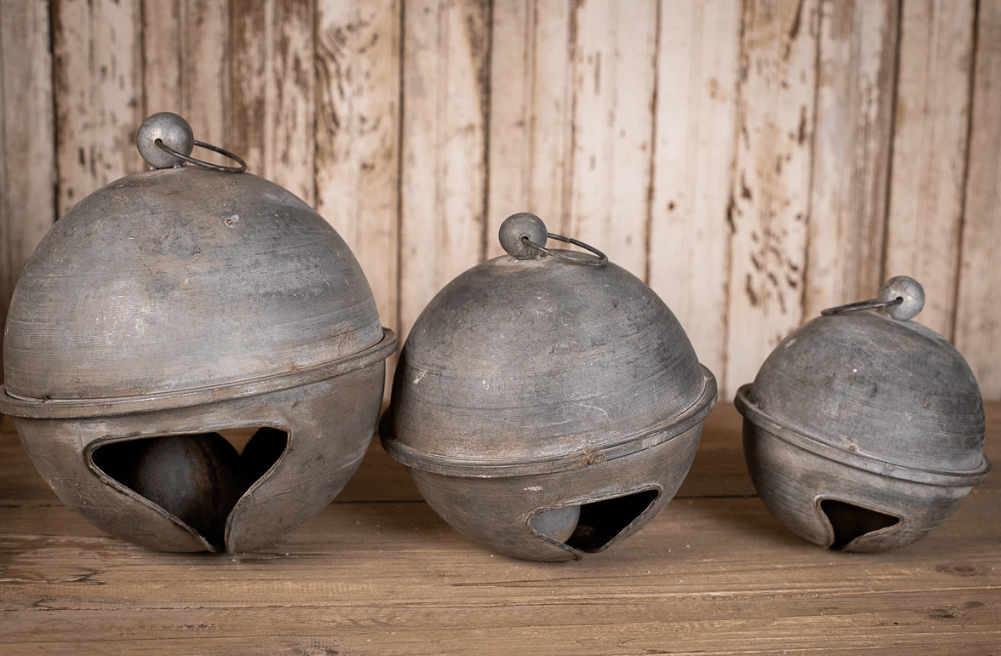
- Zig zag the placement of the bell throughout the tree.
3. Once the bells are in place, incorporate the red ribbons. (3:39)
- Try to use wired ribbon, as it will stand the test of time.
Kristin’s Design Tip: Use 2-3 10-yard rolls on a 7.5-foot tree and 3-4 on a 9-foot tree. - We recommend using two complementary patterned ribbons, layering them together.
- Create a two-loop bow under the tree topper spray and add in two larger loops.
- Leave a six-inch tail and create two loops.
- You will need to twist the ribbon to bring the pattern side to the top.
- Use the tree branches to twist into place.
- Put in your first loop and second loops (create 24-inch loops and fluff out to add dimension.)
- Cut the tail. Bring the ribbon, with a 6-inch tail, to another empty spot.
- Every run will have two larger loops but you can add smaller loops throughout as you see the need.
- Each time that you add a loop, find any empty spaces and add in some decorative elements.
Kristin’s Design Tip: You can add a mini bow ( 6-8 inch tails, twisted), a one-loop bow, or a full two-loop bow to fill in empty spots.
4. Add in Floral, Sprays, and Ornaments (8:35)
- Using the same sprays as the topper, we will lay the berries over the greenery and add in the poinsettia flat on top, angling the flower up.
- Take one of the stems and wrap it around all of them to hold it in place.
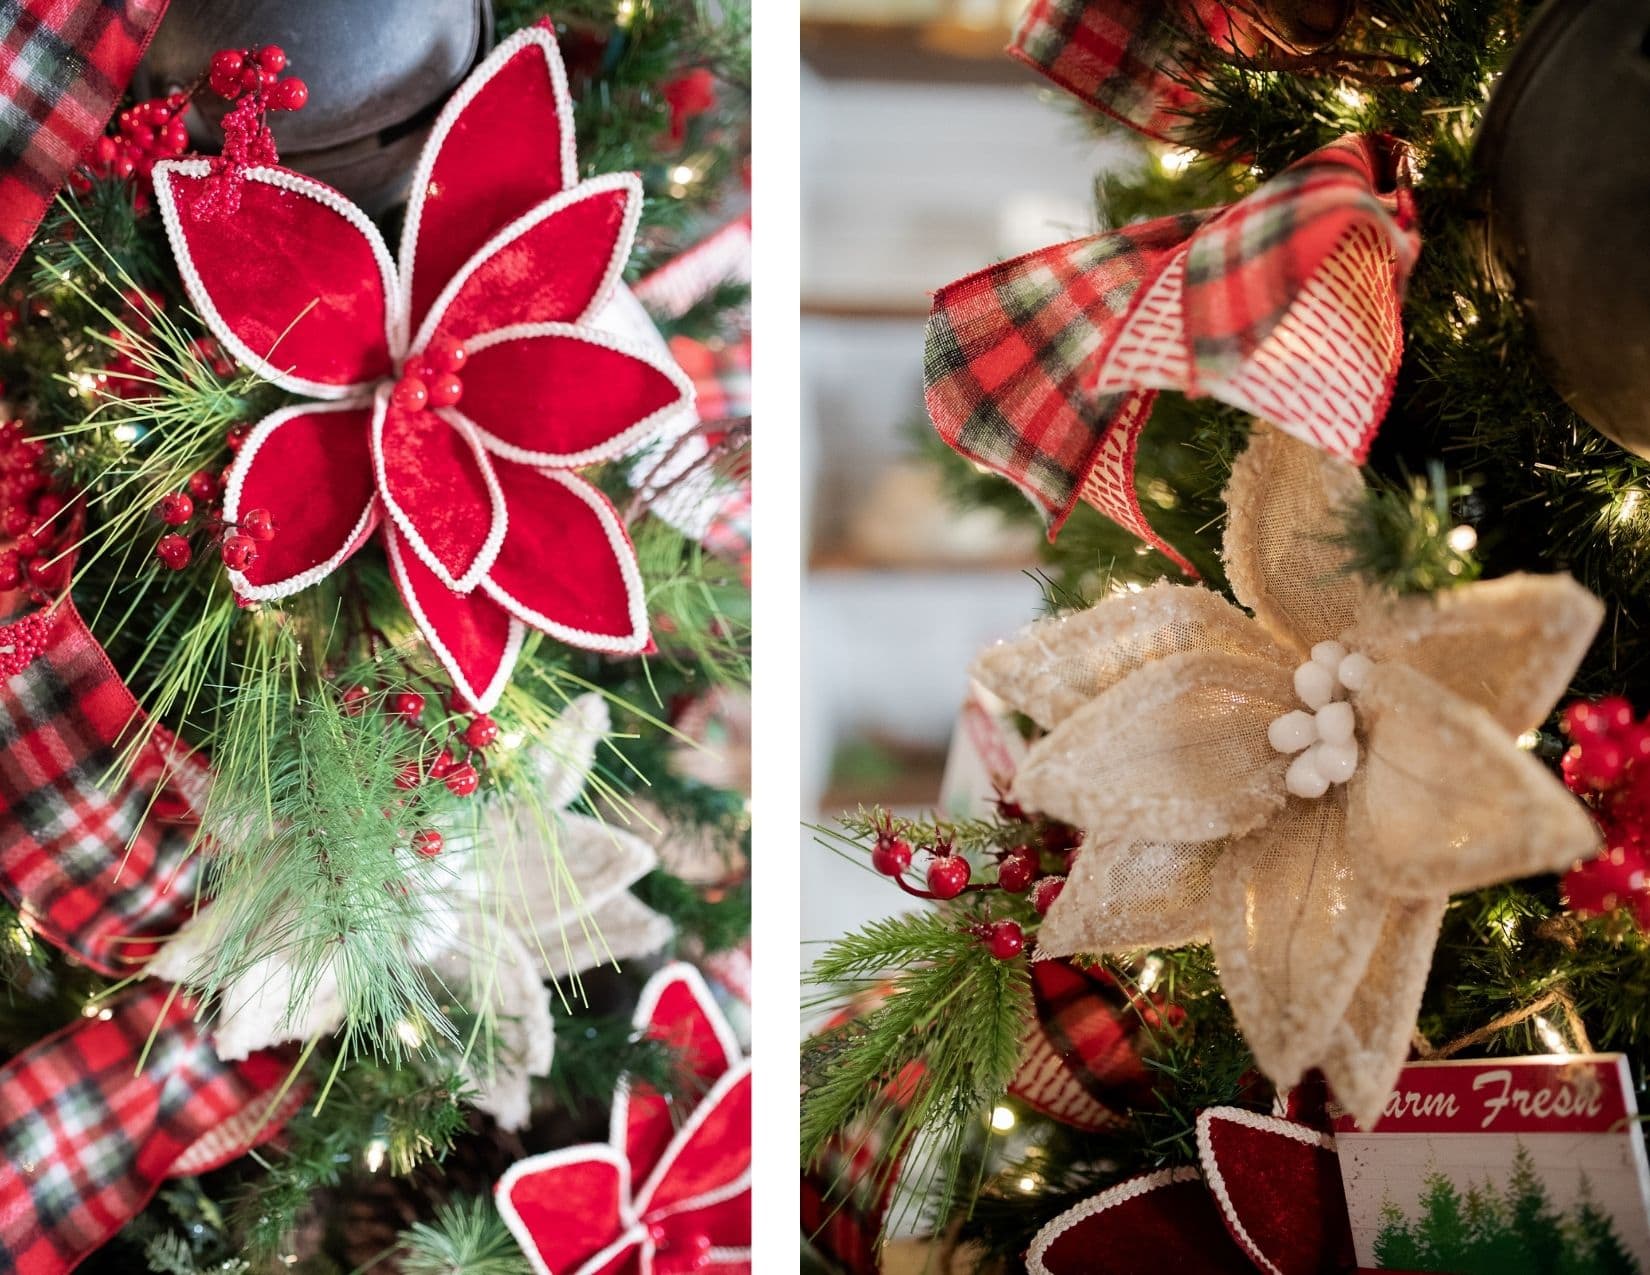
Kristin's Design Tip: Creating floral sprays makes decorating so simple! When you pull the decorations out for next year, your florals will be all prepared for decorating again! - Run the stem along the branch and use the greenery to wrap and hold in place.
- Stagger the floral clusters throughout the tree.
- Once the clusters are placed, bring in individual stems, utilizing various textures.
- You will use approximately one cluster and one stem per foot of tree.
- The berry brings in some great texture to every tree.
- When you’re adding in specialty ornaments, wrap the string around the branch a few times to put it to the height placement you prefer.

Have fun putting your farmhouse Christmas decor ideas together this holiday season! This year, the holidays and our homes will mean more than ever. We hope that as the holidays and Christmas approach, you find more joy and more thankfulness through giving to others and by cherishing the memories made with your loved ones.
Don’t forget to share your looks with us, using the hashtag #DWChristmas! And if you're interested in this exact look, we've curated an easy tree bundle just for you!