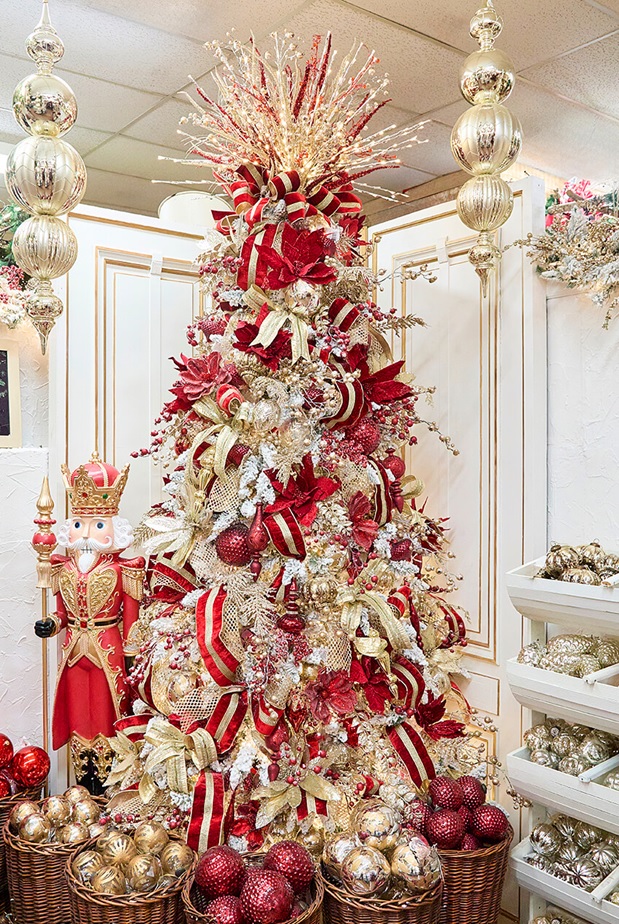
The Christmas season is upon us, and it’s the perfect time to elevate your Christmas tree game with a designer look that will dazzle and captivate your guests. Whether you're a seasoned decorator or a beginner, achieving a glamorous, show-stopping tree can be easy if you break it down into simple, manageable “layers” (steps) that will make it perfect for anyone, no matter your skill level!
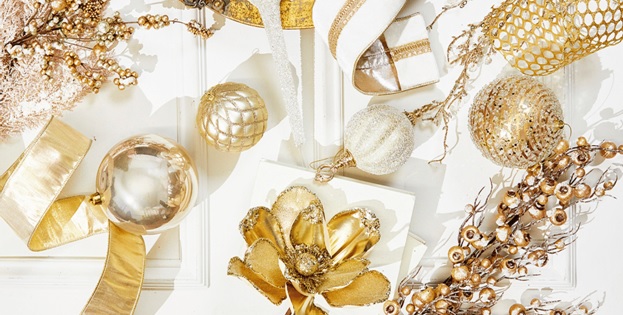
In today’s guide, we’ll walk you through a unique process for creating a stunning glam Christmas tree with highlights from our Natural Elegance collection, with luxurious champagne, gold, and some seasonal florals. If you’re looking for Christmas decoration ideas for your tree, this is a great place to start! Get ready to create a decorated Christmas tree that’s truly magical!

Step 1: Start with the Topper
A beautiful Christmas tree topper is the perfect way to set the tone for your entire tree. For this design, we’re using a floral cluster made up of four stems (two different Christmas tree picks and two Christmas flowers): a gorgeous flat leaf, frosted gold berries, and two types of florals. The key to a great tree topper is symmetry, so we’re using three clusters to ensure it feels balanced, even on a 7.5-foot tree.
Topper Placement Tips:
- Start by placing the flat leaf clusters first. Use the tree’s natural greenery to help anchor them securely.
- Work in layers, ensuring you have one or two large elements and then build with smaller pieces.
- Don’t forget to create a smooth transition from the topper to the body of the tree. In this case, we’re adding magnolia and poinsettia florals for a soft, elegant flow. Bend the stems slightly so that when you place them, the floral faces outward.
Pro Tip:
If you’re decorating a larger Christmas tree (like a 12-foot tree), consider adding 5–7 clusters at the top for extra fullness and impact.
Step 2: Add Ribbon for Texture and Depth

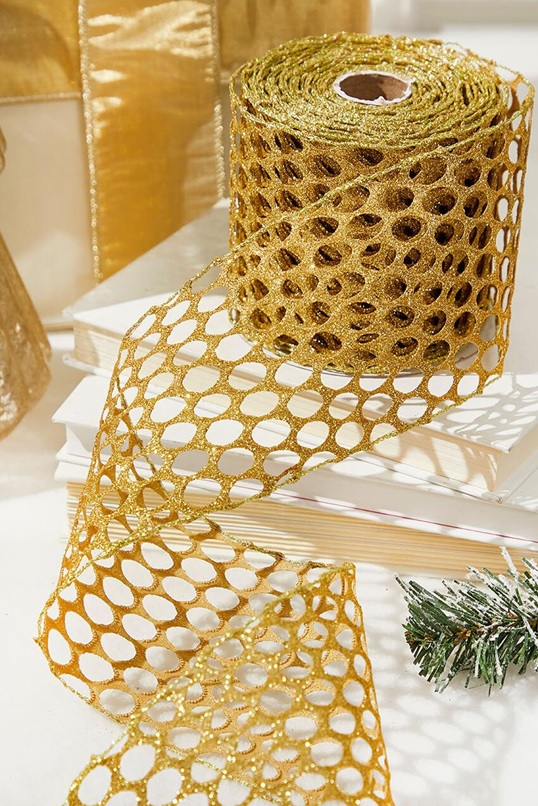
Christmas ribbon is one of the most transformative elements of a tree design. Not only does it add texture, but it also brings the entire look together. For this natural elegance tree, we’re using a combination of three ribbons:
- A champagne and gold embellished ribbon for the main layer.
- A solid, textural gold ribbon to complement and balance the design.
- A soft gold sheen ribbon as an accent to add dimension.
Ribbon Placement:
- Begin by folding your main ribbon into a fish-tail shape at the ends for a polished look.
- Create a two-loop bow at the base and then work your way up the tree, attaching the ribbon with floral wire to secure it in place. For a fuller look, ensure the loops are a little billowy.
- Alternate the ribbons, making sure to zigzag them down the tree. A good rule of thumb: for a 9-foot tree, you’ll need about 30-40 yards of ribbon.
Pro Tip:
To avoid gaps or holes, add your accent ribbons last. This will allow you to fill in any spaces that might need a little more color or texture.
Step 3: Floral Layering with Clusters and Sprays
This step is all about adding volume and visual interest through floral clusters and elegant sprays. The key to floral placement is layering, and we love to use a combination of florals and sprays for that perfect balance.
For our natural elegance theme, we’re using:
- Magnolia and poinsettia florals in soft ivory with a hint of champagne.
- Berry sprays for added dimension and texture.
- Gold and platinum berry sprays to add a little bit of glitz and glamor.
Floral Clustering:
- Create floral clusters by combining a variety of florals and sprays into one cohesive piece. Lay the flat leaf sprays over the gold berry sprays (they work great together because one is flat and the other has volume), then lay the floral’s stem alongside the other ones and angle the head outward.
- Once your clusters are assembled, insert them into the tree in a zigzag pattern, allowing each cluster to cascade down. This gives a natural, flowing look that doesn’t overwhelm the tree. (Another great thing about combining the clusters is that it simplifies storage!)
- Use the tree’s natural branches to hold your clusters in place, ensuring the florals look like they belong to the tree rather than just sitting on top.
Pro Tip:
When working with a 9-foot tree, aim for about 9 clusters. If you want more coverage, feel free to increase the number to 12 or 15. Conversely, for a lighter look, 5 or 7 clusters will work beautifully.
Step 4: The Finishing Touches—Ornaments and Accent Ribbon
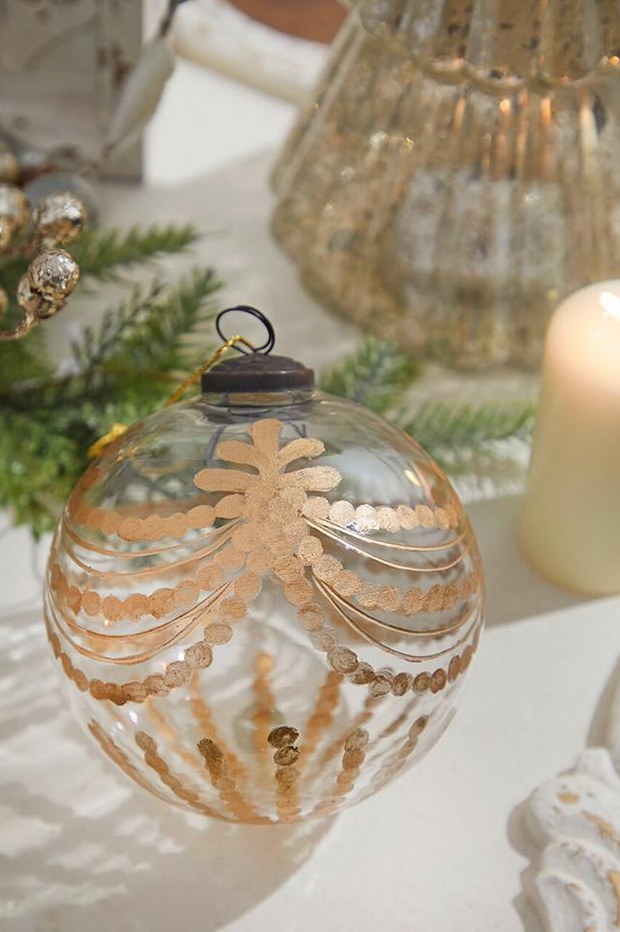
Now that your tree is full of florals, sprays, and texture, it’s time to bring in the final details with Christmas ornaments and accent ribbon. A designer tree often features a variety of ornament textures and sizes to keep things interesting.

Ornament Placement:
We suggest using a mix of:
- Shatterproof ornaments for filling gaps (they’re great for securing further into the tree).
- Textured, quilted ornaments for some extra glamor and contrast.
- Iced gold and clear ornaments to bring in that natural, frosted look.
How to Place Your Ornaments:
- Start with your shatterproof ornaments, placing them deeper into the tree to fill any holes.
- Work your way through the tree in a zigzag pattern, alternating ornament sizes for depth and visual interest.
- For the final touch, add a few finials (those elegant, elongated ornaments) to create a sophisticated finish.
Accent Ribbon:
To really bring everything together, you’ll want to add accent ribbons last. There are a couple different ways you can use accent ribbon, so this is where you can get creative! You can:
- Make a bow tie from your accent ribbon for a quick, easy, and chic addition.
- Use a one-loop bow to fill in any holes and add a bit of flair.
- Create a two-loop bow for a more substantial accent.
These little details will elevate your tree, giving it a professional, polished look. Use floral wire to attach the ribbon, and bend it as needed to fit the tree’s natural shape.
Get in on the Ground Floor with the Glam Christmas Tree Trend

If you’re looking for inspirational Christmas decoration ideas for your tree, a “glam” Christmas tree like this one is a great place to start. Glam decorating uses a lot of opulent details and precious materials and colors (like gold, platinum and pearl) to create a luxurious, glamorous aesthetic, hence the name.
That’s the trend this Christmas tree decorating idea follows, and all of the Christmas tree decorations in our Natural Elegance collection can be used to create a refined, elevated aesthetic for your home. Peruse the collection and get inspired!
Looking for More Christmas Tree Tips and Techniques?
And just like that, you’ve created a stunning designer Christmas tree that will be the centerpiece of your holiday décor! By following this simple 4-step process — Topper, Ribbon, Florals & Sprays, and Ornaments—you can achieve a glamorous, professional-looking tree without feeling overwhelmed. But, if you’re looking for a helpful visual guide, feel free to check out the complete video on our YouTube channel - and be sure to like and subscribe!
Whether you prefer classic elegance, a whimsical holiday theme, or a modern twist, this process can be adapted to suit any style. And if you’re inspired by the ideas offered by this tutorial, all the pieces are available for purchase right here - just check out our Natural Elegance collection.
Happy decorating! Your BEST Christmas EVER starts right now!
