September officially kicks off our fall festivities with pumpkin-spice-everything, scented candles, and fall decor planning. This time of celebrating the changing season gives us permission to accentuate the front of our home with color, texture, and fun!
We know that many people jump into their decor ideas in September — and with the twists and turns that 2020 brought our way — who isn’t ready for some bright elements, mums, and pumpkins to cheer you and your neighbors
Steps to Crafting Your Fall Swag
Whether you traditionally do an autumn wreath for your front door — or you’ve already moved to a door hanging piece — we wanted to share one of the ways we recommend incorporating fall into your home's decor, our favorite fall swag!
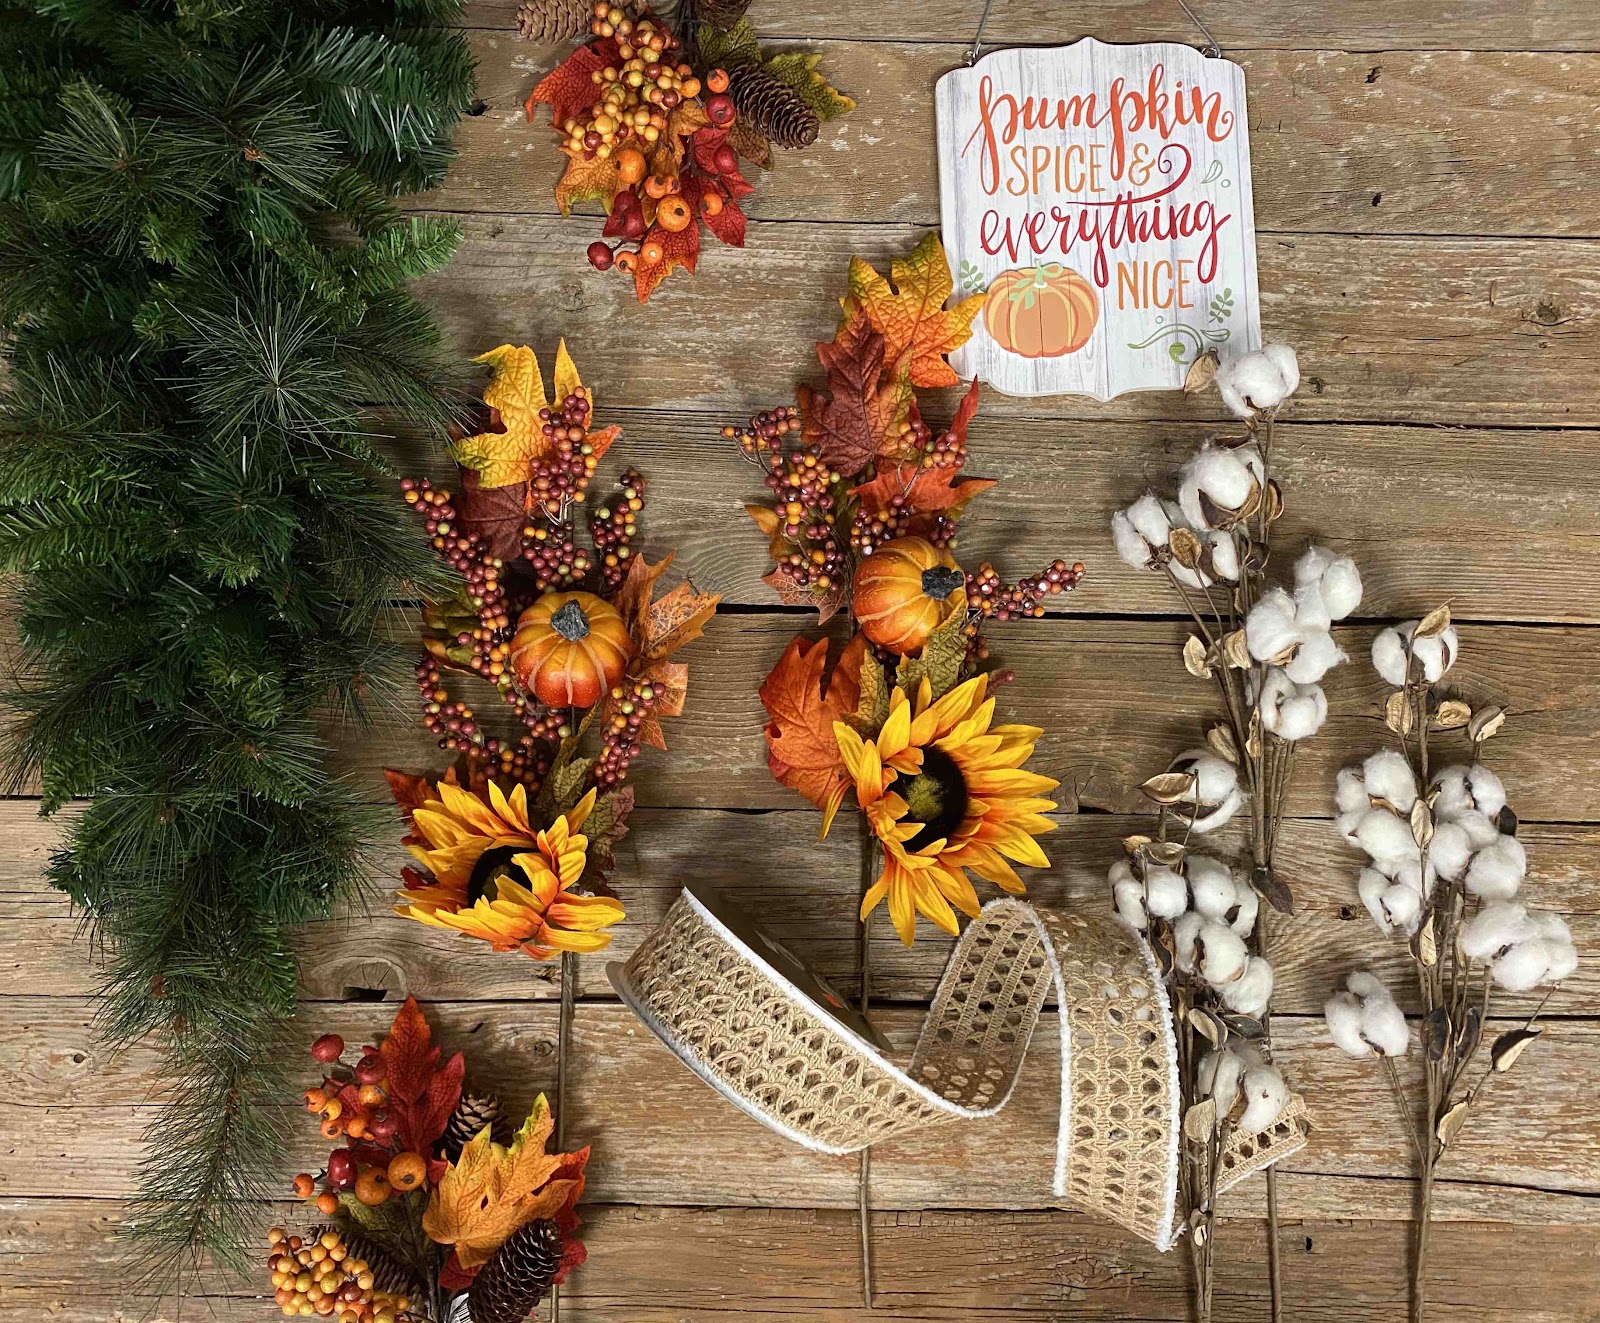
Here’s a list of what you’d need to recreate this farmhouse swag and how to assemble your new decorative piece!
- Teardrop Base
- Pinecones or pre-made swag
- Blessings Hoop
- 3 Cotton Picks
- 3 Berry Picks
- 3 Magnolia Leaf Picks
- Hot Glue Gun
- Floral Wire

Step 1: Assemble the Base
The base of the swag is so important as it provides the backdrop and fullness that will give the swag it’s shape and structure. Pre-made swags are a great way to achieve a designer look quickly. When you’re adding to your initial base, flatten out the greenery on the teardrop and lay the pre-made swag on top. Utilized the greenery to wrap around the spine and secure it in place.


Step 2: Add the Ribbon
Start with a swag base and your choice of ribbon. Use a pre-made bow or create a bow and place at the top of the swag. Using the floral wire from your bow to secure, wrap the wire around the spine of the swag. Weave the ribbon through the base, creating 3 loops, entwining the branches and ribbon to hold.
This step leaves a lot of room for imagination! You can use as much or as little ribbon as you'd like. We chose this rattan-inspired ribbon for it's color, texture, and warmth. Be sure to use elements that complement each other to achieve a cohesive and timeless look.


Step 3: Secure the Focal Points
Add 2-3 larger focal points — pumpkins or signs — and use hot glue to secure them to the swag base. Our embroidery hoop decor fit perfectly with the vintage vibes and cool color scheme!

Step 4: Make it full and fun!
Add floral picks and sprays, using hot glue to secure, creating a full look through the swag! If you have larger picks, use wire cutters to cut them into 2 or 3 smaller pieces.
We chose a soft creamy berry spray and coupled it with the cotton picks that are so on trend for this year! Add as much or as little texture as you prefer. But we LOVE a full swag that's bursting with all the right elements.


Step 5: Enjoy!
That’s all it takes! Within 30 minutes to 1 hour, you will have your very own one-of-a-kind fall item for your front door decor! Hang your custom swag on your entryway and know that you’ll enjoy it for years to come!

Pre-Made Kit
Looking for something to help you in the process? We’ve made it easy for you to create your own piece — head over to the festive sunflower fall swag kit to purchase everything you need!
Or if you’d like to assemble your own unique modern or farmhouse style piece, here are some of our favorite elements that you could match to your existing home decor and incorporate into your swag.


Have fun with it and maybe get a friend or two to join you in crafting a unique piece for your front door!