
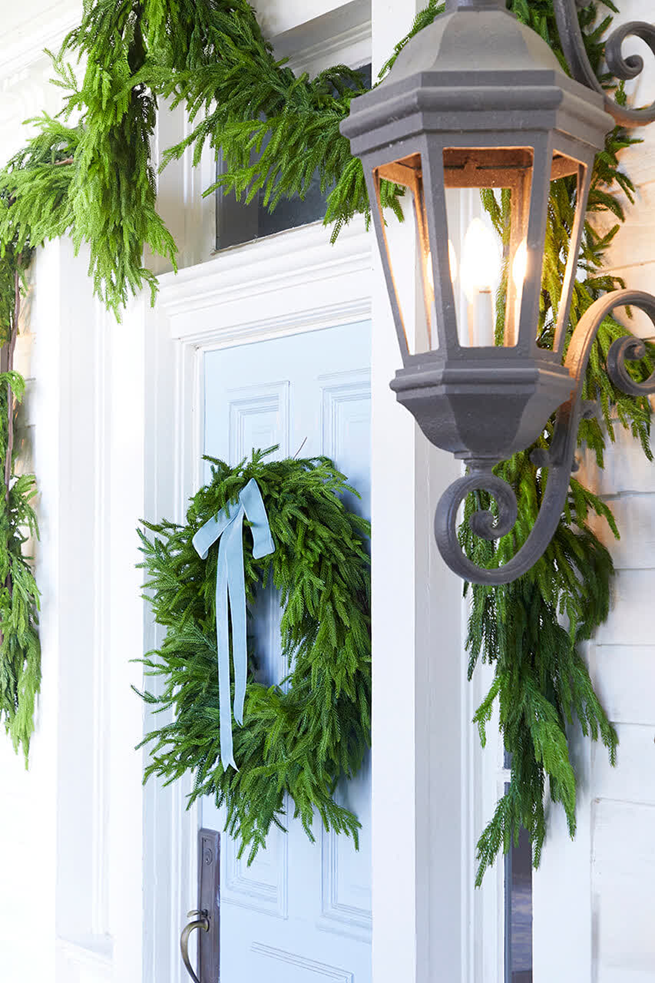
A lush greenery wreath is beautiful on its own, whether displayed on your front door, over a mantel, or in a window. But with a few thoughtfully layered embellishments, it can become a custom designer piece that serves as a stunning focal point for your holiday décor.
The secret to creating a professionally decorated wreath is layering. By building your design one step at a time—from ribbon to picks and sprays, then ornaments and finishing details—you'll create depth, dimension, and a cohesive look that coordinates beautifully with the rest of your Christmas decorations.
Below, we'll walk you through the decorating process step by step so you can transform a simple wreath into a show-stopping holiday statement.
Step One: Christmas Lights (Or Start with a Prelit Wreath)
The first step in decorating a Christmas wreath is to add lights, and you have many options with how to proceed.
There’s more than one type of lights you can add, also. Some popular options are C9 Christmas lights, which produce a warm, vintage effect, along with C7 lights, which are the same basic shape but which are a bit smaller.
Other popular alternatives include twinkle lights (which can be customized in the effect they produce) as well as mini 5mm LED lights.
Adding lights to a Christmas wreath is easy, too. Before you add them, switch the lights on. That way, as you add them, you can step back to be sure that they are evenly distributed around the wreath.
As you weave the lights into the wreath, use the wreath tips to secure the lights. You can also wrap the light strand around the wreath frame to secure it, but do what works for you, and what you think looks best.
You can skip this step if you’re working with a prelit wreath, which will naturally save you some time and effort in your Christmas decorating.
Step Two: Christmas Ribbon
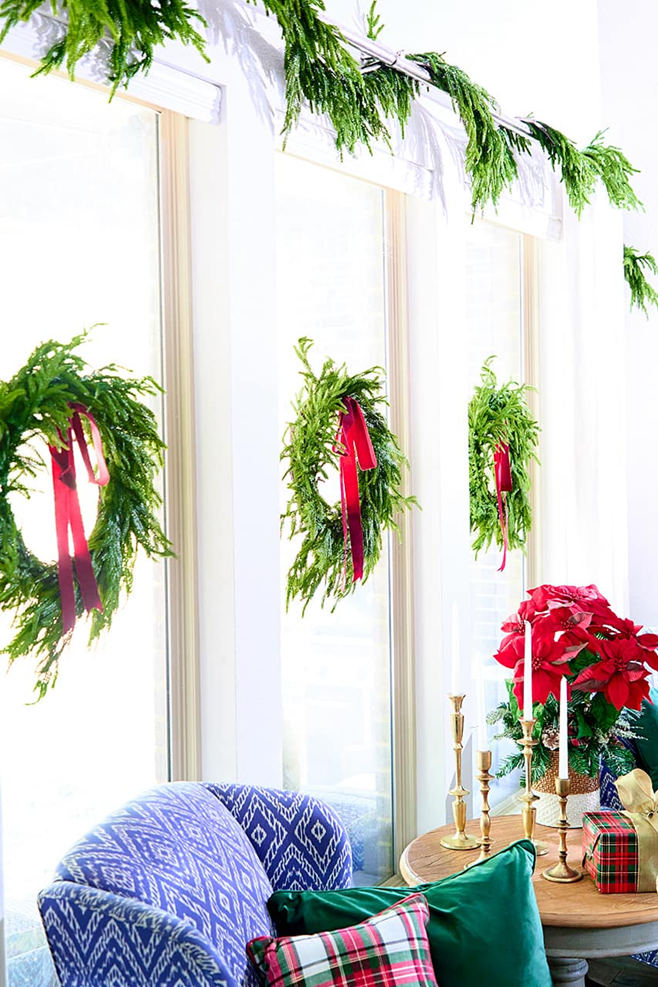
After you’ve added lights to your wreath, you can add some ribbon, which is also easy to incorporate into your Christmas decorating.
Ribbon is often the element that brings a wreath to life. Layering coordinating ribbons adds movement, texture, and color while creating the depth and dimension that make a custom-designed wreath stand out.
You can decorate with one style of ribbon, but we recommend choosing two from the same collection, or choosing two that are compatible in terms of color or style.
We recommend choosing ribbons that vary slightly in terms of width, thickness, or texture, which will add interest to the wreath.
Once you’ve chosen your Christmas ribbon, cut a few lengths of ribbon and nestle it into the wreath. Pull some of the ribbon forward to create a billowing effect.
You can also create a bow from the ribbon (or ribbons) you’ve chosen and use that to decorate the wreath.
Step Three: Christmas Picks and Sprays
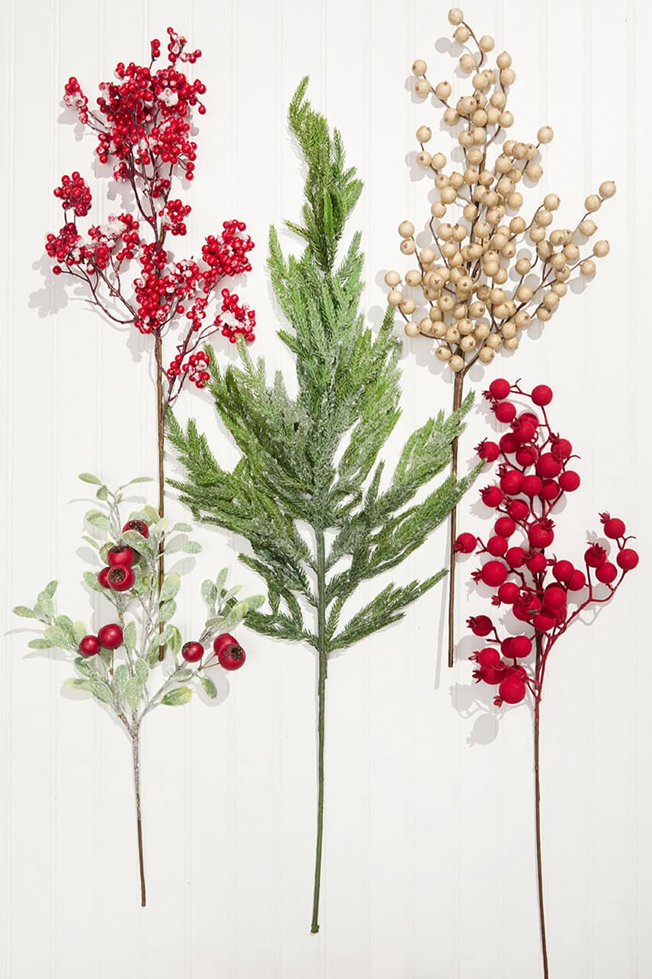
Once your wreath has been accessorized with Christmas lights and ribbon, you can add some picks and sprays.
This step is definitely optional, but a wreath that’s decorated with picks and sprays, like one that is adorned with ribbon, will look fuller and more colorful.
The same design principles apply here as they do when choosing ribbon. Start by selecting a Christmas collection or theme you love, then choose two or three coordinating picks and sprays that vary in texture, shape, and scale. Layering complementary elements creates depth while giving your wreath a cohesive, professionally designed look.
Insert these into the wreath where there appear to be areas that need a little color or a little more filling out. You can cluster them together to create a more focal point within the wreath as well.
Step Four: Christmas Ornaments
Now we can get to the final step, which is to add some Christmas ornaments to add some additional pops of color and to add light and sparkle where there are any remaining voids in the wreath.
One easy way to do this is to explore the collection from which you selected your Christmas ribbon, picks and sprays. Look through the ornaments in that collection and choose two or three that are aligned in terms of color and style. It’s also advisable to choose a few different sizes as staggering the size will add relief to make the wreath more visually appealing.
Nestle these into your wreath, step back and admire your creation, you’re almost ready to hang it.
One final tip: If your wreath will be displayed outdoors or in a home with children or pets, consider using premium shatterproof ornaments. They offer the same elegant look as glass while providing added durability, making them less likely to break if bumped or dropped. It's a simple way to enjoy a beautiful designer wreath with a little extra peace of mind.
Hang the Christmas Wreath and Admire Your Creation!
Now that you’ve completed your Christmas wreath, choose a spot to hang it, step back and admire your creation. Also, take a picture, share it with us on your socials by tagging us at #dwchristmas for a chance to be featured.