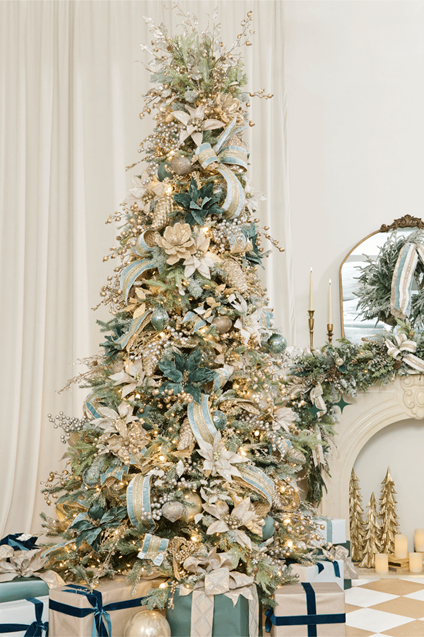
Decorating a Christmas tree can often feel overwhelming during the busy holiday season, especially if you want it to look like something out of a designer showroom. The good news is that with the right approach and a few professional techniques, you can create a stunning tree that looks both polished and personal.
In this guide we’ll walk you through our trusted four-step layering process that anyone can follow at home. With just a little planning, and the right Christmas decorations, you can transform your tree into a festive masterpiece.
Step 1: Start with the Topper
Every designer tree begins with a crown: the topper. This is the focal point that sets the tone for the entire design. Instead of using a single piece, consider layering several stems and sprays to create a full, dimensional look.
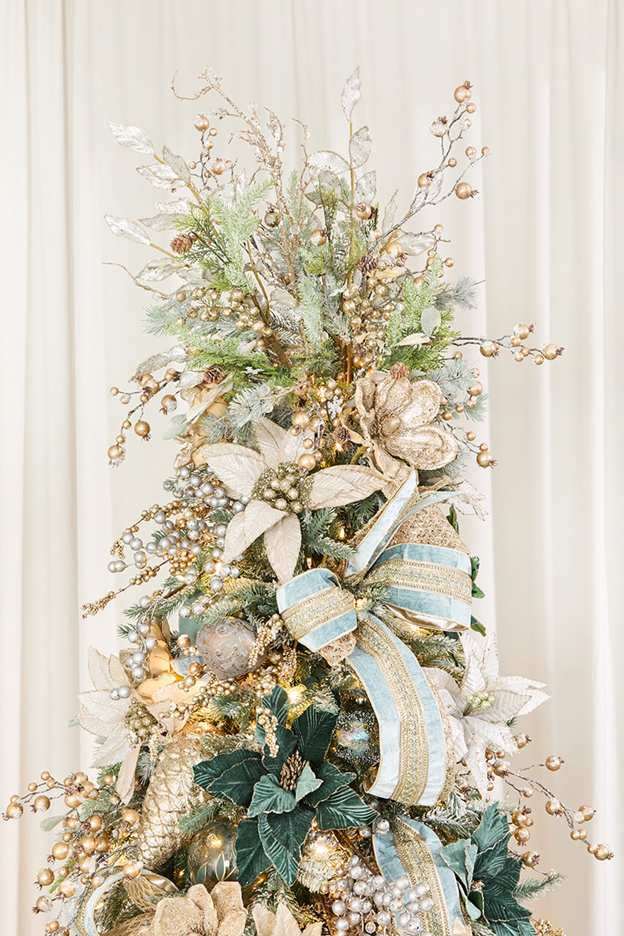
- Choose different profiles: A tall element like jeweled stems, a round element like berries, and a flat element like leaves work beautifully together and create a dynamic look. You want varying heights and textures to give it a cascading look and full appearance!
- Anchor your stems: Use the branches of your tree itself to wrap and hold the stems securely in place. This saves you from needing additional tools and keeps everything stable. If you’d like to wire it in, floral wire is another option!
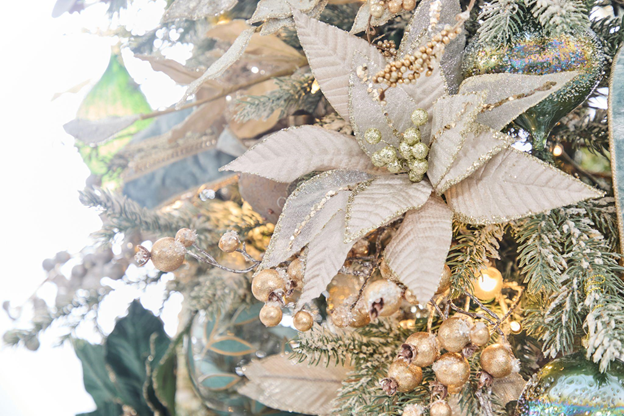
- Add florals at the base: Place poinsettias, magnolias, or other Christmas flowers at the base of the topper. This helps transition the design into the body of the tree while also hiding the mechanics of how the stems are secured.
For added convenience we also have Christmas tree topper bundles with several themed sprays that take all of the guesswork out of putting together a complete look.
Decorating tip: For tall trees, step down from your ladder and view the topper from across the room. What looks balanced up close may need adjusting when viewed at eye level.
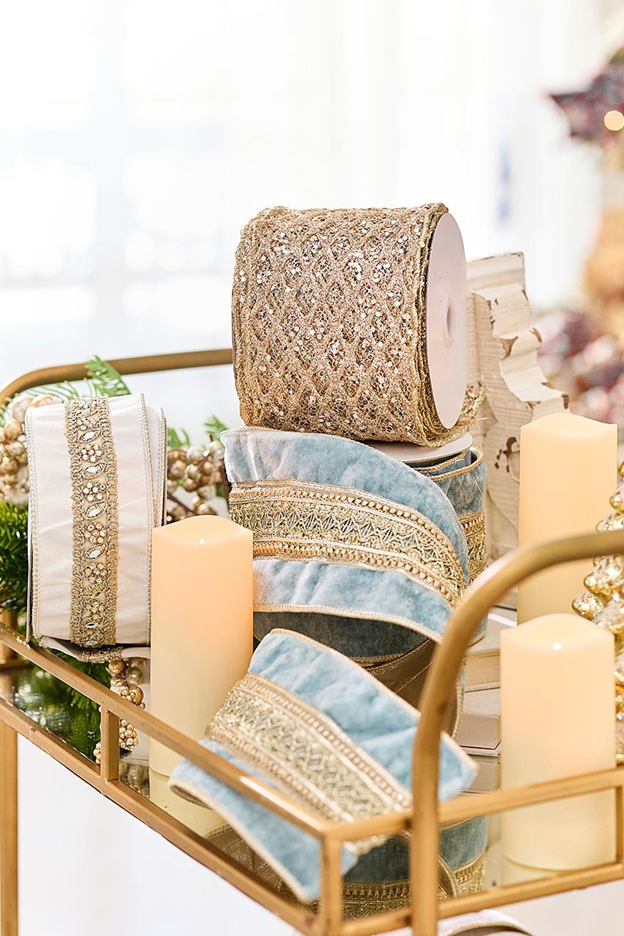
Step 2: Layer in the Ribbon
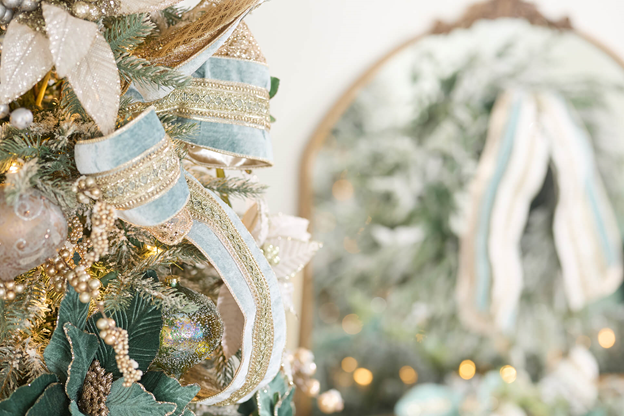
Christmas ribbon is what gives your tree movement, flow, and personality. We suggest pairing one bold, showstopper ribbon with one that’s more textural or understated, such as velvet.
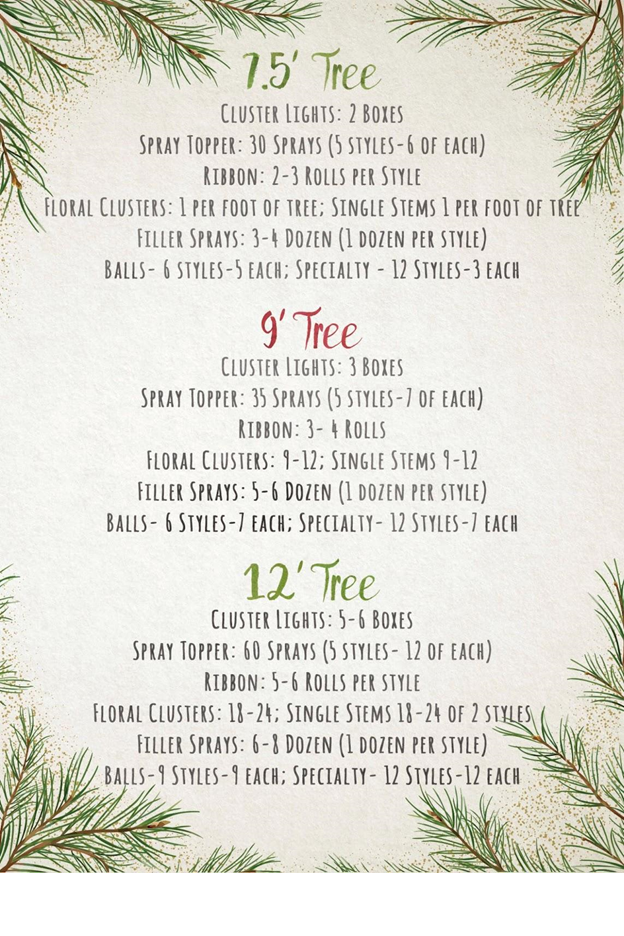
- Designer Recommendation: For a 7.5-foot tree, 20–30 yards works well. 30-40 yards for a 9’ tree and 50-60 for a 12’ tree if you are using it as the main ribbon in the body of the tree.
- Cut with intention: Trim the ends at an angle or fishtail cut for a professional finish.
- Shape and secure: Make simple two-loop bows and one-loop tails. Use the wired structure of the ribbon to create billows, letting it cascade naturally down the tree. Secure ribbon directly to branches by twisting them around the fabric.
- Zigzag placement: Don’t just let your ribbon fall straight down. Zigzag across the tree to ensure even distribution and dimension.
Decorating tip: Even short leftover ribbon pieces can be tucked into small gaps to add bursts of color; never let good ribbon go to waste.
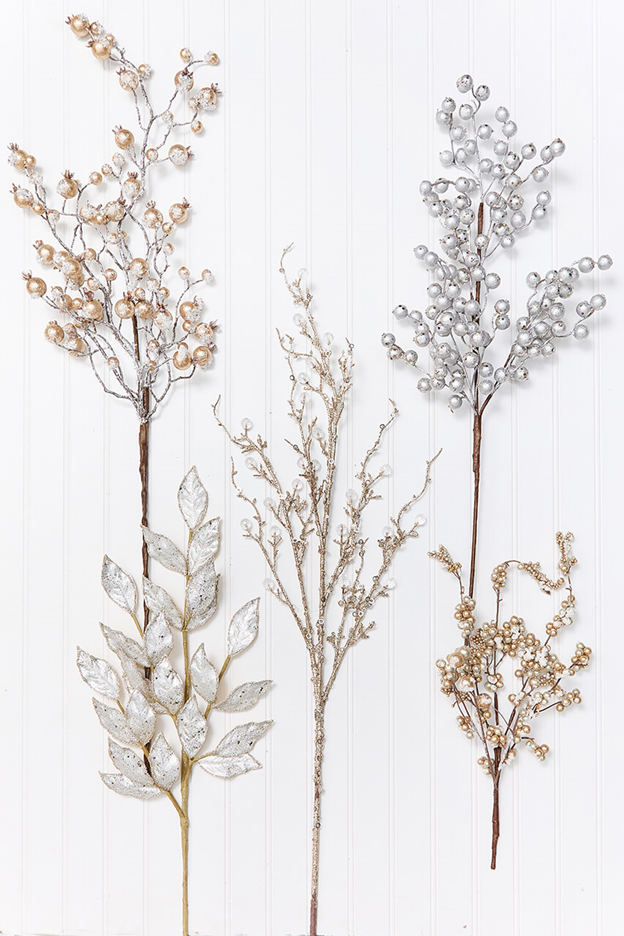
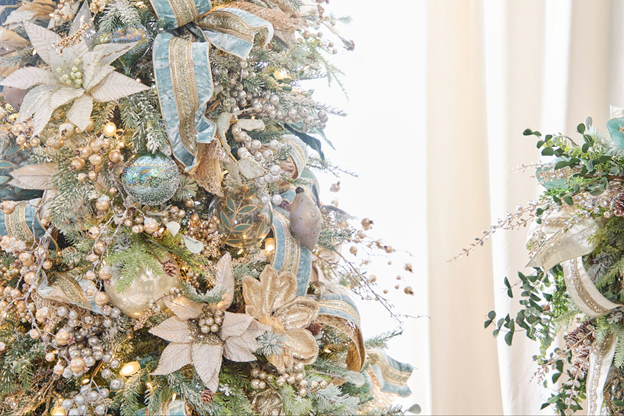
Step 3: Add Florals and Sprays
Florals and sprays add life, volume, and texture to your tree. We use these approaches:
- Floral Clusters: Group three to four stems together, such as magnolias, poinsettias, and textured sprays. Wrap one of the stems around all the stems, so they appear as one cohesive piece. A good rule of thumb: use as many clusters as your tree is tall (e.g., nine clusters for a 9-foot tree). Zigzag them down the tree for balance.
- Single Stem Florals: Place single stems between the clusters, again in a zigzag pattern. These fill in gaps and tie the whole design together.
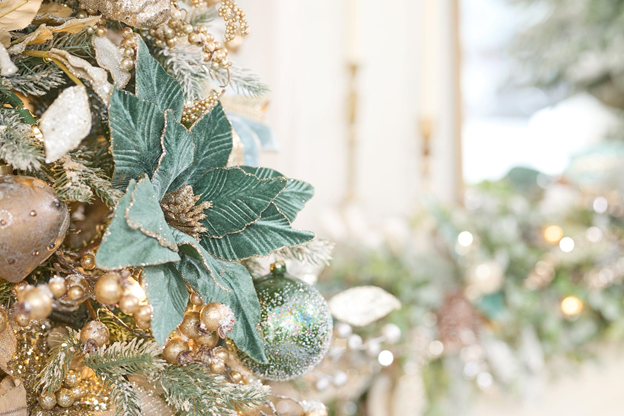
- Sprays for Texture: Finally, add in Christmas sprays with height and variety: jeweled stems, leafy branches, berries, or crab apple sprays. These bring dimension and depth, ensuring your tree doesn’t look flat.
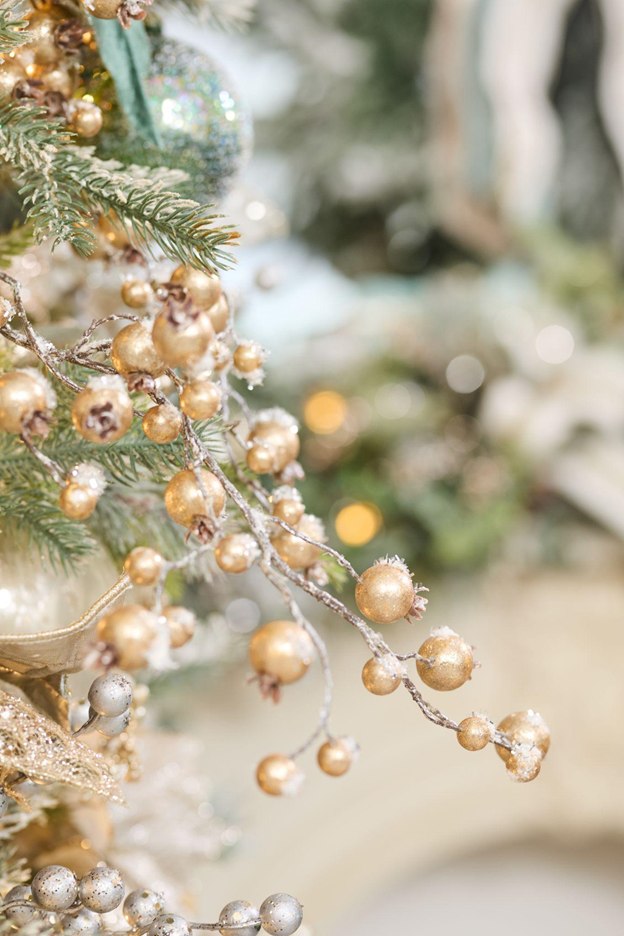
Decorating tip: Always mix textures. If every spray were a berry, the design would look one-note. Combine leaves, glittered stems, and different finishes for the best result.
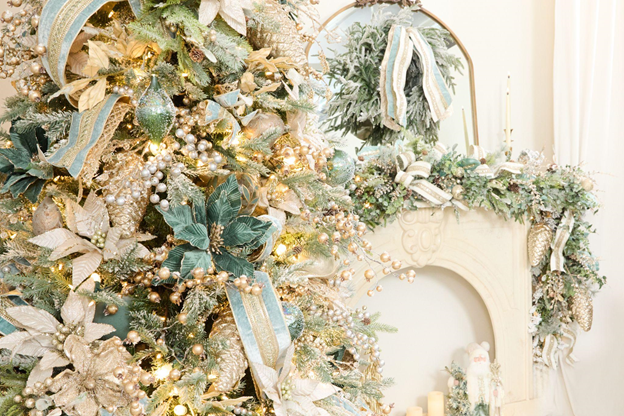
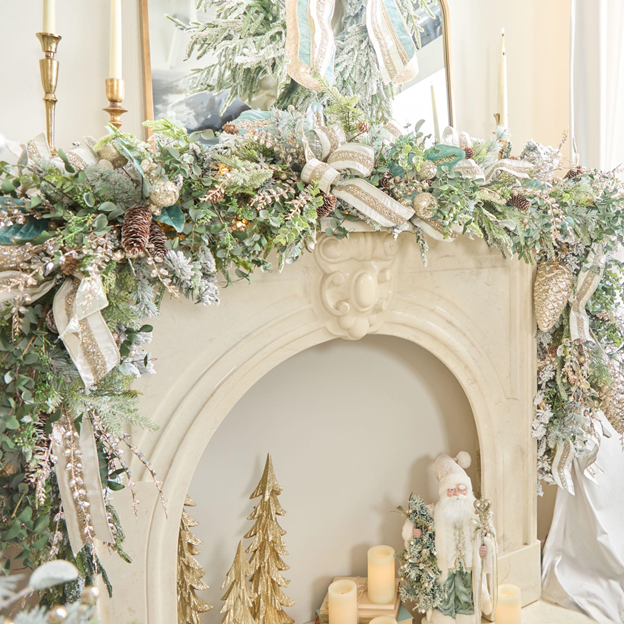
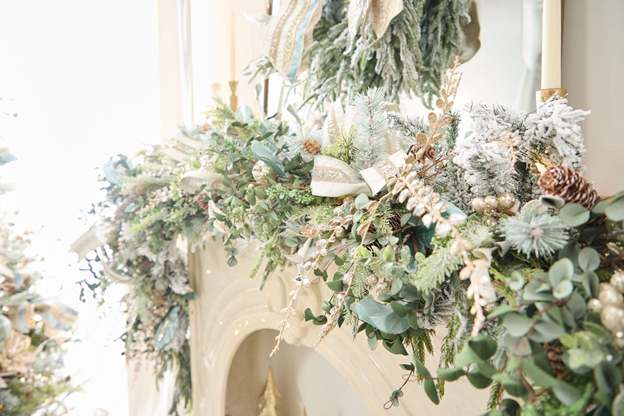
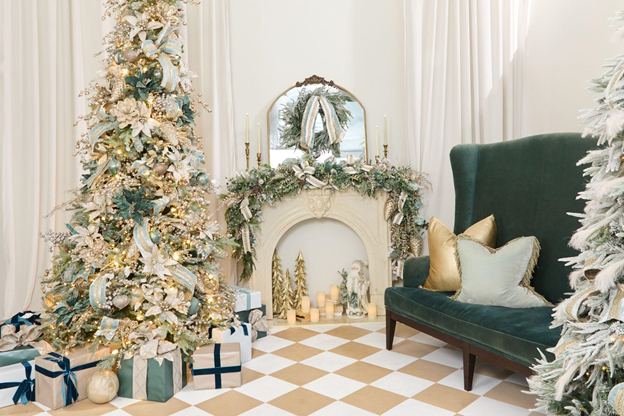
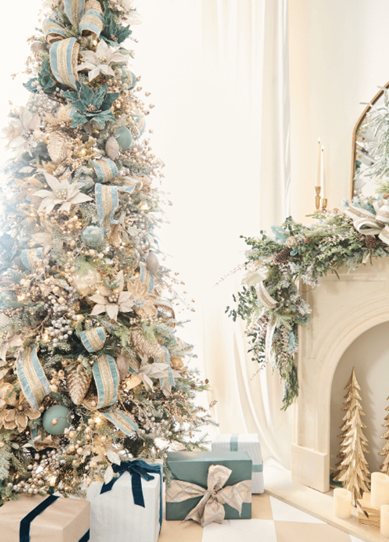
You can use your Luxe Noel Christmas Bundle as the starting point and then get the inspiration to build this luxe look for your mantle with many of the same coordinating ribbons, sprays, and more! Simple start with two prelit PVC (flocked or green) garlands, anchor them in, add a whimsical Christmas garland over that and voila! An amazing base to decorate! If you’d like to shop all of these looks, visit our Luxe Christmas Collection for all the options!

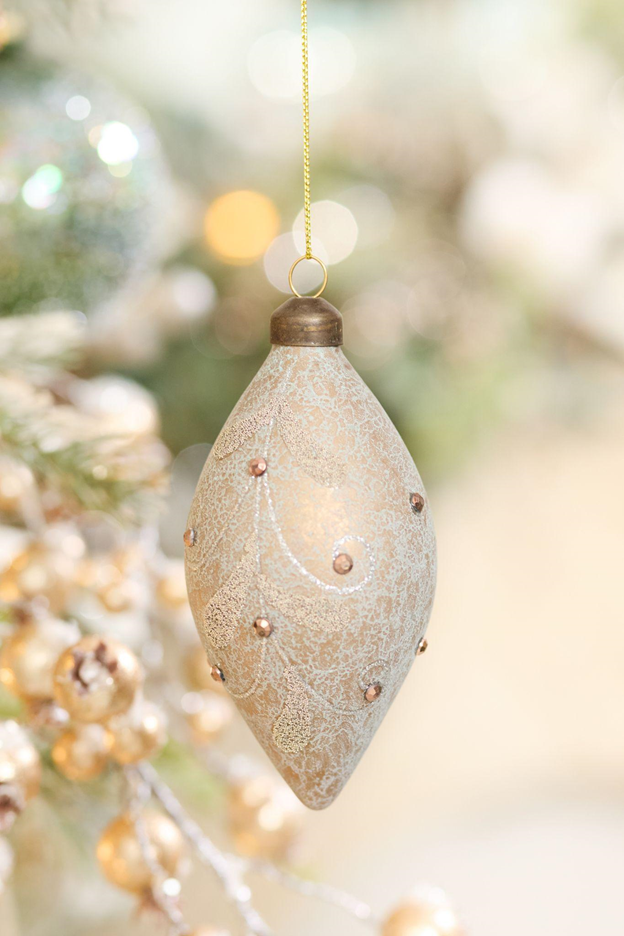
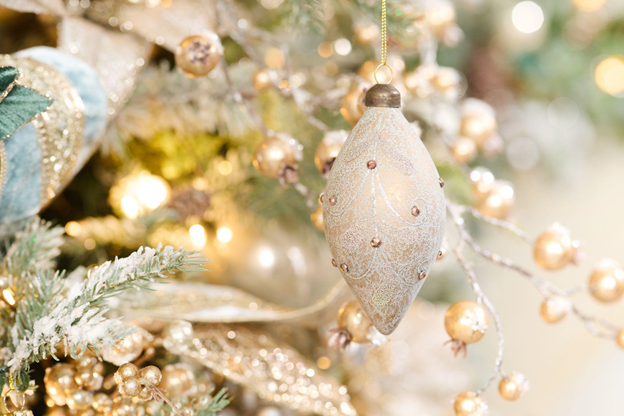
Step 4: Finish with Ornaments
Once the topper, ribbon, florals, and sprays are in place, Christmas ornaments become the final detail. Think of them as accents rather than the main focus.
- Start with shatterproof ornaments: Use larger, lightweight pieces to fill depth and cover open spots closer to the trunk.
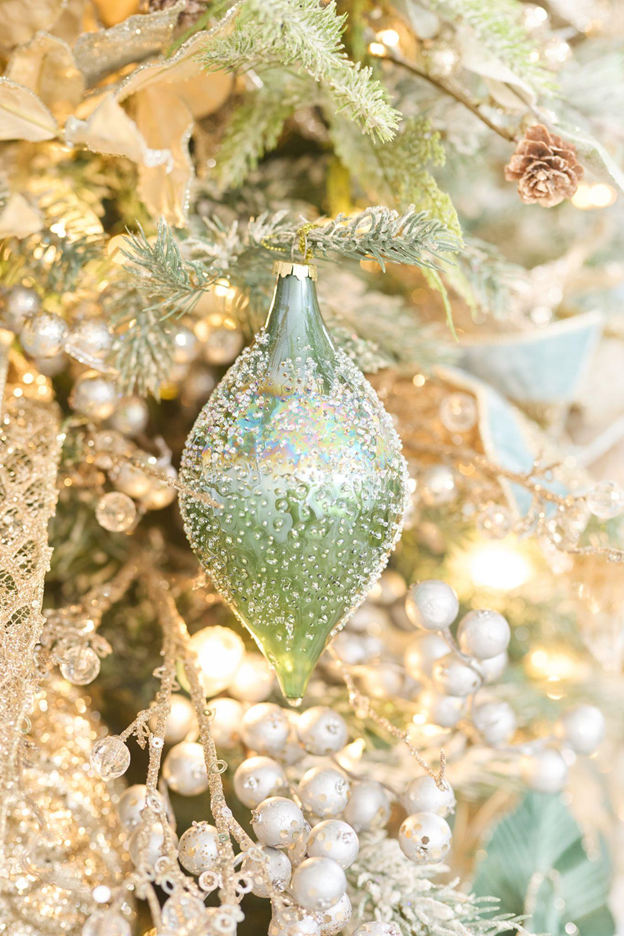
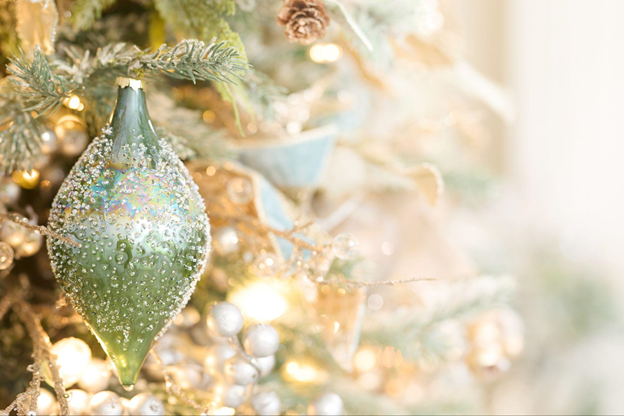
- Layer in statement ornaments: Glass, jeweled pieces, or pinecones add shine and character. Use floral wire to secure heavier pieces so they stay in place.
- Mix finishes and shapes: Matte, shimmer, and glitter ornaments in different shapes (balls, finials, onions) create interest.
- Zigzag your placement: As with ribbon and florals, place ornaments in a zigzag pattern to avoid clustering everything in one area.
Decorating tip: Since ribbon, sprays, and florals are already creating depth and texture, you don’t need to overload the tree with ornaments. Just enough to add sparkle and polish and everything will come out looking balanced.
Our Decorating Secret: Layering
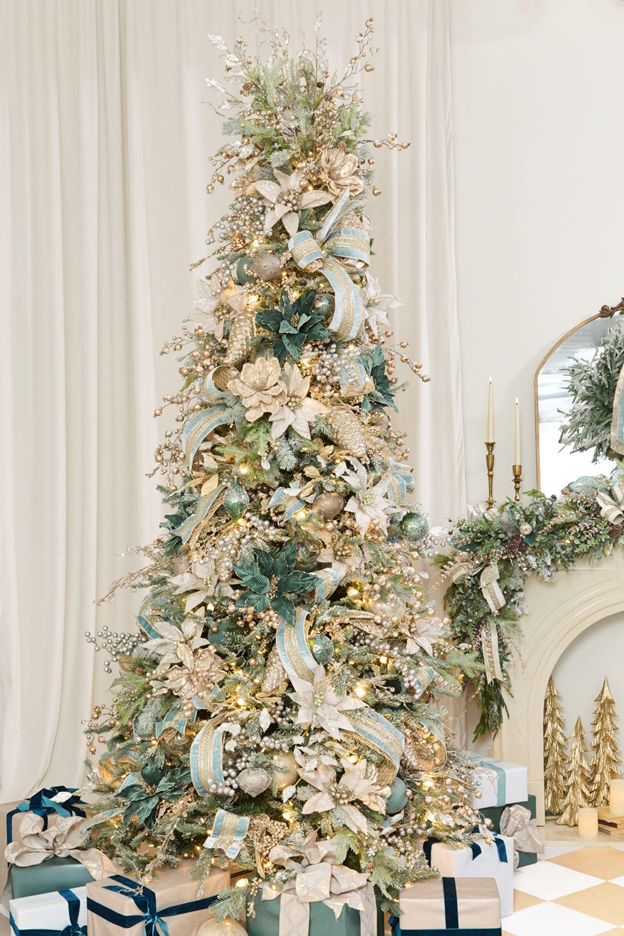
The real secret to decorating a designer tree lies in layering. Our process builds the design step by step:
- Topper: Crown your tree with dimension and height.
- Ribbon: Add flow, movement, and visual anchors.
- Florals & Sprays: Bring life, color, and texture.
- Ornaments: Provide sparkle, shine, and finishing detail.
By layering carefully in this order, every element works together harmoniously instead of competing for attention. This layered approach also ensures the tree decorating process is tackled in easy to manage chunks that make the whole process feel easier.
Watch Kristin, our main designer help take this tree from good to glamorous in a few easy steps!
[https://www.youtube.com/watch?v=EQk5yobFTpk]
Simplify with Bundles
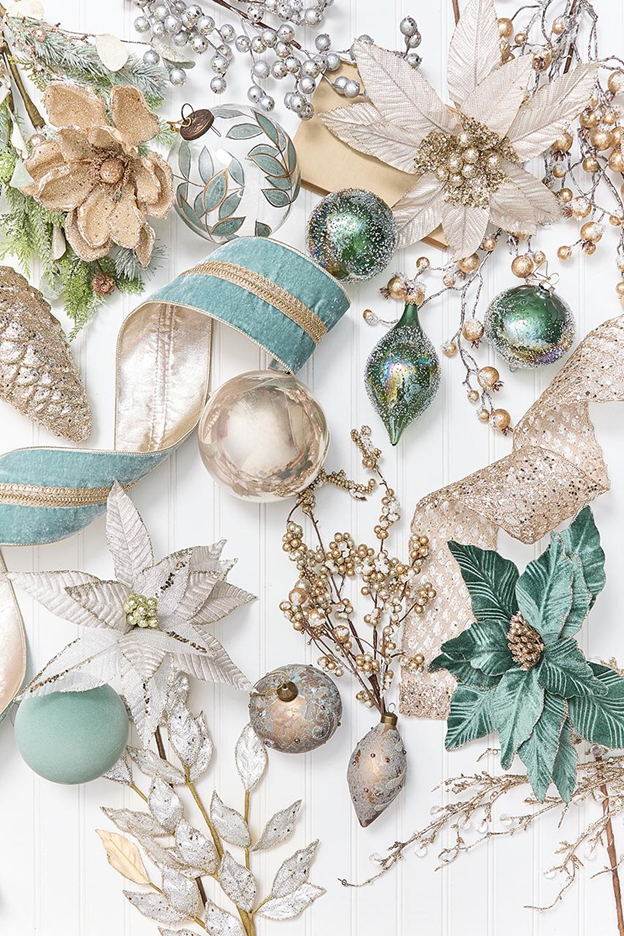
If you love the idea of recreating a professional holiday design but don’t want to piece everything together, you’ll love our Christmas tree bundles. This Luxe Noel package includes the ribbon, sprays, florals, and ornaments shown in the design, shipped directly to your home. With the bundle and a guide like this one, you can achieve a designer-quality look without guesswork.
Decorate Your Tree Like a Pro!
Decorating a Christmas tree doesn’t have to be intimidating whatsoever. By breaking it down into layers with our process, you can approach decorating with confidence. Start with a beautiful topper, let ribbon set the stage, layer in florals and sprays for volume, and finish with your favorite ornaments to tie it all together. Follow this method, and you’ll not only have a stunning Christmas tree, you’ll have a holiday centerpiece that makes your whole home feel warm, festive, and full of cheer.
Looking for more inspiration? Our Official Youtube Channel is full of helpful decorating tutorials and tips that will have you transforming your home from top to bottom this holiday season!