
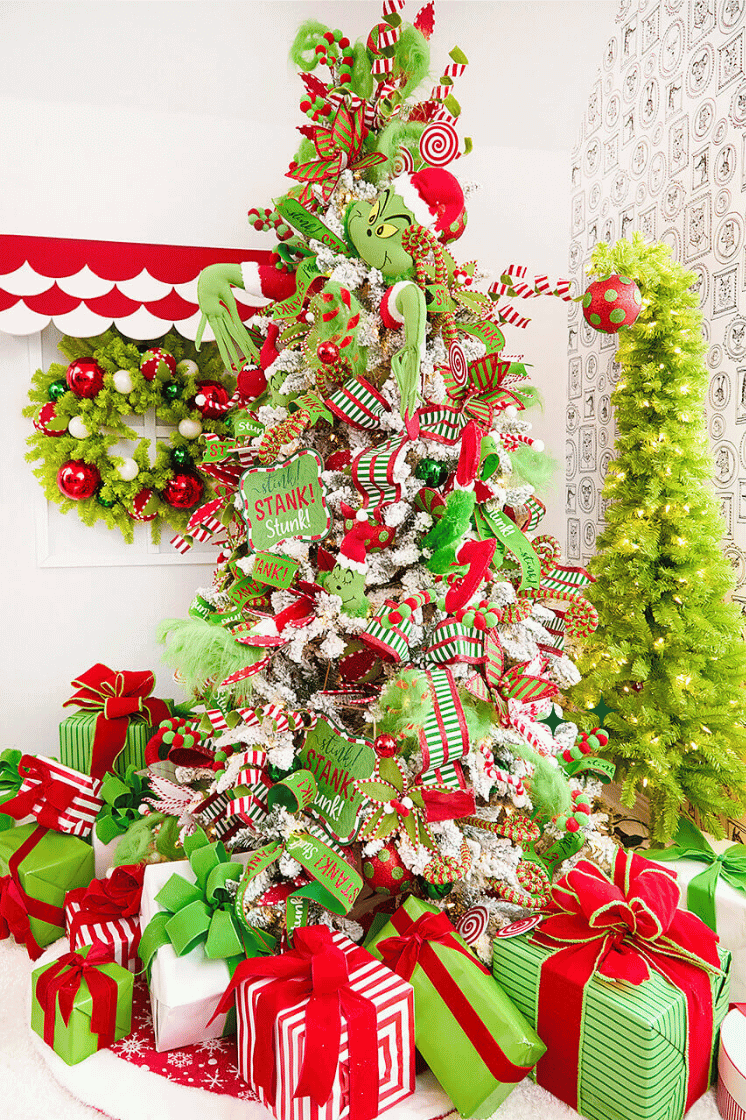
Want to change things up and decorate your home with a Christmas tree that looks like it’s been professionally designed this season? Here’s just about everything you need to know.
Pick a Theme
Having a plan is the most important part of decorating like a professional. There are many different themes you could settle on, too. Are you looking for something classic, like red and green, or perhaps something opulent, with jewel tones and silver and gold accents? Or a white Christmas theme, or a woodland or rustic aesthetic? Maybe you’re interested in a throwback vibe. Either way, success starts with a vision, and a theme will help make sure everything is tied together.
Shop our entire assortment of Christmas collections to get some inspiration and select your Christmas decorations from out of that collection to keep everything balanced and harmonious.
Assemble and Fluff the Tree
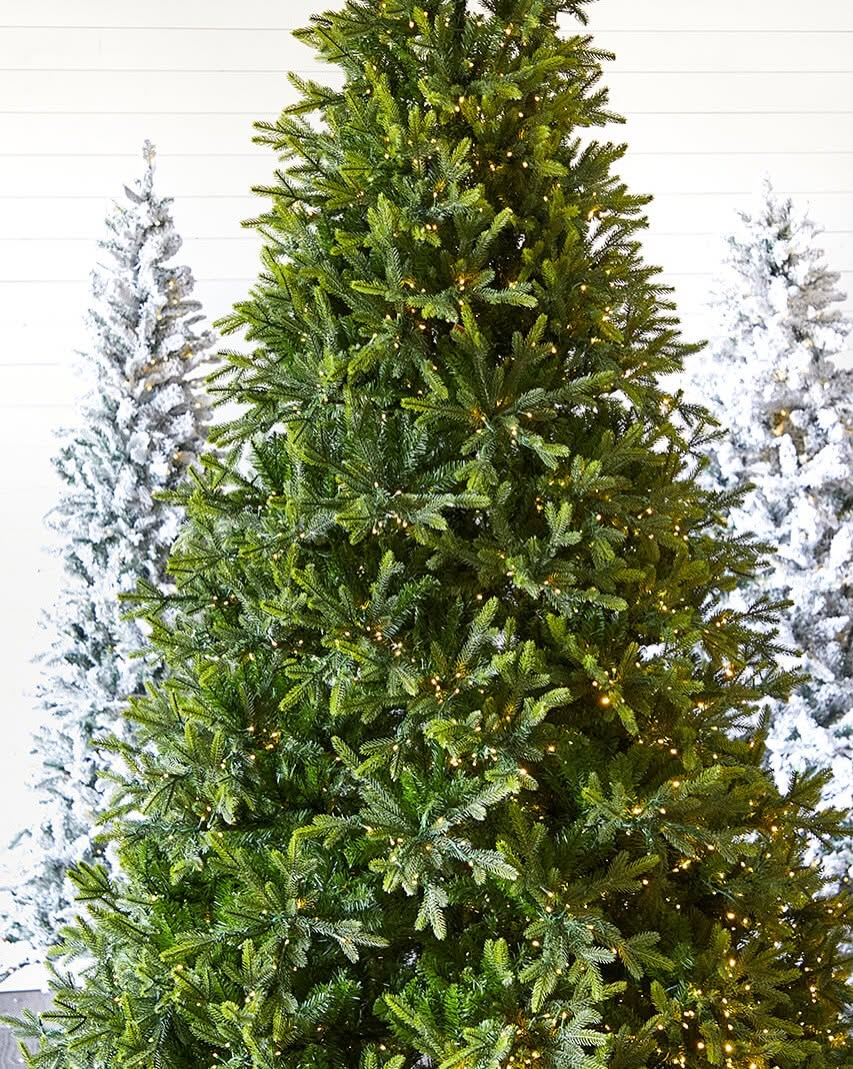
Once you’ve settled on a theme and actually set up the tree, the next most important step is to fluff the tree. Any tree can benefit from a little fluffing that will make it look fuller and healthier. Here are some tips:
- Ask for help; having a partner will give you a second set of eyes.
- Start with the inner branches and work your way out.
- Make sure no two branch tips are next to each other; set them at angles to fill out the tree so it looks more lush.
- As you work, take a step back from time to time so you can see what the tree looks like from afar.
Take your time and take breaks to step back, so you can see which areas of the tree look fuller than others. Then go back to these sections and make adjustments as you work.
Add Christmas Tree Lights
Once the tree is fluffed, you can add lights (unless you have a prelit Christmas tree, or just want to take it over-the-top with even more lights (we see you Clark Griswold). Plug the lights in as you work so you can make sure they’re working before you start.
Start at the bottom of the tree and weave the lights in and out of the branches. Step back every time you make one pass around the tree, so you can make sure that the lights are evenly spaced and that the tree looks balanced.
Alternatively, start with a prelit Christmas tree and you can skip this step!
Add Christmas Ribbon
Once the lights are added, you can add Christmas ribbon to the tree. Two great ways to add ribbon to a Christmas tree are by using a billowing effect or by creating small bows and adding them to the tree. You can also do both. For more detailed, step-by-step information, see our YouTube video, How to Add Ribbon to Your Christmas Tree.
Adding Christmas Ornaments: Tips for a Professional Look
Once you add ribbon, you can start adding Christmas ornaments. Here are some tips for a polished, professional look.
- Save time with Christmas ornament sets.
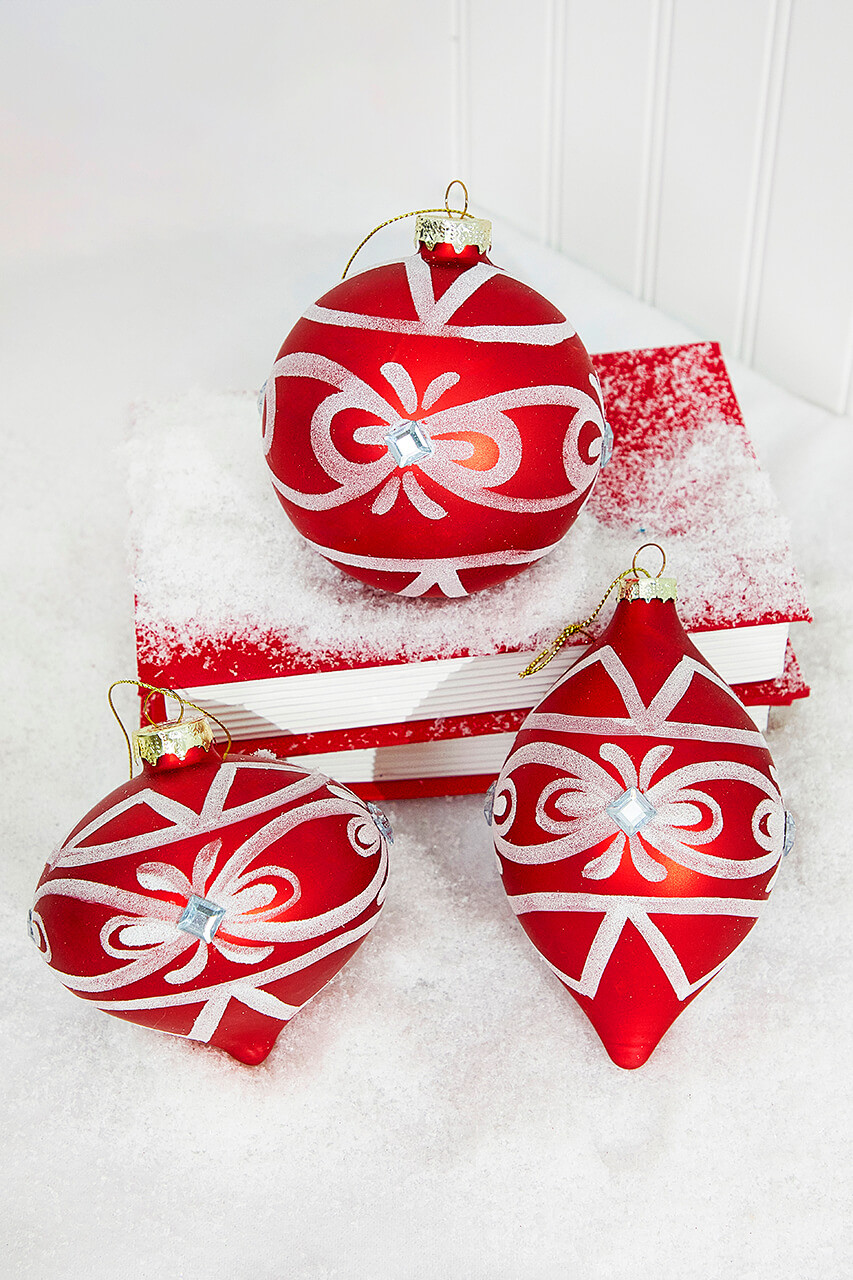
To save time choosing ornaments, choose a few Christmas ornaments sets from the themed collection you’ve selected for your tree. A few different Christmas ornament sets will give you some variety and save you a little time and effort.
- If you have pets or small kids, try shatterproof ornaments.
Little kids and pets can jostle the tree and knock down glass ornaments; shatterproof ornaments are much more durable and are nearly impossible to tell apart from the real thing.
- Stagger your ornament sizes.
If you do choose your ornaments yourself, choose a few different sizes and shapes. The variety of shapes and sizes will add depth and intrigue to your design..
- Place ornaments not just on tree tips, but deeper in the branches.
Placing ornaments deeper within the tree, as well as on the branch tips, will give the tree depth and make it appear both more complex and more visually alluring.
Adding Picks, Sprays and Florals
With ornaments added, step back and look at the tree for areas that need a little extra color and attention. These are areas where you can add Christmas picks, sprays and florals to fill out the tree and add dimension.
Additional Tips
Now that you have the basics of easy Christmas tree decorating hammered out, here are a few more tips.
- Create your tree topper. While you can choose a prefabricated tree topper, you can also make a tree topper for your Christmas tree with a few of the different picks and sprays you used to decorate the body of your tree. For step-by-step instructions, see our video, Designer Christmas Tree: Step 1 Tree Topper.
- Focus on gaps. Even with the tree filled out with ribbon, ornaments, picks, sprays and florals, take a step back or get a friend to look at the tree from across the room with you, from different angles, so you can see areas of the tree where more Christmas decorations are needed, then add them.
- Add a Christmas tree skirt. No Christmas tree is complete without a tree skirt that matches the chosen theme. Choose wisely, for along with the tree topper, this is one of the finishing touches that will elevate the look and feel of your tree.
Your BEST Christmas EVER Starts Today
Hopefully you found this guide to decorating like a pro helpful; if you want to see more tips and tricks like these bookmark our blog and YouTube channel. Once you’re done with your creations for the season share them on your socials and tag us with #dwchristmas so we can see what you’ve come up with!