
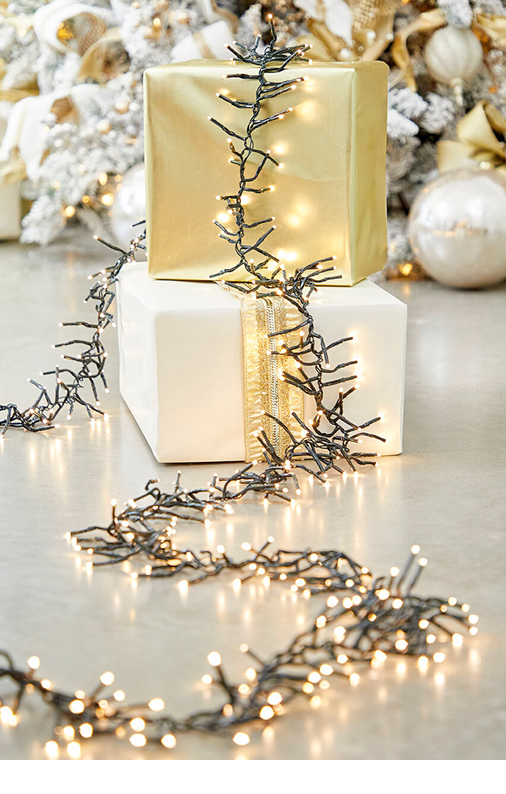
Is there anyone who doesn’t love classic red and gold Christmas decorations? They’re elegant, opulent, and can elevate any ... setting. With ... with our 4 step process, anyone can create a stunning, classic, red and gold Christmas tree, effortlessly.
Let’s break it down to layers and get started!
Step One: The Christmas Tree Topper
Some people finish with the Christmas tree topper, but that’s where we like to start, since it sets the foundation for all of the other Christmas decorations that you’ll use on the tree.
We'll be using several spray styles with a variety of textures to create depth and dimension. Feel free to choose the sprays that best complement your tree and overall decorating theme.
We’ll also be capping the topper with Gold Champagne and Red Christmas flowers, which will help create the transition to the body of the tree.
For this topper we will use three of each spray. Start with the bulkiest spray, place it along the pole of the Christmas tree, using the tree tips to hold it in place, then alternate with a different spray before repeating the process.
If you like a bigger Christmas tree topper, you can add a few extras of each style.
Once you have the sprays placed, take a step back and look at the tree from the floor to make sure everything looks symmetrical. Then you can add in a few florals at the base of the topper to create the illusion of a continuation of a topper for a transition into the body of the tree.
Step Two: Christmas Ribbon
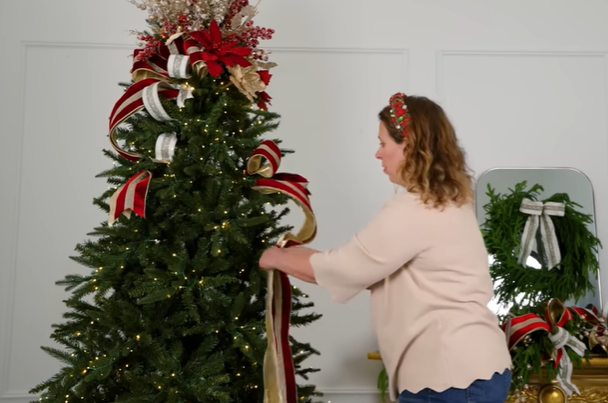
Next comes one of our favorite steps—adding ribbon! For a beautifully layered designer look, we recommend using three coordinating ribbons: a main ribbon that sets the tone for your design, a supporting ribbon that complements your color palette and adds texture, and an accent ribbon that brings in a pop of contrast or a special finishing detail. Combining ribbons with different textures, and patterns creates depth, movement, and that professionally decorated look that's the hallmark of a stunning Christmas tree.
For a 9 foot tree, we recommend using 30 to 40 yards of your two main styles of ribbon, and roughly 10 yards of accent ribbon.
Pair your two main types of ribbon on top of each other, and we’ll start with a bow at the base of the tree topper before adding some billows in the body of the tree beneath it.
Pinch the tail of the ribbon, then fold the ribbon to make a loop before twisting; then make another loop following the same process and twist to create the second tail of the bow. Then you can tuck it into the tree and use the branch tips to hold it in place.
If you like, you can also create a fishtail look for the ends of your ribbon by folding the tail and cutting it at a diagonal angle with a pair of scissors.
Below the bow, add some billows using your two main styles of ribbons by creating a wide loop and tucking the ends into the body of the tree, using the branch tips to secure them.
You can also make bows with your accent ribbon; to do so, make a tail, then fold it to make one loop, twist it, and then lay that on top of the ribbon you already placed on the tree. From there, you can cut the ribbon or you can create billows in the body of the tree beneath it.
Step Three: Florals and Sprays
The next step is to decorate with Christmas flowers and sprays, and this is one of the easiest steps in the process because it’s really just about layering.
A good way to create harmony is to use the same flowers and sprays that you used in the Christmas tree topper, although you should also feel free to choose some other colors, styles or patterns from the same Christmas collection to add interest and depth..
For this step, we like to create “floral clusters” which are a combination of flowers and sprays that we marry into one piece and use as decorative accents in the body of the tree.
Pick two sprays and lay them on top of each other, staggering the branches or accents so it looks like one piece, then add some florals and lay them across, angling the flower head up. Then, if you want to secure the cluster, you can twist one of the stems around the others.
Nestle these clusters in the body of the tree and then weave them through in a zigzag pattern. As for how many to place, there’s no hard rule, but a good rule of thumb is one cluster per foot of tree. For example, a 9 foot tree would use 9 clusters..
Once you place your clusters, you can get some single stem flowers and place them in between the clusters on the tree to fill out the spaces. Choose a few more single sprays from the same collection to add color, texture and dimension to the tree; place these in open areas as well.
Step Four: Christmas Ornaments
The fourth and final step is to place your Christmas ornaments on the tree; after that you can step back and enjoy the beauty of your Christmas decorations!
Choose a few different styles, sizes and colors (shatterproof ornaments are great for this especially if you have pets or small kids), then start with one style of ornament and zig zag through the tree wherever you see you have space that needs to be filled.
To help secure your Christmas ornaments, take a small length of floral wire and use that to wrap around the branch to hold the ornament in place.
For More Information, See Our YouTube Channel
That’s all there is to... it. You've ...u’ve just mastered the four-step technique for creating a stunning tree in red and gold Christmas decorations! Try it for yourself next year, and if you want more detailed instructions, see our YouTube channel for our full video: Classic Christmas Decorating and Christmas Tree Tutorial | Red and Gold Decor.