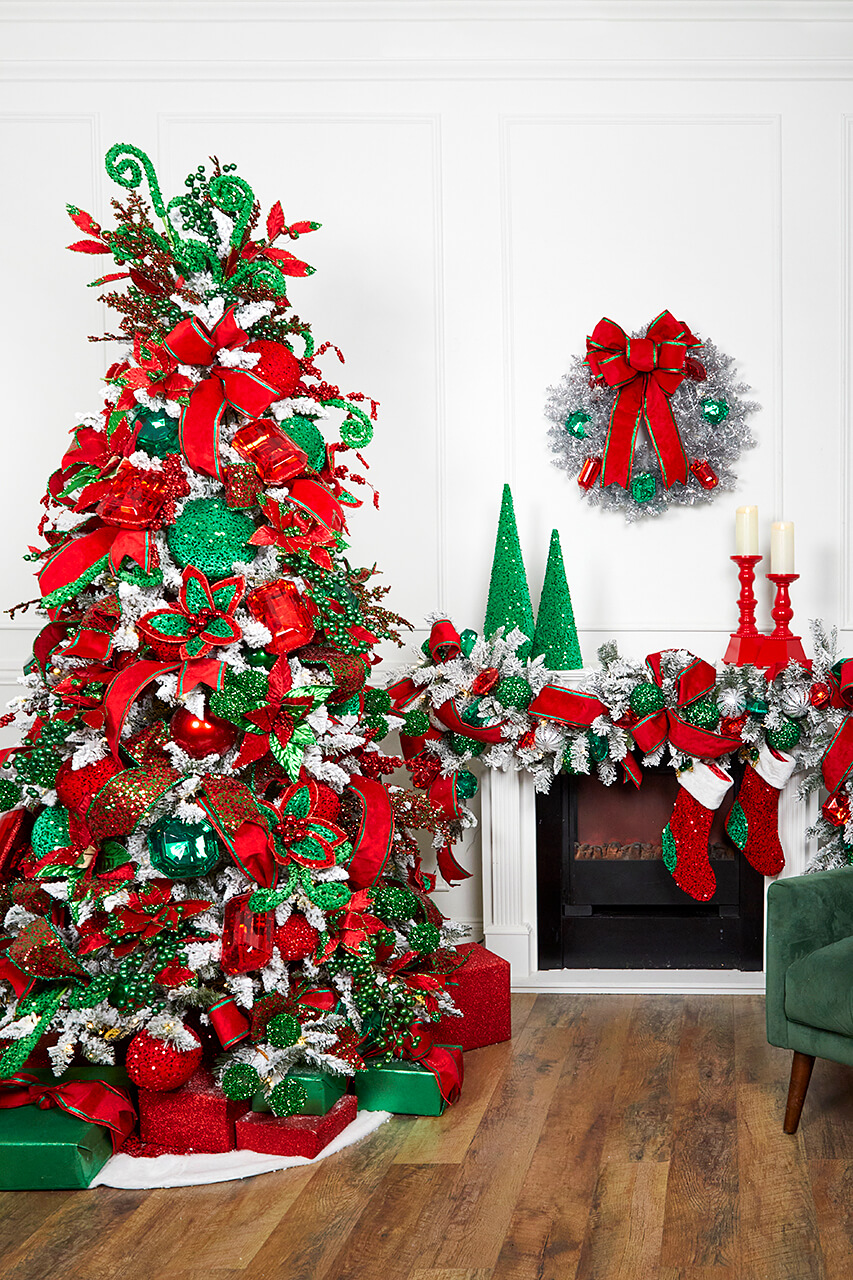
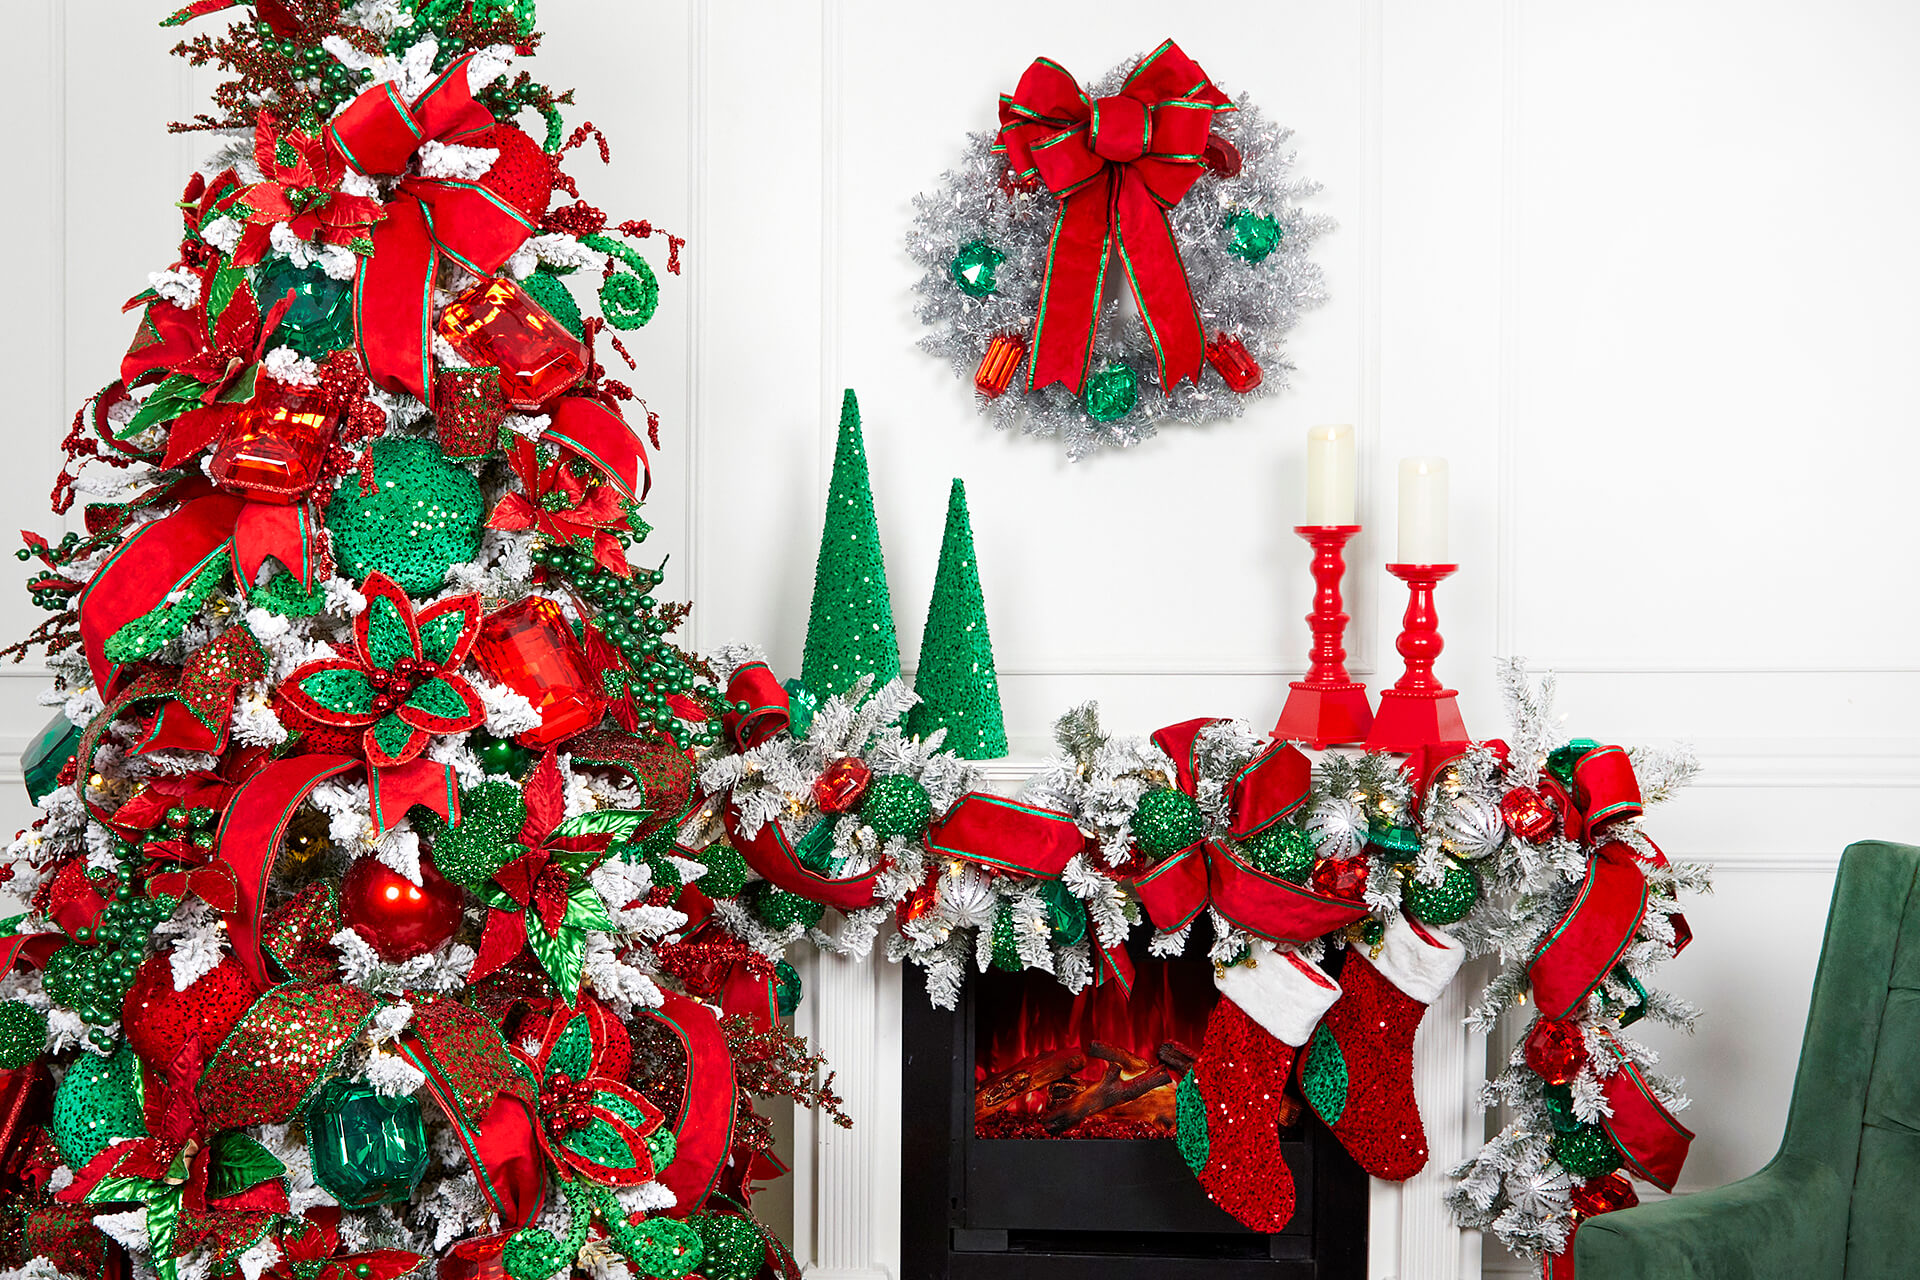
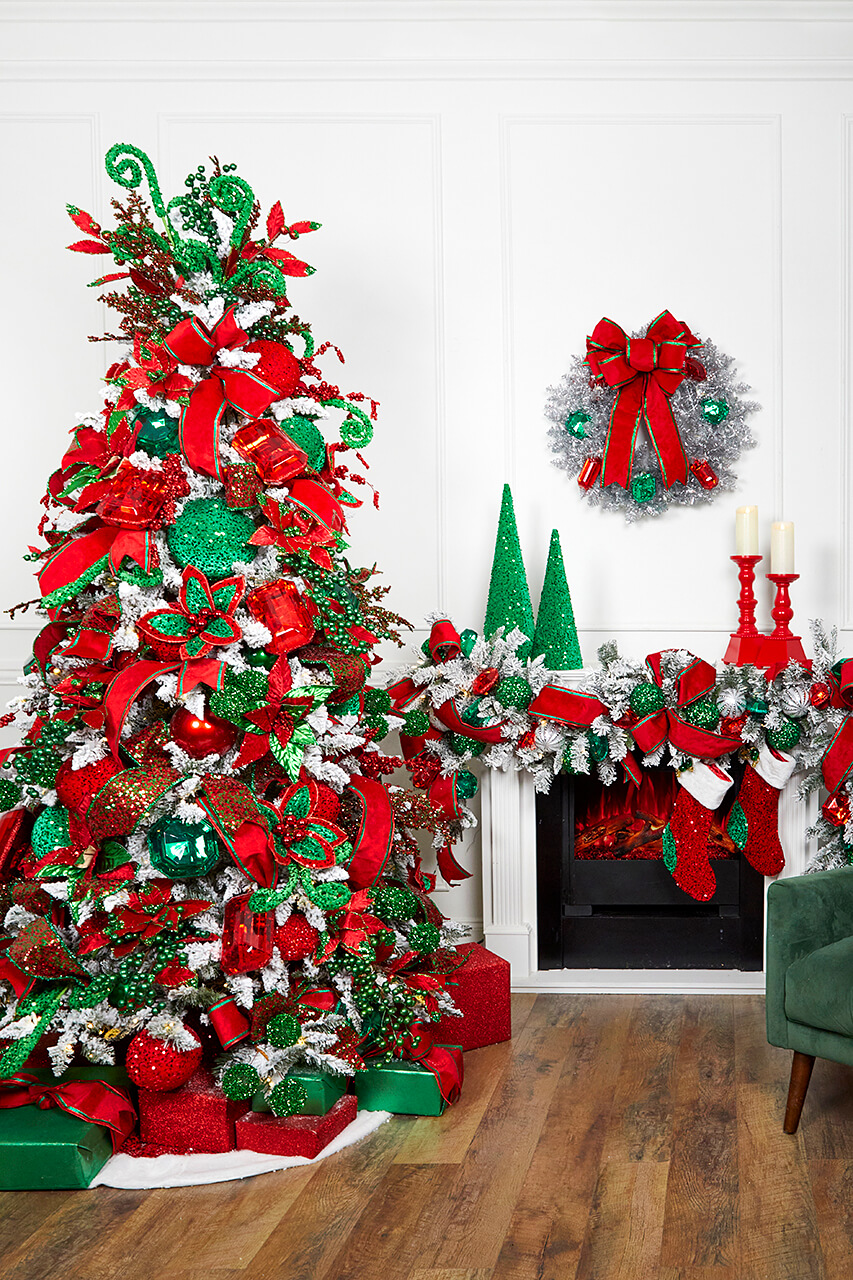
Decorating a Christmas tree is more than just a holiday tradition—it's an art form that brings festive spirit and warmth into your home. If you're looking to elevate your tree design this year, follow these four simple yet impactful steps to achieve a show-stopping centerpiece for your holiday decor. This is our Holiday Sparkle Christmas Tree Decor Bundle, a green and red Christmas tree decor design that elevates the vintage glam look to a 2024 celebration of all things Christmas!
Creating a Stunning Christmas Tree: A Step-by-Step Guide
Watch how Kristin takes you through this entire decorating process to get the Christmas tree design of your dreams! We'll walk you through the steps here but be sure to watch her tutorial video of the process to see it all come together!
Step 1: Topper with Christmas Sprays
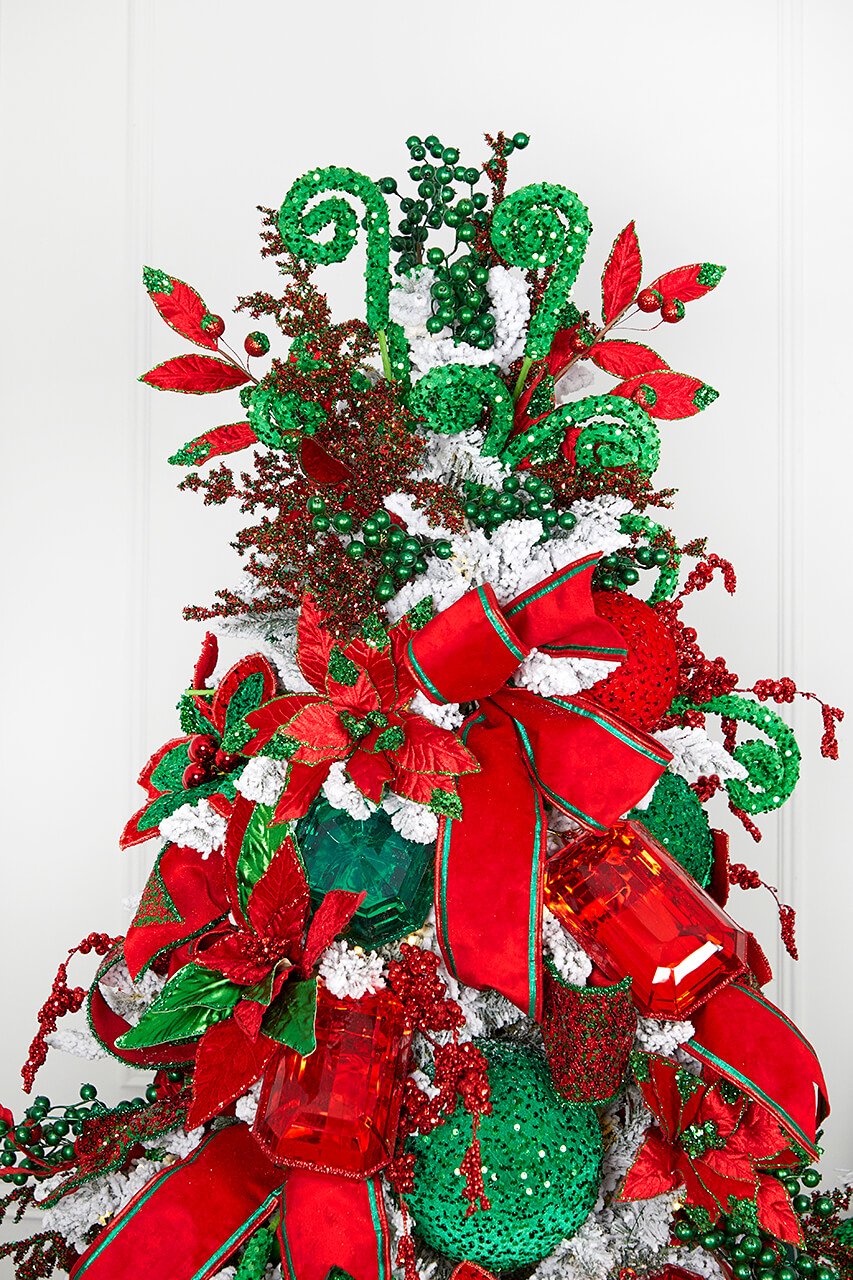
The first step in creating a visually striking Christmas tree is to choose and place your topper.
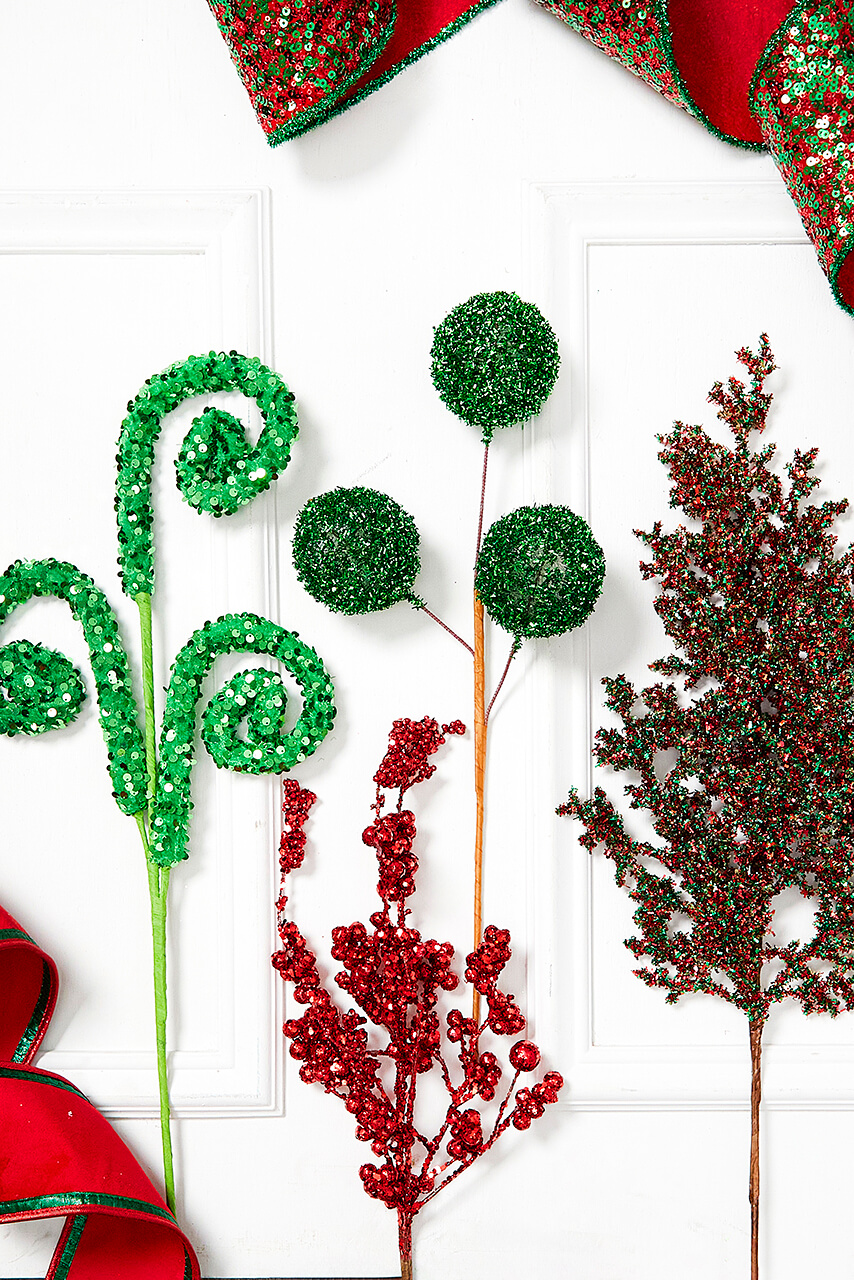
The topper is the crown jewel of your tree, setting the tone for the rest of the decorations. Christmas sprays are a fantastic way to add height, texture, and a burst of color. In this bundle, we've selected sprays for you but if you're putting together your own look, choose sprays that match your overall theme—whether it’s traditional reds and greens, metallics, or a more whimsical palette. Position them at the top of the tree, radiating outwards in all directions. The sprays should extend beyond the tree’s tip, creating a starburst effect that draws the eye upward and adds an element of grandeur.
Step 2: Adding the Ribbon
Once your topper is in place, it’s time to weave in the ribbon. The ribbon is a key design element that adds elegance and continuity to your tree.
Start at the top and work your way down, allowing the ribbon to cascade naturally. You can choose to let the ribbon drape loosely, tuck it into the branches for a more structured look, or even create bow clusters at intervals for added flair.
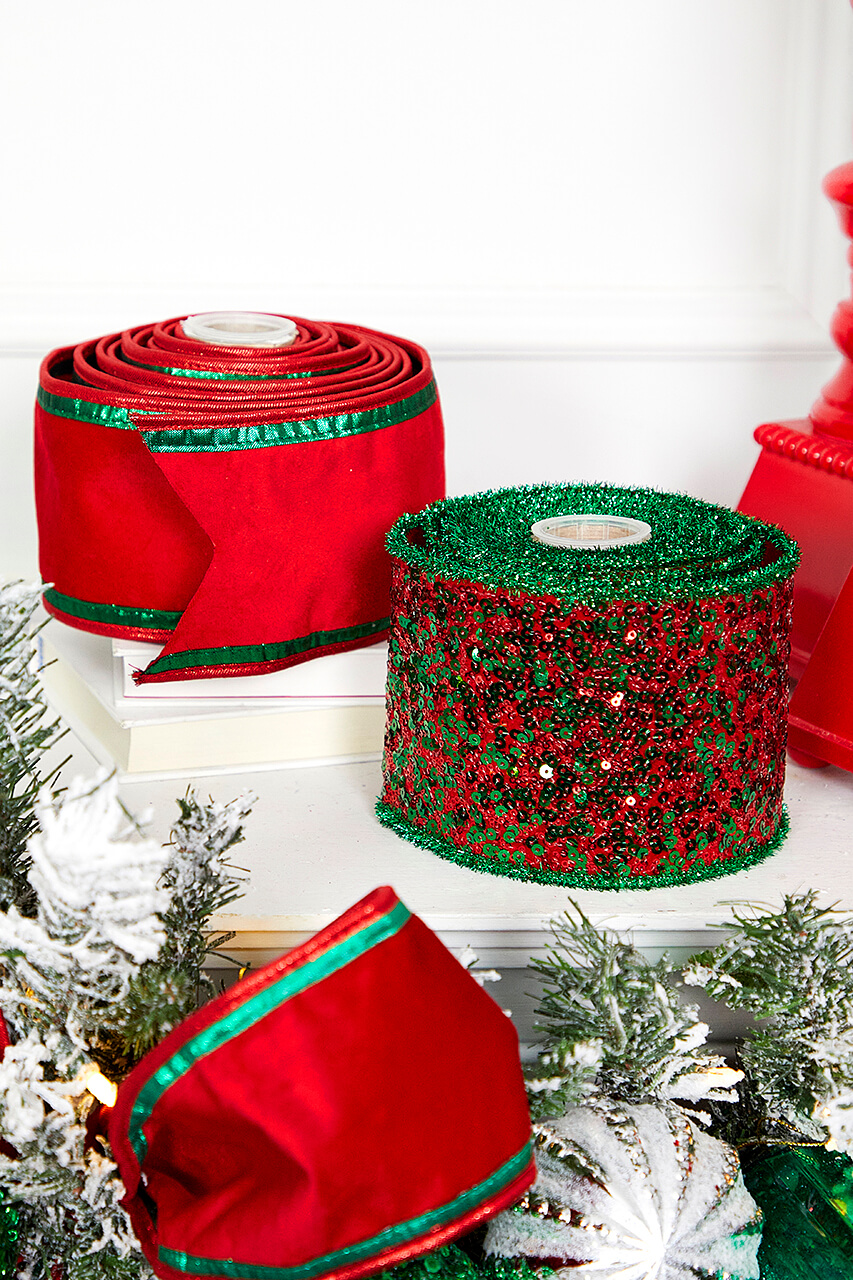
Consider using multiple ribbons in different textures and widths to create depth and visual interest. The ribbon should gently cascade down the tree, billowing out in loops and tails, giving it a cohesive, polished appearance. We add bows and other elements throughout to bring a balanced look with this great quality, wired ribbon.
Step 3: Incorporating Clusters and Sprays
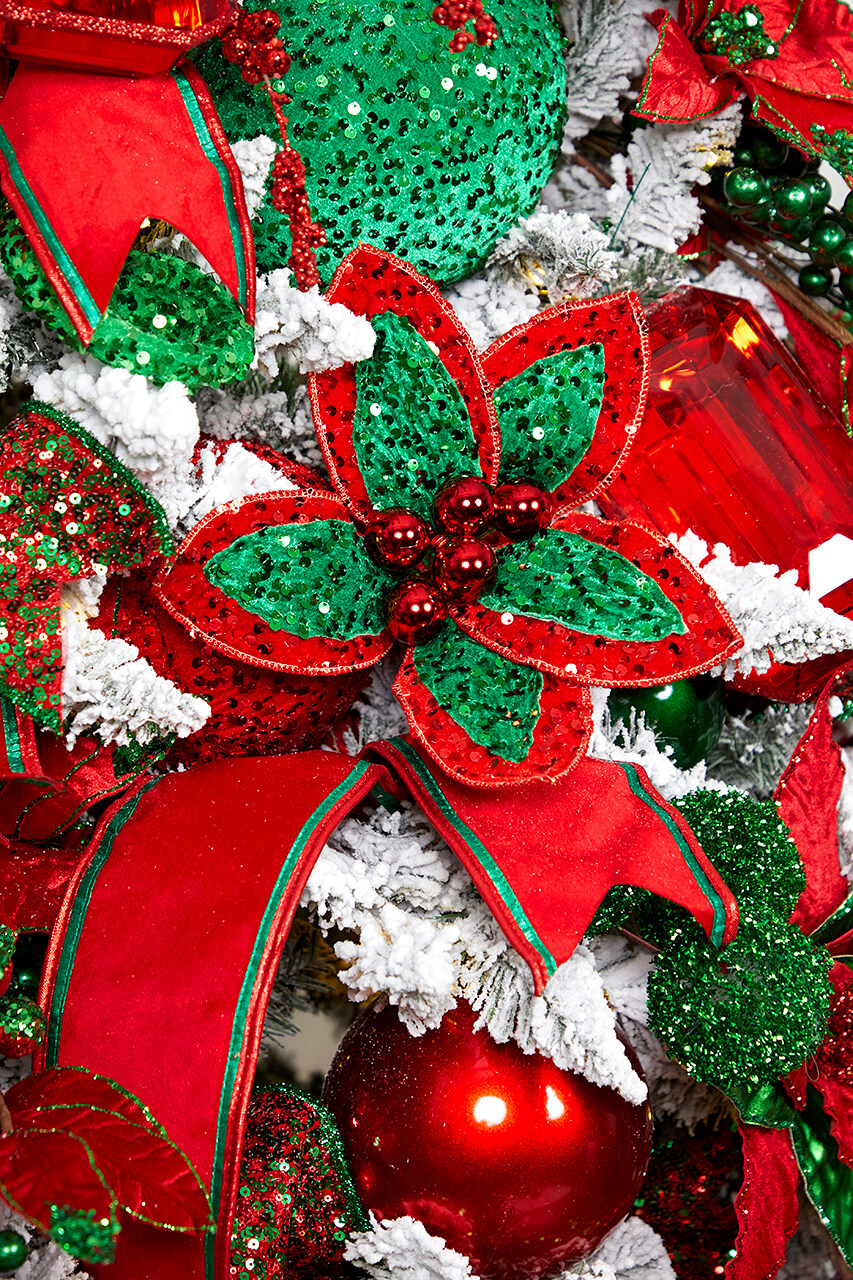
With the ribbon in place, the next step is to add floral clusters and sprays throughout the tree. These decorative elements add volume and texture, filling in any gaps and making your tree look lush and full. Clusters can include a variety of textures from our sprays of picks and florals.
Position them strategically around the tree to create balance and harmony. Add in more Christmas sprays as needed, choosing ones that complement the topper and the overall color scheme. These sprays and extra florals can be inserted deep into the tree’s branches or extend beyond for a more dynamic look full of texture and interest.
Step 4: Placing the Ornaments
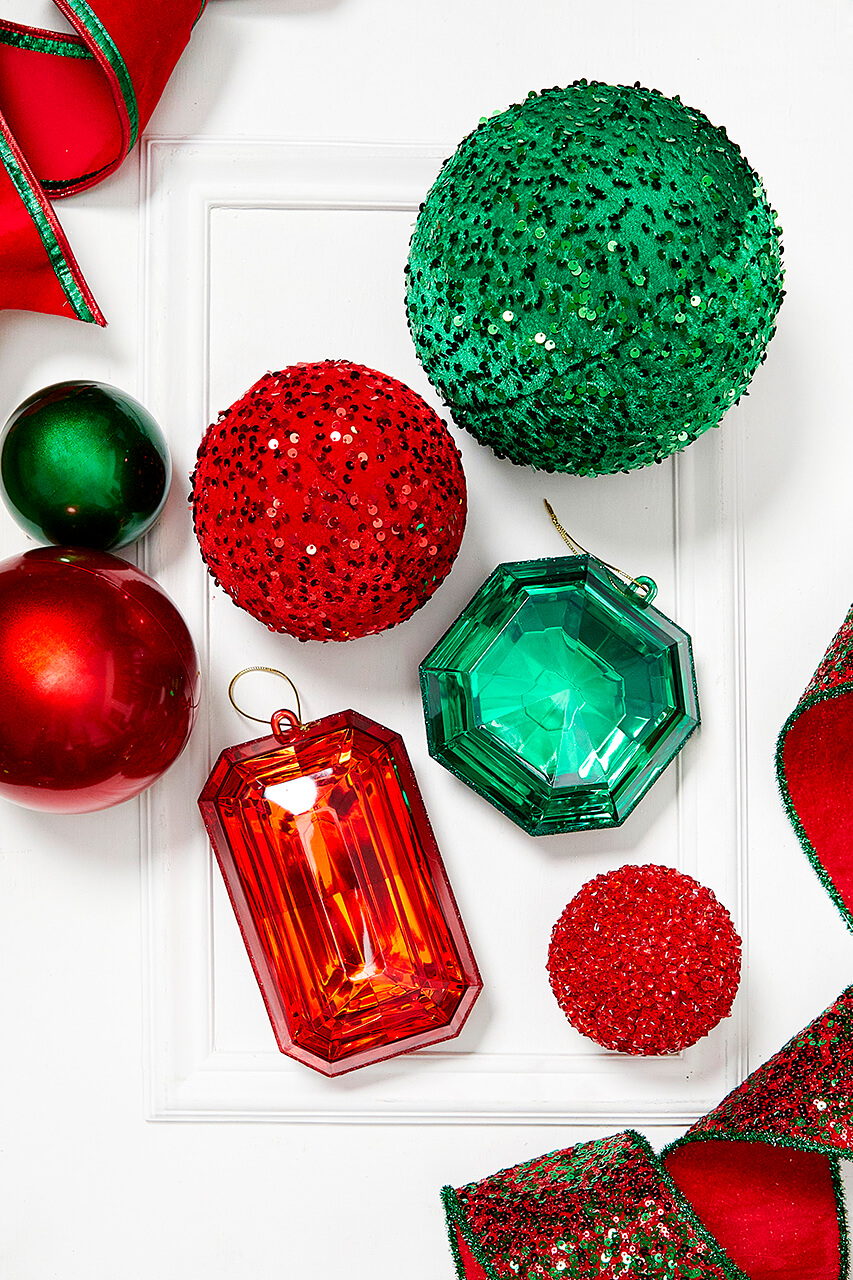
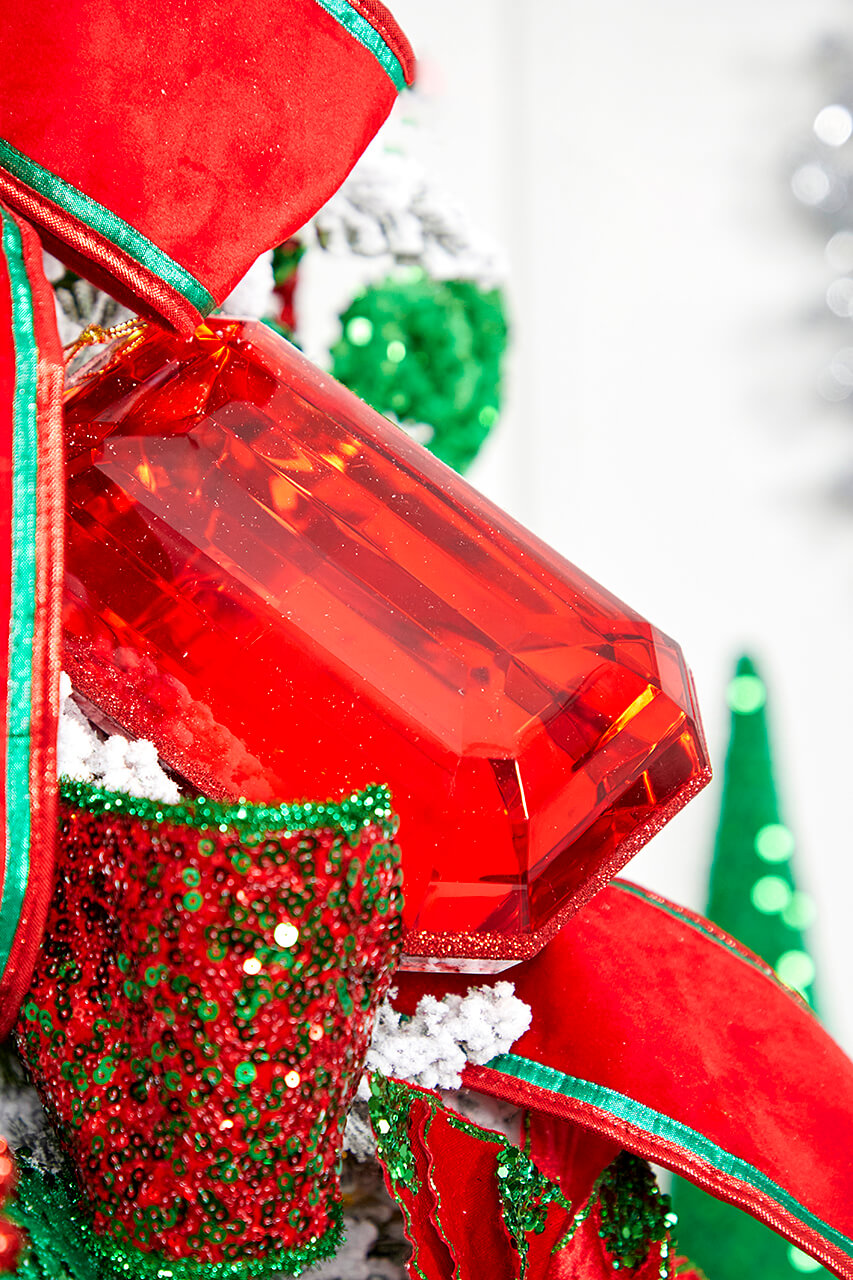
Finally, it’s time to adorn your tree with ornaments. This is where your tree truly comes to life. Start with your largest ornaments, spacing them evenly around the tree. Then, fill in with medium and small-sized ornaments, making sure to balance the colors and shapes for a well-rounded look.
Don’t forget to tuck some ornaments closer to the trunk to add depth and create visual layers. You can also mix in specialty ornaments that have personal significance or match your theme. For an added touch, consider placing a few statement ornaments near the top or center of the tree to draw attention to those areas. The key is to ensure that your tree looks abundant and thoughtfully decorated, with each ornament enhancing the overall design.
By following these four steps—starting with a striking topper, incorporating ribbon, adding clusters and sprays, and finishing with carefully placed ornaments—you’ll create a Christmas tree that not only dazzles but also brings joy and warmth to your home throughout the holiday season. Happy decorating!

